
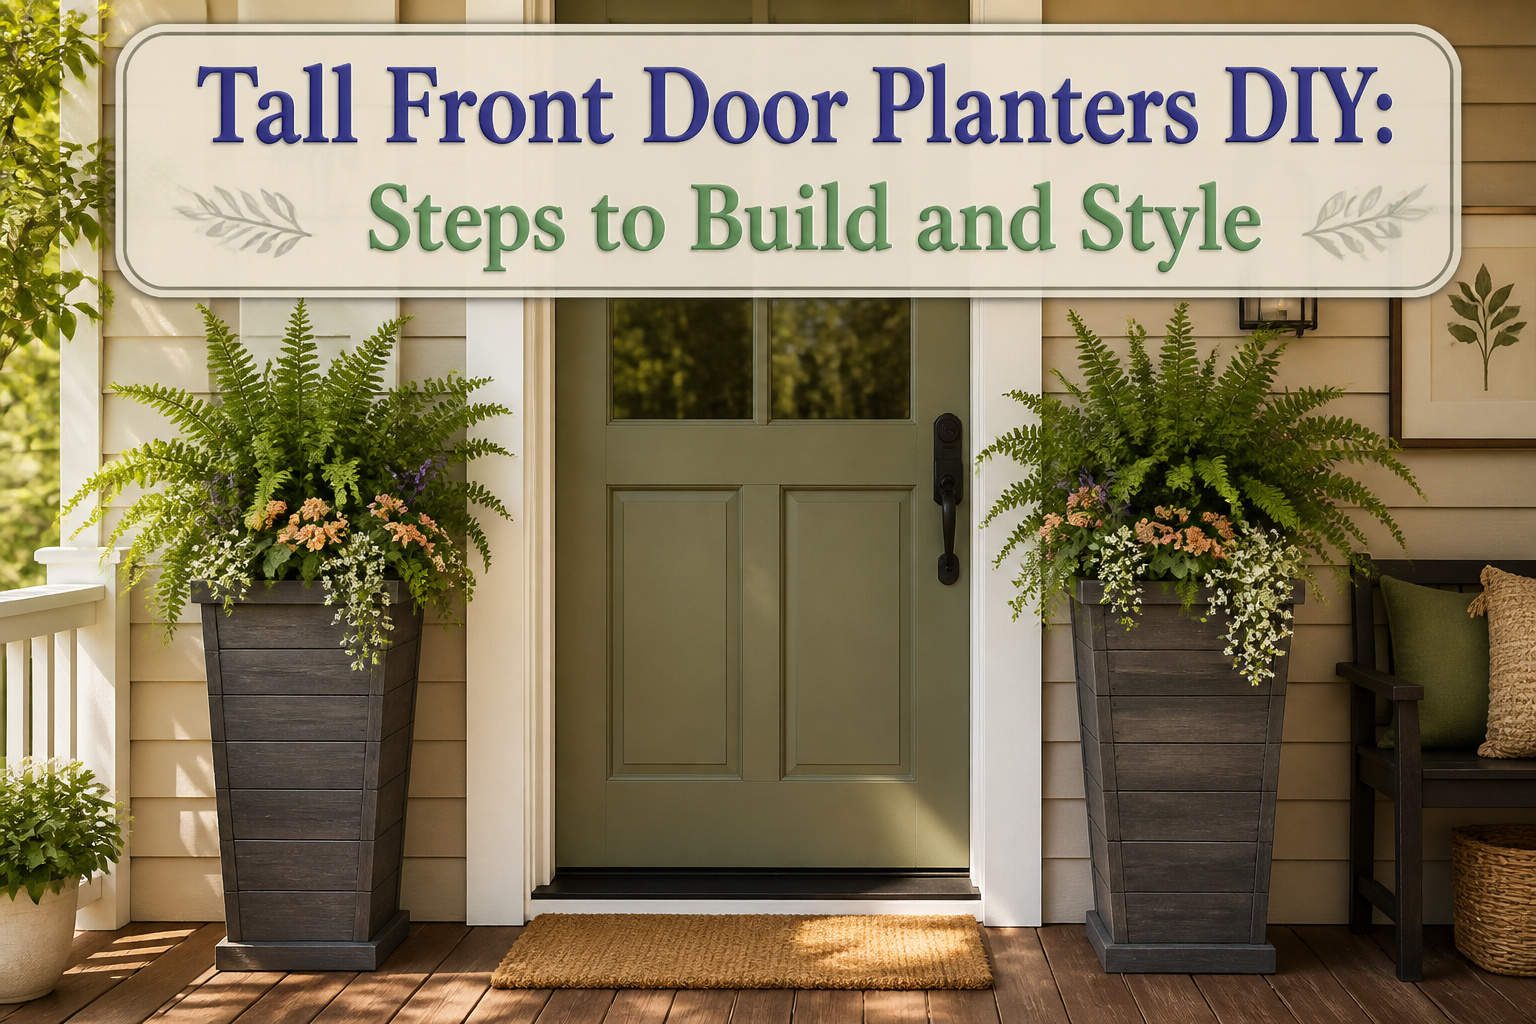
Tall front door planters are upright containers built to frame an entry with living or artificial plants, but the project only stays practical if you choose a material you can still move after it is filled. A fully loaded cedar box this size can approach eighty pounds even after lightening the load with filler, which is why composite or sealed wood beats concrete for a weekend build you might need to shift off the porch later.
1. Choose Your Material
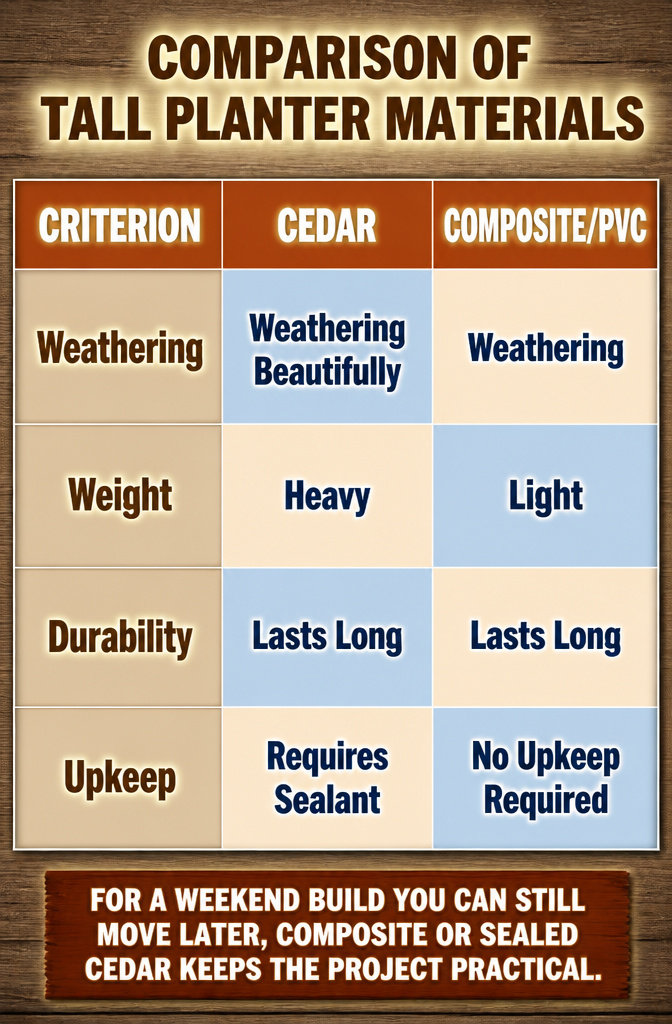
Cedar and redwood weather beautifully outside but still need a coat of sealant every couple of years to keep from graying and splitting. I like the look of aged cedar, though the boards do get rough to the touch if you let them go bare. Composite or PVC planters skip that upkeep entirely; they weigh less than real wood, which matters when you’re hauling two tall boxes up porch steps by yourself. Concrete lasts forever and holds its ground in wind, yet a filled planter this size can hit a couple hundred pounds, so you commit to its spot. Metal gives that industrial-farmhouse edge, yet galvanized or corten steel will rust through without treatment, and raw steel planters in a wet climate can fail in a season. For a weekend build you can still move later, composite or sealed cedar keeps the project practical.
2. Get the Height and Width Right
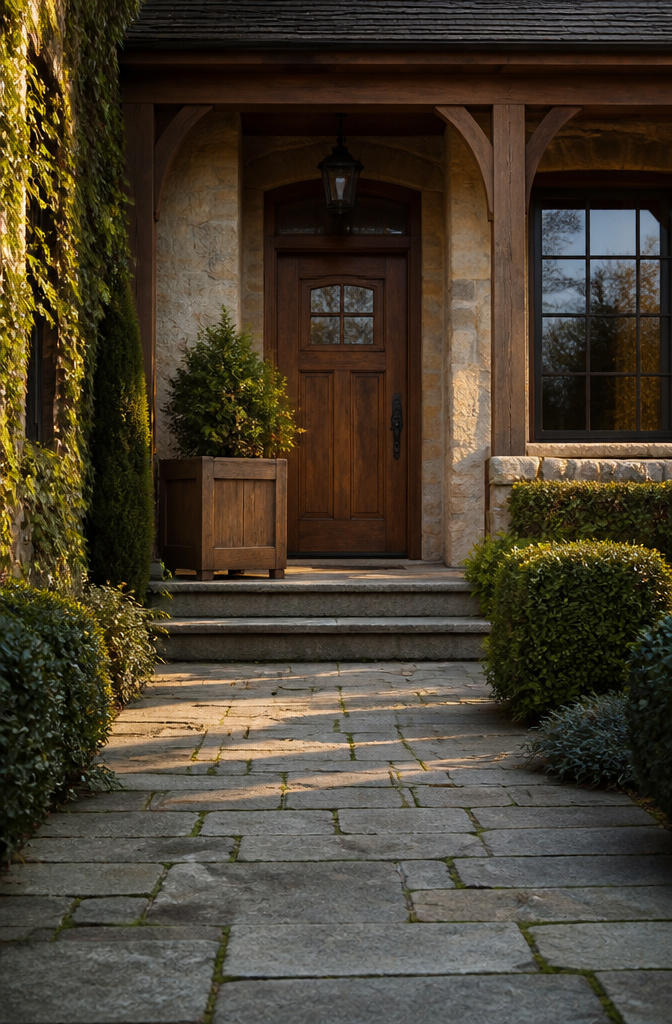
A planter that reaches about one-third of your door height usually lands in the sweet spot, which for most standard doors works out to roughly 18–30 inches tall and 16–24 inches wide. My own front door measures 80 inches from the threshold to the top of the frame, so I aimed for 26 inches on the box itself. That leaves the plant material to carry it the rest of the way without crowding the door header.
Go taller than about 30 inches and the planter starts eating visual clearance; you notice it when you walk up with groceries or when the door swings open. Too short, under that 18-inch mark, and the box reads as a ground-level afterthought rather than a frame for the entry. Round planters tend to sit well at 18–24 inches across, while square or rectangular ones need similar proportions to feel balanced against the vertical lines of a door. I went with 20 inches wide on mine, which left enough walking room on a 36-inch stoop without looking skimpy against the door slab.
3. Build the Box and Add Drainage

Cedar boards cut clean on a miter saw set to a 3.5 degree bevel, just enough taper so the planter walls lean slightly outward and look built for height rather than stacked from scrap. I laid all four sides on the driveway first, matching angles before a single screw went in, because cedar this thin warps the moment the sun hits it unevenly.
The first box I assembled with decking screws driven straight through the corners. No pilot holes, no countersink, just a drill on high speed and the confidence of someone who had built a dozen smaller boxes. The cedar split clean up the middle of the second board, a hairline crack that widened to a quarter inch by the next morning. Standing water rots wood faster than rain ever could, but a split corner lets that water in behind any seal you paint on later.
A brad nailer saved the second build. Glue on the edge, two quick nails to hold the joint square while the screws went in through pre-drilled holes, and the cedar came through intact. I bored seven half-inch drainage holes through the bottom once the box was whole, spaced where the soil would sit deepest, because a tall planter pools more water than a shallow one and the roots will find it.
4. Lighten the Load With Filler
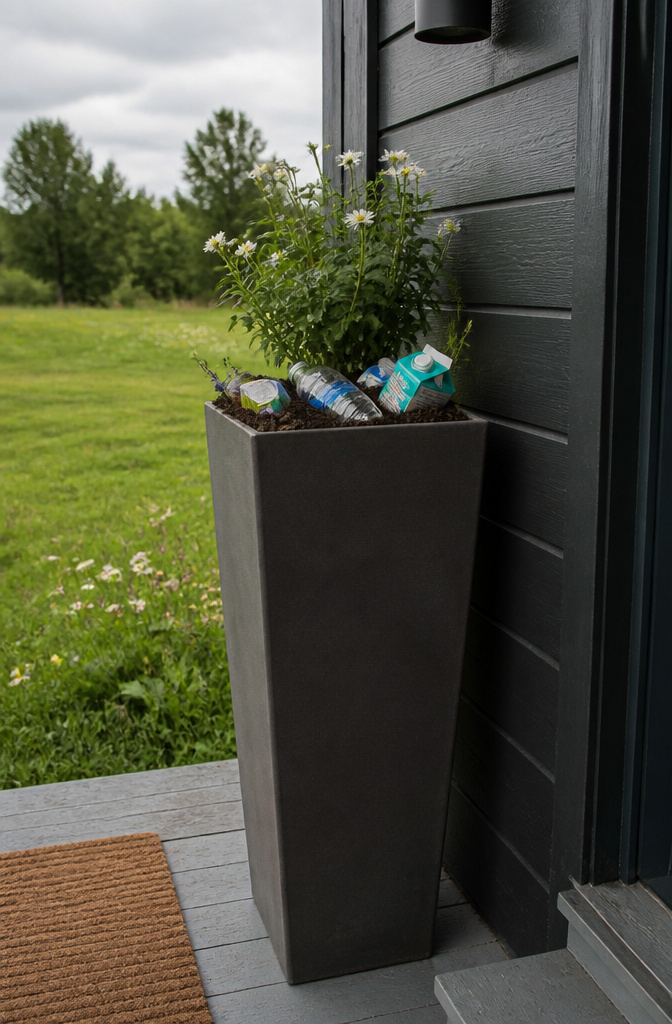
A tall planter packed solid with potting soil weighs close to eighty pounds and costs twice what it needs to. The bottom third of the container is root zone a tall thriller never reaches, so that space is better treated as dead weight you can lose.
Pine cones, packing peanuts tucked into a mesh produce bag, crushed plastic bottles, milk cartons, or a section of pool noodle cut to size all work as filler that keeps the planter light and movable. An upside-down nursery pot slipped inside the decorative shell does the same job and leaves a neat cavity for the store container to sit in. I used a mix of old nursery pots and bark scraped from the yard; the finished box still felt substantial at maybe forty pounds, but one person could shift it without calling for help.
What goes wrong is choosing anything that traps water and sours. Foam peanuts left loose in soil turn into a nightmare when it is time to repot, and materials that absorb moisture will rot and stink. Stick with clean, inert fill that sheds water or at least does not hold it, and seal the filler inside a bag if there is any chance it will mingle with roots or soil.
5. Paint or Seal Before You Plant
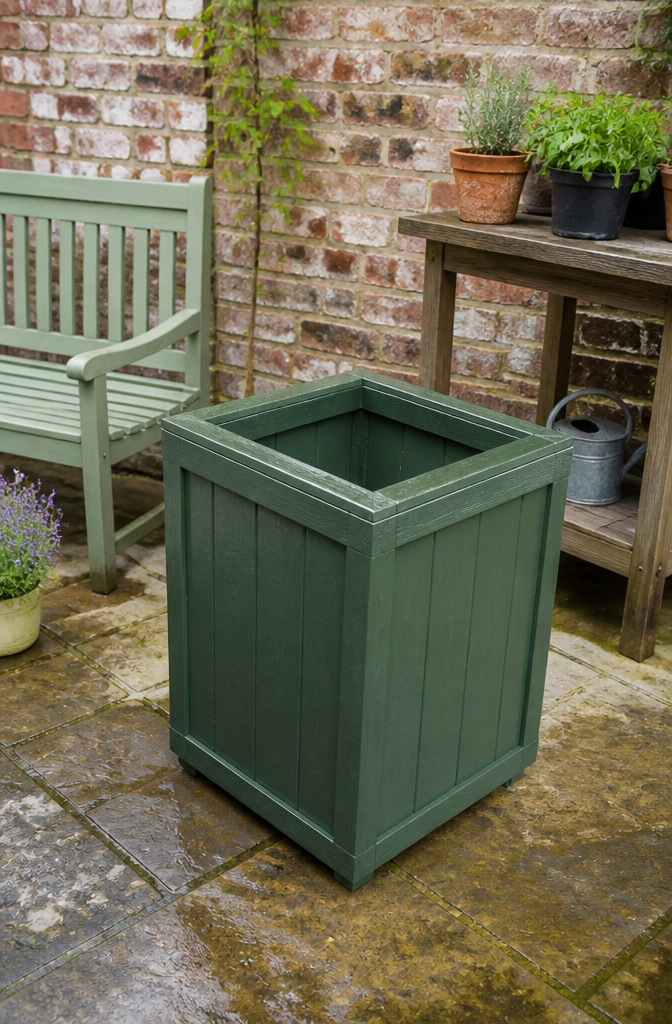
Exterior paint or sealant is what stands between your wood and the rot that starts at the cut ends. End grain drinks water like a straw, so two thin coats there beat one thick coat every time. The first coat soaks in and seals; the second sits on top and shields. A single heavy layer skins over before it penetrates, then cracks when the wood swells.
I learned the hard way which order matters. Two summers back I planted a calibrachoa trailing over the rim, then decided the cedar looked too raw against the brick. Sage green paint went on careful, or so I thought, until a breeze lifted the pot and the bloom brushed wet enamel. The flower wore that smear until October. Paint or seal every surface, inside and out, then let it cure fully before you add dirt. Dry time on the label is for 70 degrees and low humidity; a humid morning can double it, and trapped moisture under soil turns to mold you will not see until the roots complain.
6. Plant the Thriller, Filler, Spiller

The thriller, filler, spiller formula is the closest thing to a reliable shortcut for making tall front door planters look intentional from day one. A tall upright plant anchors the center or back, mid-height mounding plants fill the middle space, and trailing plants cascade over the edge to soften the planter’s lines. Sweet potato vine, ivy, trailing lobelia, or creeping jenny all work as spillers; petunias, begonias, coleus, or geraniums serve as fillers; and ornamental grass, a small evergreen, a topiary, or a dracaena can carry the thriller role.
My own combination that worked was a dracaena marginata as the thriller, white petunias for filler, and sweet potato vine spilling over the edge. The height difference between the dracaena and the petunias was about 18 inches, which gave the arrangement actual dimension against the flat plane of my door. The combination that did not work was a coleus thriller with trailing lobelia and more coleus as filler. Everything wanted the same light and the same root depth, so the planter turned into a single mounding blob by midsummer with no vertical structure at all.
The formula is flexible, not a rule. An odd number of plants at different heights reads as more intentional than one flat row, and repeating a color or shape from your door or house trim somewhere in the arrangement ties the whole look together. If you are short on plants, a layer of decorative mulch, moss, or pea gravel on top of the soil finishes the look and hides bare dirt.
Sun Plants Versus Shade Plants
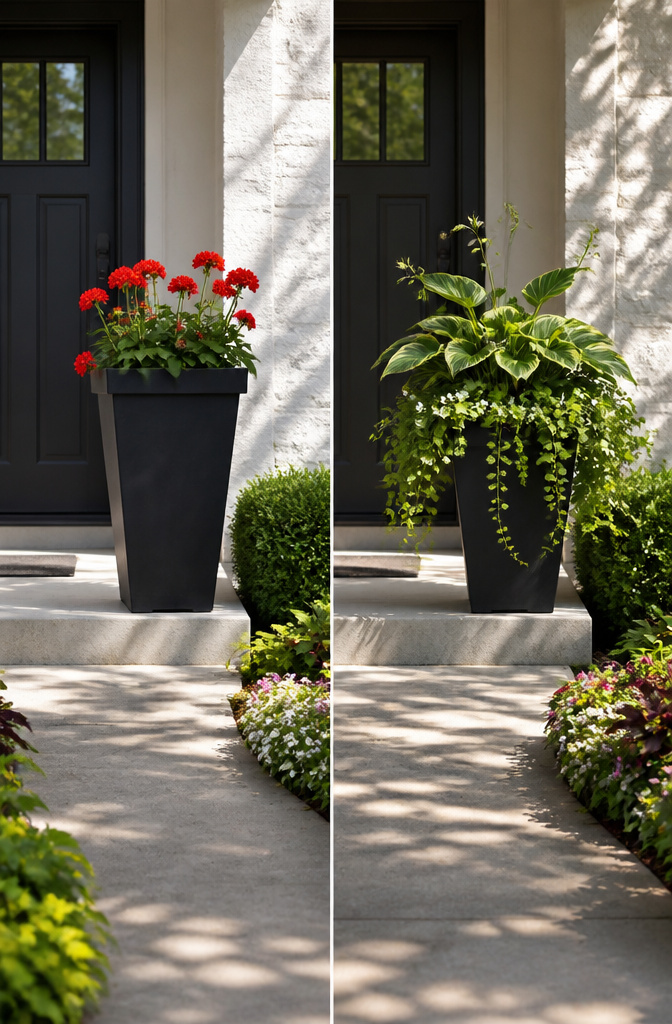
Morning sun fooled me into thinking my front door counted as full sun. By July the geraniums I’d planted were leggy and pale, stretching for light that never arrived after noon. I swapped them for impatiens and the planters recovered within two weeks, but the lesson stuck: compass direction only tells half the story.
South-facing doors get the most intense, consistent light all day. That exposure suits geraniums, marigolds, calibrachoa, and succulents like echeveria, though the soil dries fast enough that you’ll water more often. West-facing entries catch brutal afternoon heat; ornamental grasses and vinca handle it better than delicate blooms. East-facing porches get gentle morning sun and afternoon shade, which is forgiving for most annuals. North-facing doors stay coolest and shadiest; ferns including Boston fern, hostas, and impatiens do the heavy lifting there.
Track your actual light before you buy. Fewer than three hours of direct sun means shade plants. Three to six hours is part sun. Six or more, go with the full-sun list. Roof overhangs and neighbor’s trees matter as much as which way the door faces, so spend one Saturday noting where the shadows fall.
Real Plants or Faux
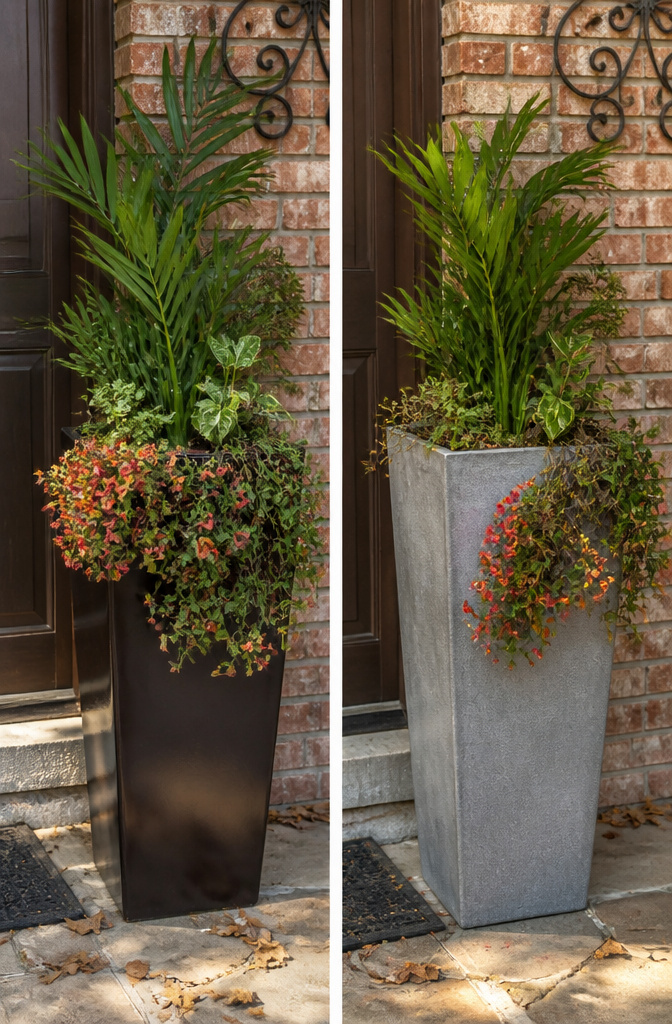
Living plants in a tall front door planter run about the cost of a few packs of annuals to get started, though you will water, swap, and replant through the seasons. Artificial ones ask for more money up front, sometimes the price of a whole living arrangement in one go, but then they sit there. UV-resistant outdoor silk and plastic have gotten good enough that a faux grass or fern now fools me from ten feet away, especially at dusk when light is doing half the work.
The real difference shows up in January. A living planter looks like sticks and patience; a faux one looks the same as it did in July. That sameness is the selling point if you travel often or treat your front door as a set-it-and-forget-it zone. I have done both, and I still prefer real plants because the planter changes with the year: a forced hyacinth in March, a trailing potato vine by June, something brown and structural by November.
Faux wins if you are gone every other weekend; real wins if you want the door to mark the seasons. A hybrid trick worth trying is mixing the two: a faux spiller or filler for consistent shape around the edges, with a real seasonal plant tucked in the center. You get year-round structure and a living color pop that changes when you do.
Watering and Drainage Checks
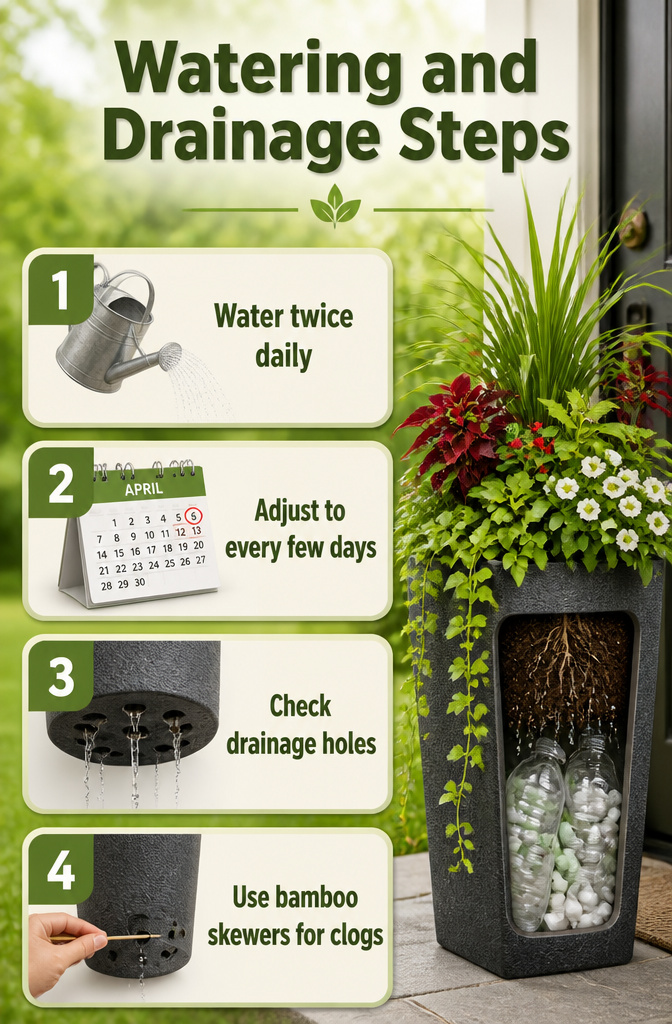
A tall planter at the front door dries out faster than you think, especially when August heat hits. Water twice a day in peak summer, cut back to every few days in April once the soil mix and filler layer find their rhythm. That filler, usually empty bottles or packing peanuts in the bottom third, creates dead air space that actually slows drying compared to a pot packed solid with soil, so your schedule needs to adjust for the first season while you learn the pattern.
Root checking matters more than calendar watching. Lift the pot slightly, just an inch tilt, and water should run free from the drainage holes you drilled. If it pools or drips slow, roots have likely found those holes and started clogging. A bamboo skewer poked up from underneath clears them without disturbing the plant.
For fertilizer, I use a slow-release granular worked into the top inch each spring. Liquid feeds tempt you to overdo it when the color looks off, and a tall planter has no room for the salt buildup that follows. The filler layer keeps the whole assembly light enough that this kind of maintenance stays manageable, even when the plants themselves have gotten heavy.
Frequently Asked Questions
What plants are best for a sunny front door?
Geraniums, marigolds, calibrachoa, succulents like echeveria, ornamental grasses, and vinca all handle full sun well. South-facing doors get the most intense light, so plan to water more often since the soil dries out faster. A layer of mulch on top helps slow evaporation during peak summer.
How do I ensure my planter has proper drainage?
Drill about seven half-inch holes through the bottom of the box, spaced where soil sits deepest, because tall planters pool more water than shallow ones. Water should run free when you tilt the pot slightly; if it drips slow, roots may have clogged the holes and need clearing with a bamboo skewer. Never let water collect at the bottom, or roots will rot.
What materials are best for outdoor planters?
Composite or sealed cedar keeps a weekend build practical and movable, while composite or PVC skips upkeep entirely and weighs less than real wood. Concrete lasts forever but a filled tall planter can hit a couple hundred pounds, and metal like galvanized steel will rust through without treatment. For something you can still haul up porch steps alone, avoid the heaviest options.






