
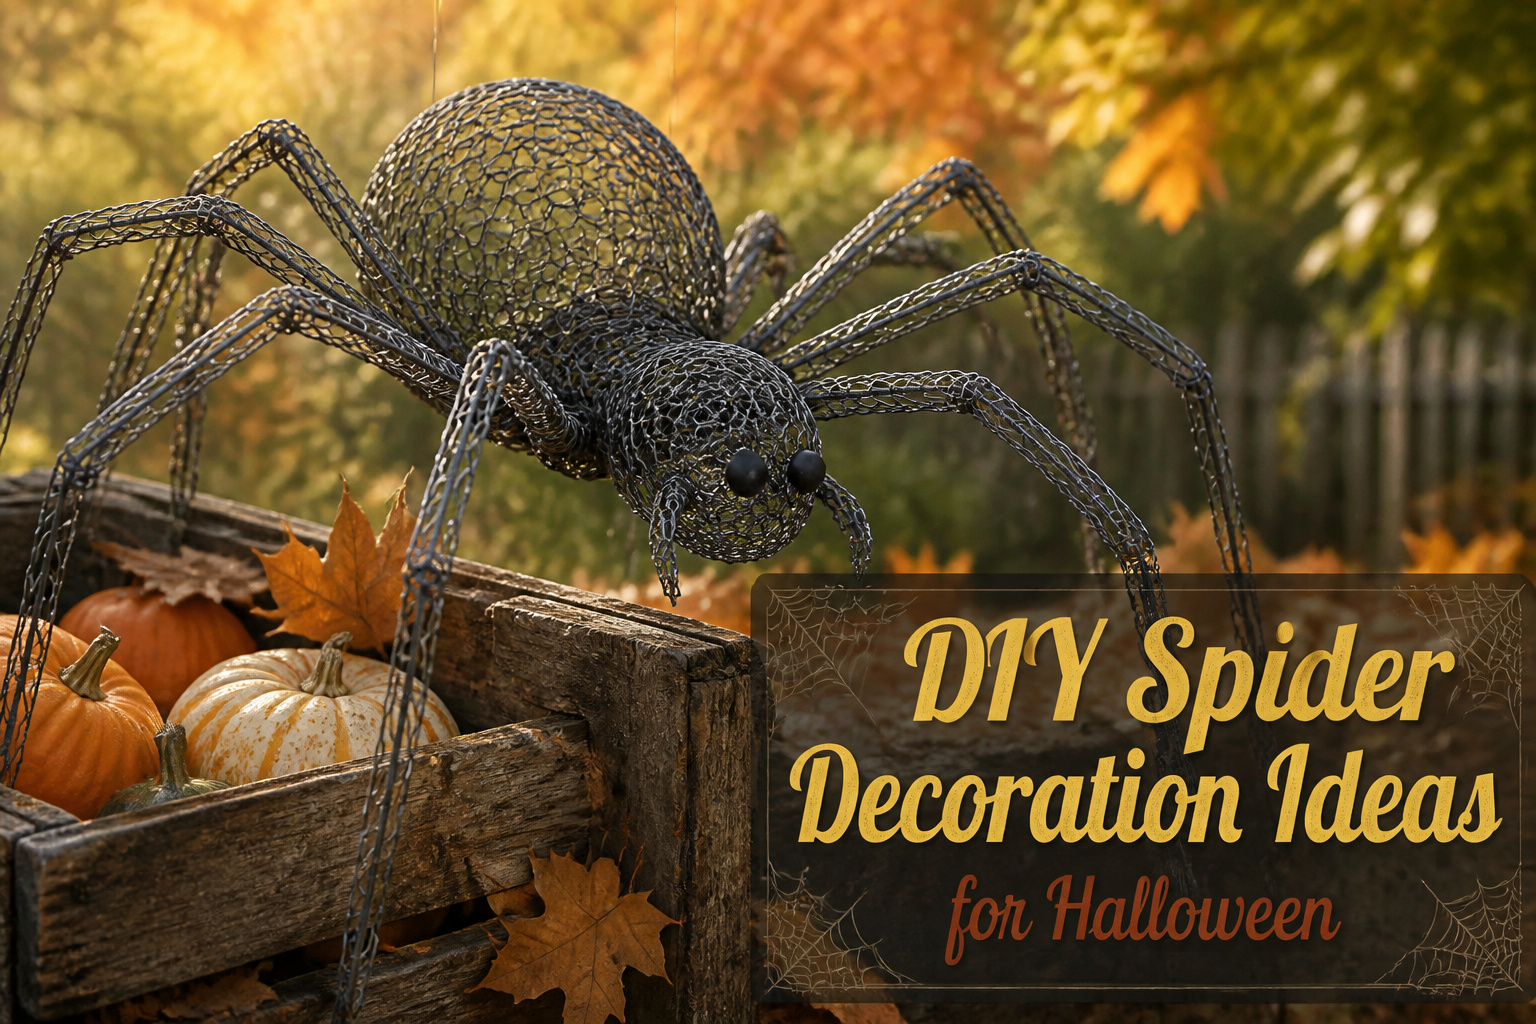
A spider decoration you build yourself lets you control the scale and the scare level instead of settling for whatever oversized inflatable survived shipping. The catch is that the biggest projects need real structural material like chicken wire rather than craft store shortcuts. A single 3-by-25-foot roll of wire, about $20, becomes both body and legs of a 13.5-foot yard crawler if you are willing to bend and shape it over a weekend.
Giant Halloween Spider
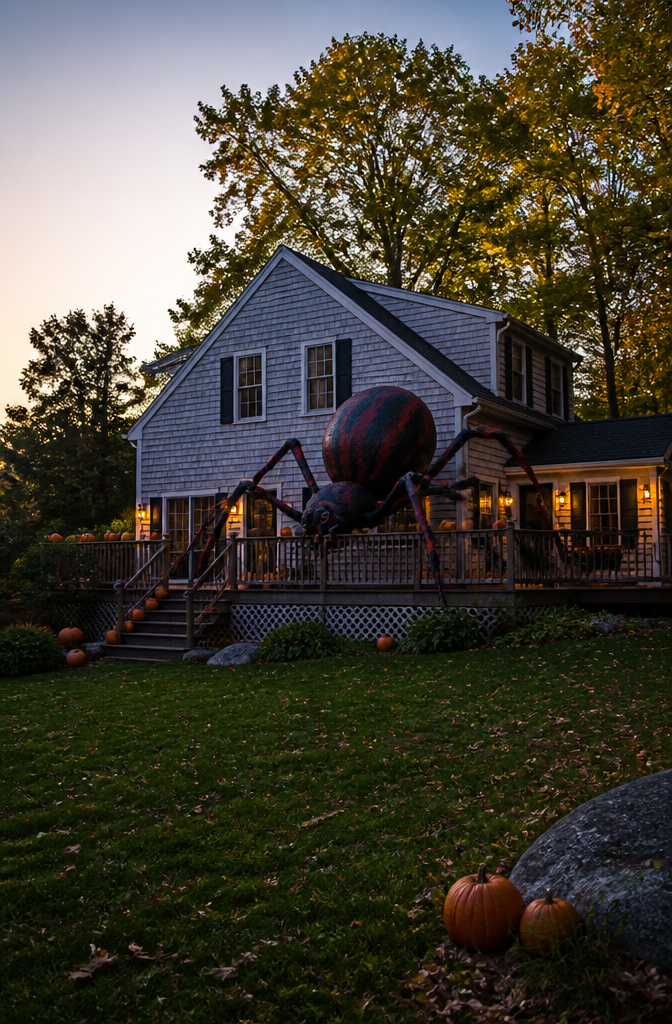
A 13.5-foot spider built from chicken wire and landscape fabric will outscale anything inflatable from the store, and the materials run lighter than they look. Chicken wire goes for about $20 per 3-by-25-foot roll, which is enough to form both the body and the head if you bend it into two egg-shaped halves and zip-tie them together. For the body bulk, inflate a balloon and an exercise ball, duct-tape them into a rough spider shape, then wrap the base in cling film before spraying with water and coating with expanding foam. That foam needs overnight drying before you flip it and repeat on the bottom half. PVC pipe or additional chicken wire forms the legs, and the whole thing finishes in black and red paint. The foam work takes patience; the rest is just cutting and bending wire until the proportions look right against your garage or porch.
Hanging Spider Decoration

A three-inch hole saw or a jigsaw turns scrap plywood into the base for a hanging spider decoration that costs next to nothing. The board gets painted black, then silver craft paint goes on in a stenciled pattern. A foam brush handles both coats. The inside edges of those holes need paint too, which is easy to forget until the thing is hung and the pale wood catches light from below.
Large plastic spiders attach with hot glue and clear fishing line, so they seem to crawl across the surface or dangle beneath it. The whole piece suspends from a ceiling hook or mantel edge, no frame needed. Silver paint pens look tempting for the stencil work, but the bleed-through is real. A foam pouncer brush and regular silver craft paint gives cleaner edges with less touch-up. Black paint and a flat bristled artist brush fix any spots that seep.
Most of this sits in a garage already: leftover plywood, craft paint from last year, the glue gun that comes out every October. The plastic spiders are the one likely purchase, and those run a few dollars for a bag.
Spider Web Decoration
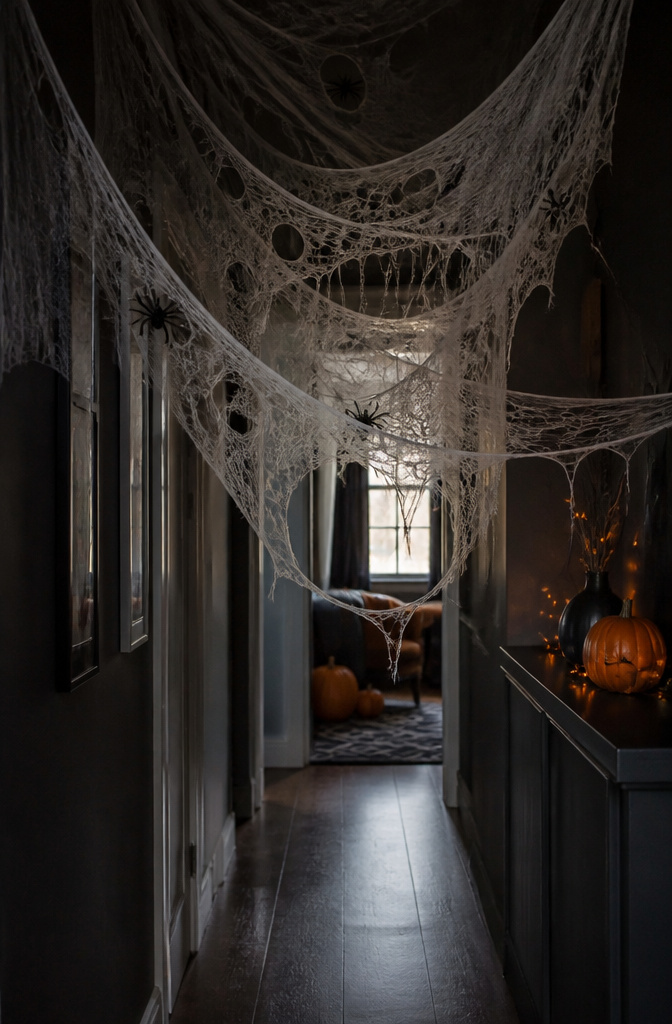
Beef netting and cheesecloth both stretch into the kind of thin, sagging webs that read as genuinely old rather than store-bought perfect. One roll of beef netting covers about 1,200 square feet, which is enough to drape a whole porch ceiling or run dense clusters down a hallway without rationing every strand. The holes in beef netting are naturally irregular, so the web catches light and casts broken shadows. Cheesecloth tears even more easily and hangs heavier, which works better indoors where wind won’t shred it.
I stretch either material between command hooks or thumbtacks depending on the surface, then pull a few threads loose at the edges so the web doesn’t end in a clean line. Real cobwebs don’t end clean. Indoors, the web becomes the base for plastic spiders or the egg sac clusters covered in other sections. Outdoors, it holds up fine through October if you keep it under an overhang; direct rain mats it flat and the effect disappears. The material is cheap enough that replacing a weather-soaked section doesn’t sting, but checking the forecast before you spend an evening on the ladder saves the hassle.
For renters, both materials pull down without residue if you stick to removable hooks. That matters more than the material choice itself.
3D Foam Spider
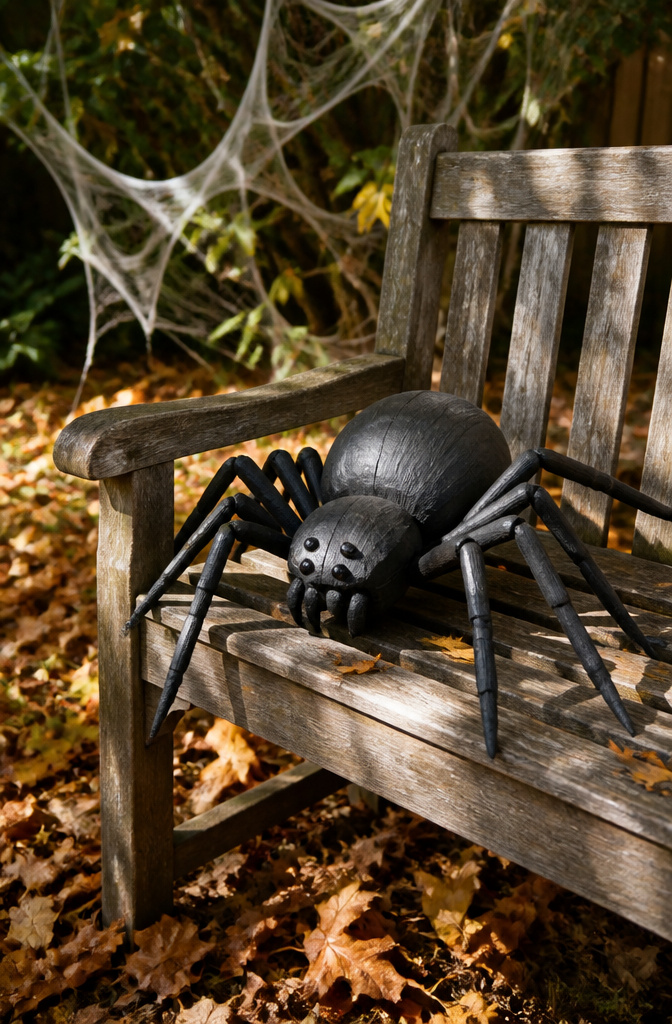
A carved foam spider sits somewhere between craft project and lawn sculpture. The body starts as a block of styrofoam shaped with a serrated knife, then gets sealed and painted for whatever weather you plan to throw at it. For eyes, painted styrofoam balls halved and glued to the face read cleaner than anything store-bought, and they catch porch light in a way flat paint never quite manages.
This is the more sculptural route among DIY spider decoration ideas. It takes longer than wrapping a frame in fake webbing, and the foam demands patience, cutting away a little at a time rather than rushing toward a shape. The payoff is a form that actually casts a shadow.
Indoors, a sealed foam spider works propped on a shelf or hung from thread. Outside, the same sealing step matters more than the paint color, since unsealed styrofoam turns to soggy grit after one rainy October. Scale it to whatever foam scrap you have; a body the size of a melon reads as giant when the legs stretch wide enough.
Spider Egg Sac Decoration
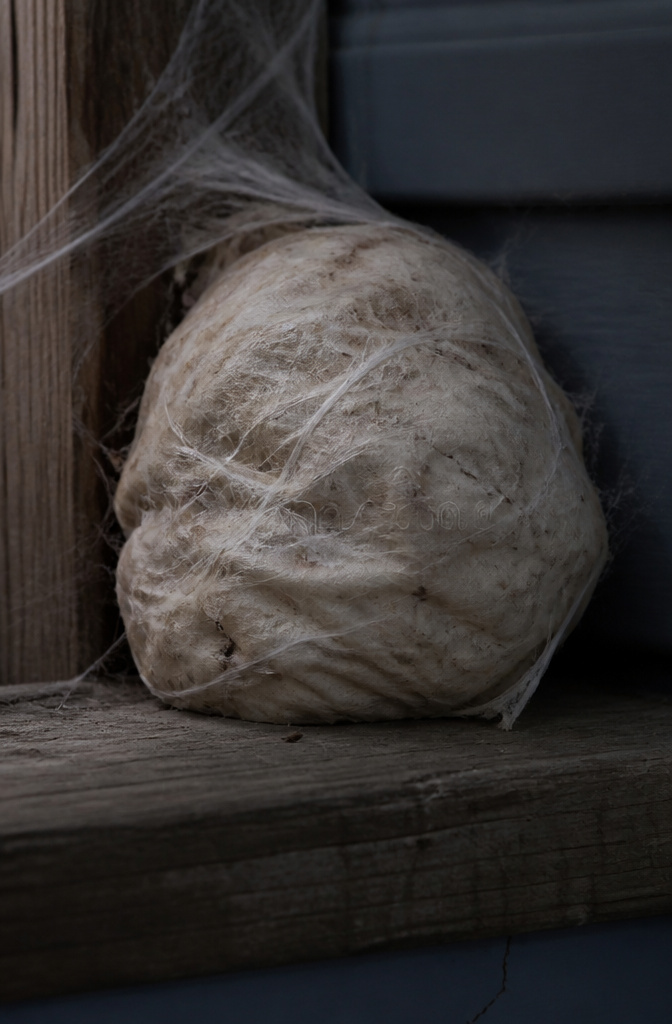
A spider egg sac decoration is the detail that separates a yard full of plastic spiders from something that actually makes people pause on the sidewalk. The idea is simple: a lumpy, off-white bundle that looks like it could split open at any moment, hung in a corner or tucked into a web where porch light catches the texture just enough.
I like the fabric version best for indoor use. A scrap of muslin or cheesecloth, stuffed with batting or pulled apart foam, then cinched with thread so it dimples and sags like the real thing. A few drops of tea or coffee stain the surface toward that yellowed, abandoned look. For outdoor spots, a solid foam shape sealed in a thin plastic bag holds up against dew and wind without turning to mush.
The placement matters more than the finish. Tuck one high in a doorway corner where someone has to look up to find it, or half-hidden in a web so it reads as a discovery rather than a prop. One or two sacs per display is plenty. Any more and you cross from unsettling into clutter, which is the opposite of what this trick is meant to do.
Cocoon Corpse Decoration
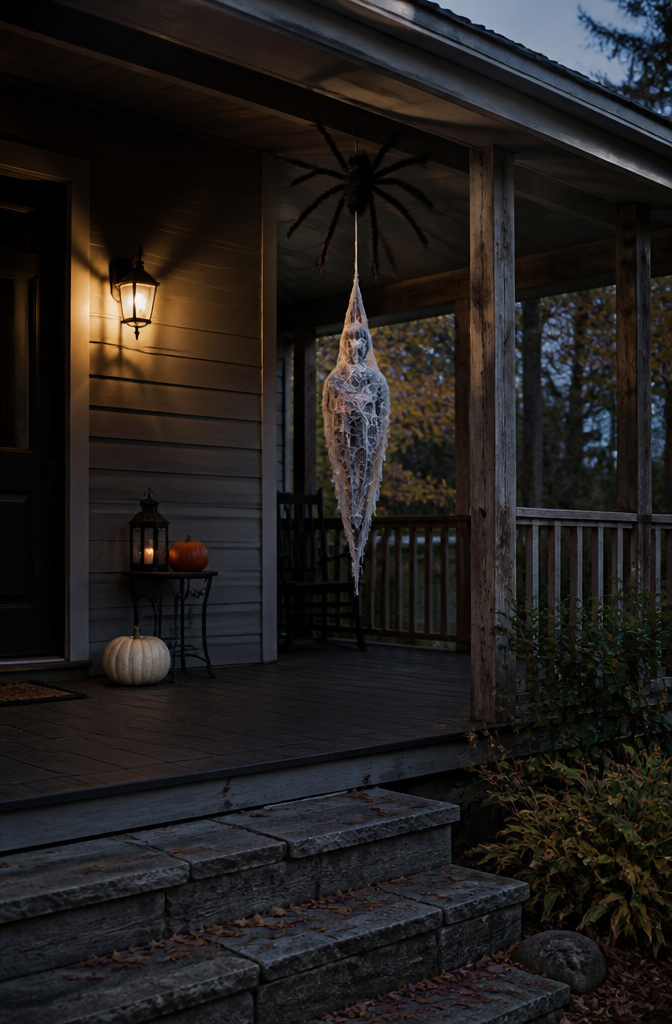
A spider sitting in a web only reads as decoration. Wrap something in that web, and the whole display tells a story. The cocoon corpse decoration does exactly this: it turns a spider prop into a predator with prey.
The base is simple. A head-size lump of crumpled grocery bags, taped tight and shaped vaguely human, gives you the form. Wrap it in cheap cheesecloth from the dollar store, then wind white yarn or hot-glued cotton batting in layers so it looks freshly spun, not draped. The trick is leaving one end messier than the other. Spiders start at the head; the uneven wrapping sells that logic.
Suspend it at a different height than your spider. Too close and they read as one object. Three feet below a large spider, or off to the side at knee level where someone walking past brushes it, creates the moment you want. The corpse should sway, not spin. Fishing line from two points, not one, keeps the orientation fixed so the "face" stays half-visible.
Paint matters less than texture, but a tea stain on the cheesecloth ages it without the flat look of spray paint. For renters, this weighs almost nothing and hangs on a removable hook. Store it in a grocery sack and the batting springs back next October.
Materials and Where to Find Them

Most of what you need for a convincing spider sits in the hardware aisle or the scrap bin. Chicken wire runs about $20 for a 3-by-25-foot roll, enough to build a body and still have mesh left over for another project. Beef netting is the other staple; a 1,200-square-foot roll covers an entire tree line and, unlike synthetic cobwebs, won’t snag actual birds or insects. The rest is filler and finish: landscape fabric under $20 for the same roll size, scrap plywood or a 1-by-8 board for wall-mounted silhouettes, 5/16-inch dowels or PVC pipe for legs, and expanding foam or ball-crawl balls from the toy bin for rounded spider bodies. Cheesecloth, cling wrap, paint, and plastic spiders finish the look. Hot glue and zip ties hold it together. I keep a bin of Gorilla glue sticks for exactly this season; the off-brand stuff goes brittle in cold garage storage.
Safety While Building
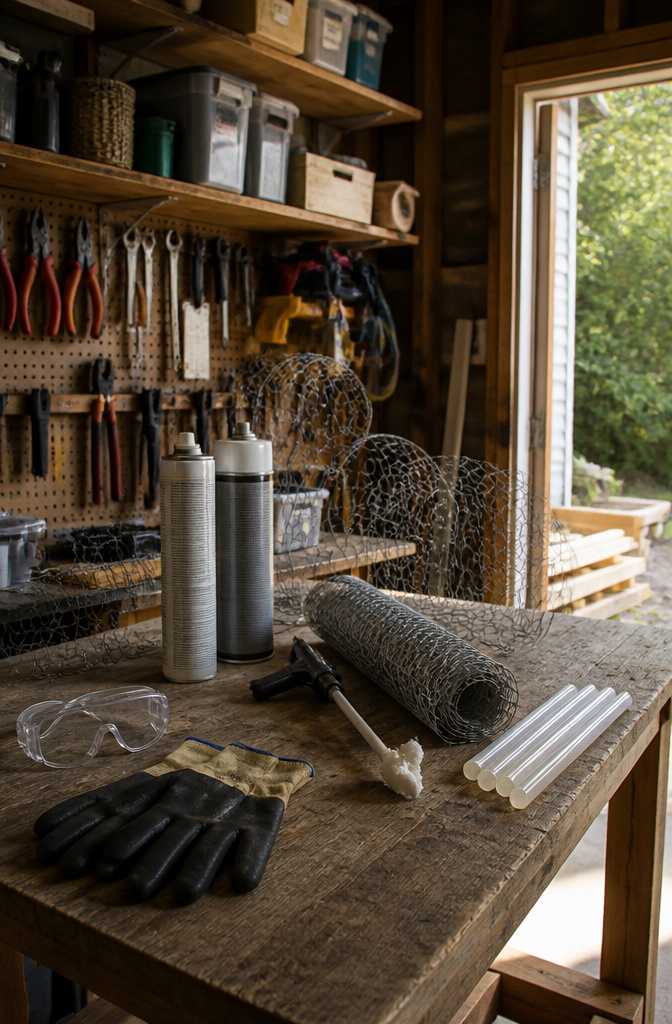
Expanding foam built the spider’s body shape fast, but the fumes linger longer than the ten-minute window you have to shape the skin. Run a fan, crack the garage door, and give the first half the overnight cure it actually needs before flipping the form to do the bottom. The bead of hot glue that held spider webs to my stone porch last season popped clean off in spring, though I tested it on an inconspicuous corner first after reading too many horror stories about damaged mortar. Chicken wire demands leather-palm gloves, not the fabric kind, and eye protection for every snip; the cut ends stay sharp long after the spider is done. If you shape expanding foam with bare hands, the residue will still be there three washes later.
Seasonal Themes and Placement
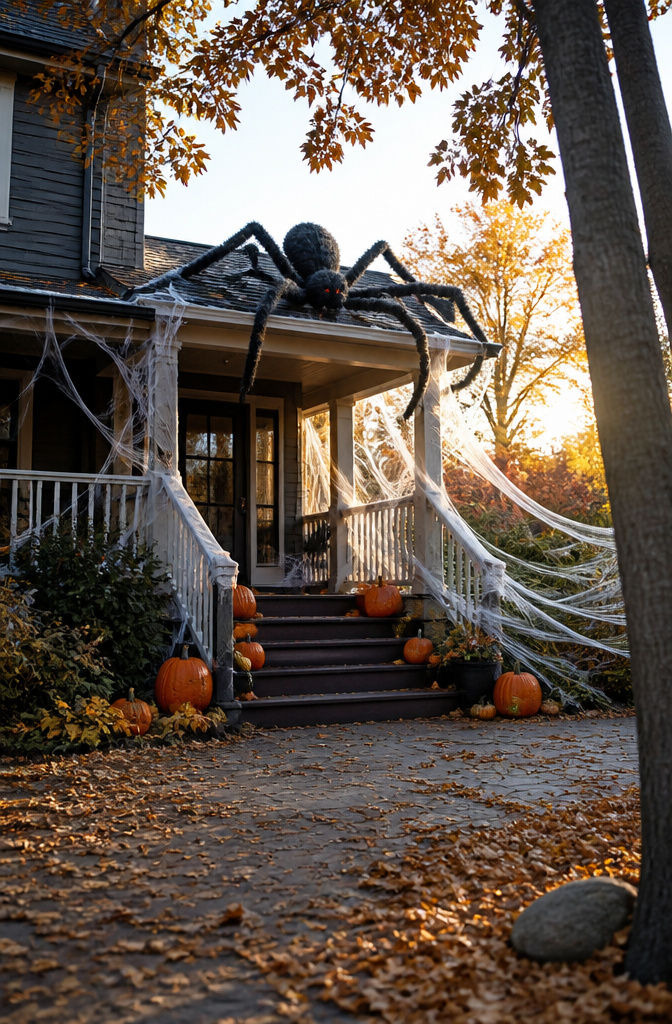
Spider decorations work because they turn the ordinary architecture of a house into something hungry. Last October I watched a neighbor’s giant crawler climb out from behind the gutter, and the placement mattered more than the prop itself. Roof mounting takes planning, but the silhouette against a porch light at dusk reads instantly from the street. Secure it well, because wind on a roofline is stronger than it looks from the ground.
Hanging placement changes the psychology entirely. A spider suspended from a tree branch or ceiling joist forces people to walk underneath it, which triggers the instinct most yard props only hint at. The same prop on the ground reads as escaped or dead; overhead it reads as waiting.
Lighting makes the difference between visible and memorable. A spotlight aimed at the web from below throws the spider into silhouette. Fairy lights woven through the strands turn the web itself into a lantern. Solar path lights ringed around a ground display draw the eye without running extension cords across the lawn, and a timer behind reflective eyes gives that slow glow at twilight that stops kids mid-step. The 16.4-foot LED web kit I keep seeing bundled with small spiders and stretch cobweb solves the lighting and the structure in one purchase, though the purple LEDs read more carnival than cemetery to my taste.
Webs stretched between shrubs or porch posts give spiders their context. A solitary giant on bare grass looks like a toy; wrap it in silk and it looks like it belongs there. The stretch cobweb is cheap enough to overdo, and overdoing it is the point.
What Holds Up Outside

Landscape fabric and wire frames shed water instead of soaking it in, which is why a hollow spider can sit through a Minnesota October and still be standing for the next weekend. That same lightness works against it in wind, though. The spider I saw held steady because the legs were staked deep and the body was open, letting air pass through rather than catch.
Paper maché and cardboard fillers are a different story. Rain softens them in a single afternoon, and even dew over a few nights will sag the shape. If you are set on a solid body, plan to bring it under cover after the party or build it around a plastic jug that keeps the core dry.
Painted foam holds up longer than you would expect, but UV light makes it brittle within a season or two. The surface cracks, and then water gets in. For something meant to last the month, foam is fine. For something you want back next October, hollow and breathable wins.
Storing for Next Year
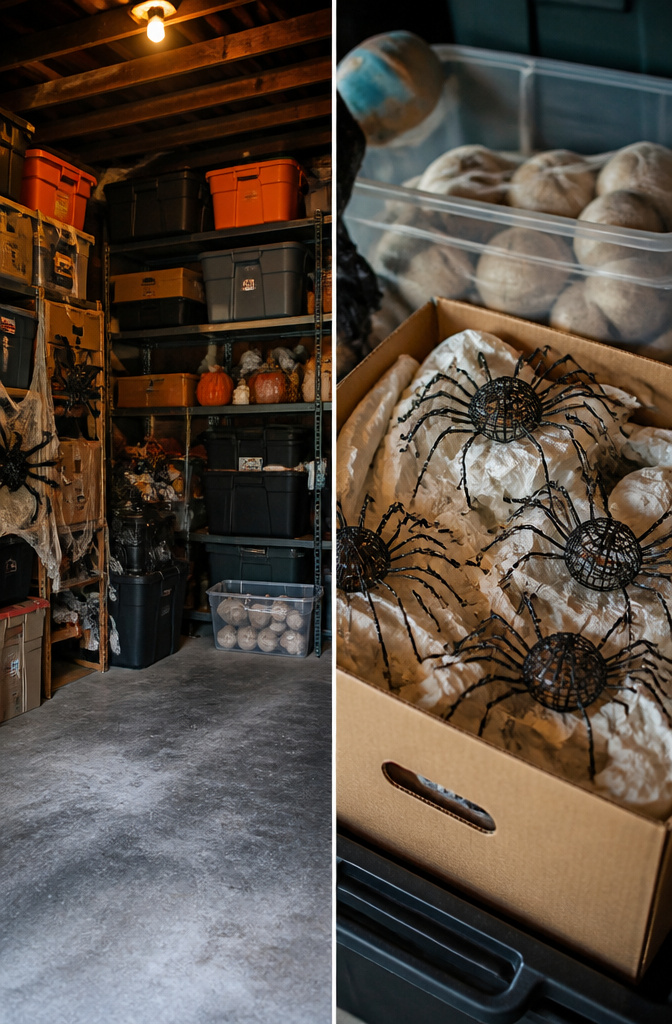
The wire-frame spiders I hang from the porch ceiling go into a cardboard file box with the legs folded flat against the body. A sheet of packing paper between each layer keeps the spray paint from chipping where the joints rub. After two seasons the cheap black enamel has dulled to a charcoal, which actually looks better against bare branches, so I stopped touching them up.
The balloon-and-paper-mache egg sacs are a different story. I store those in a plastic tote with the lid snapped tight, because any humidity swells the inner balloon and cracks the shell by spring. Even then I usually lose one or two to mice. The year I tried keeping them in the basement instead of the garage, the temperature swing did more damage than the rodents did.
The cotton webbing gets balled up in a grocery bag and forgotten in the decoration bin. By October it has matted into something closer to dryer lint, which works fine stretched across shrubs but will not pull apart for indoor doorways anymore. I buy a fresh bag for the mantel and use the old stuff outside where texture matters less than coverage.
Sizing and Measuring

A tape measure helps at the hardware store, but the eye does most of the work on spider size. Giant yard spiders scale to whatever tree or porch column anchors them, and 13.5 feet is about the upper limit where the legs still read as legs rather than garden hose. Beyond that, the body needs internal wire or PVC frame just to hold its shape, and the project stops being a weekend build.
Hanging spiders work the opposite way. They fit the gap they drop into: a porch corner, a stairwell landing, the space between fence posts. The leg span should leave a few inches of clearance so the silhouette reads in motion. I eyeballed mine against the doorway frame, cut the legs a hair long, and trimmed once I saw it sway.
The body is forgiving. A basketball-sized abdomen looks massive from the sidewalk, compact from the driveway. What matters is proportion: legs roughly three times the body length keep the spider from looking like a lumpy hat. If the legs droop, shorten them. If the body vanishes, bulk it with another layer of stuffing. The adjustment takes five minutes and no math.
Frequently Asked Questions
How do I make a giant spider decoration?
Inflate a balloon and an exercise ball, duct-tape them into a rough spider shape, then wrap the base in cling film before spraying with water and coating with expanding foam. Let the foam dry overnight, flip the form, and repeat on the bottom half. Form legs from PVC pipe or chicken wire, then paint the whole thing black and red.
What materials do I need for DIY spider decorations?
Chicken wire runs about $20 for a 3-by-25-foot roll, beef netting covers roughly 1,200 square feet per roll, and landscape fabric costs under $20 for a similar size. You will also need scrap plywood or 1-by-8 board, 5/16-inch dowels or PVC pipe, expanding foam, cheesecloth, cling wrap, paint, plastic spiders, hot glue, and zip ties.
How can I display my DIY spider decorations?
Hang spiders from ceiling hooks, mantel edges, tree branches, or ceiling joists so people walk underneath them. Ground placement works for webbed displays, while roof mounting creates a silhouette against porch light at dusk. Spotlights from below throw spiders into silhouette, and fairy lights woven through webs turn the structure itself into a lantern.






