
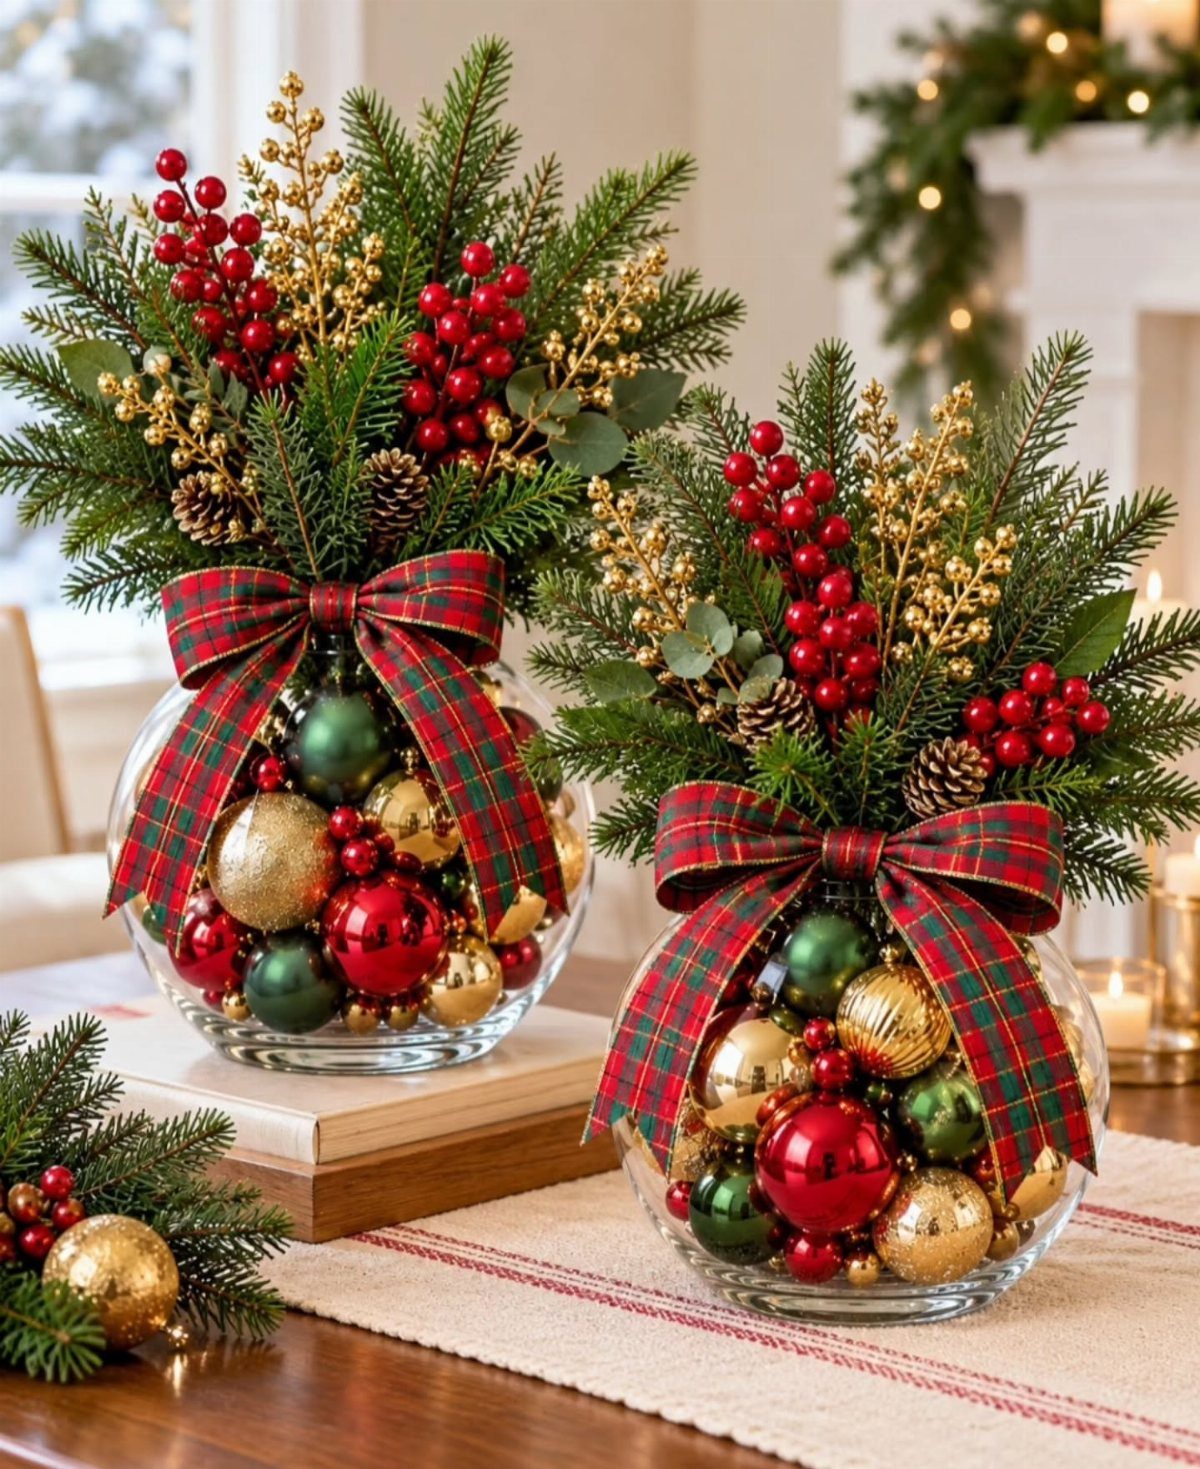
The ideas here run from a simple burlap can cover to a miniature winter village, with a small basket Christmas tree and evergreen branches in a vase somewhere in between.
Available space decides which one is yours: a burlap can cover or a small basket Christmas tree takes up very little room, while a miniature winter village or evergreen branches in a vase need more of the table.
1. Berry and Natural Accents
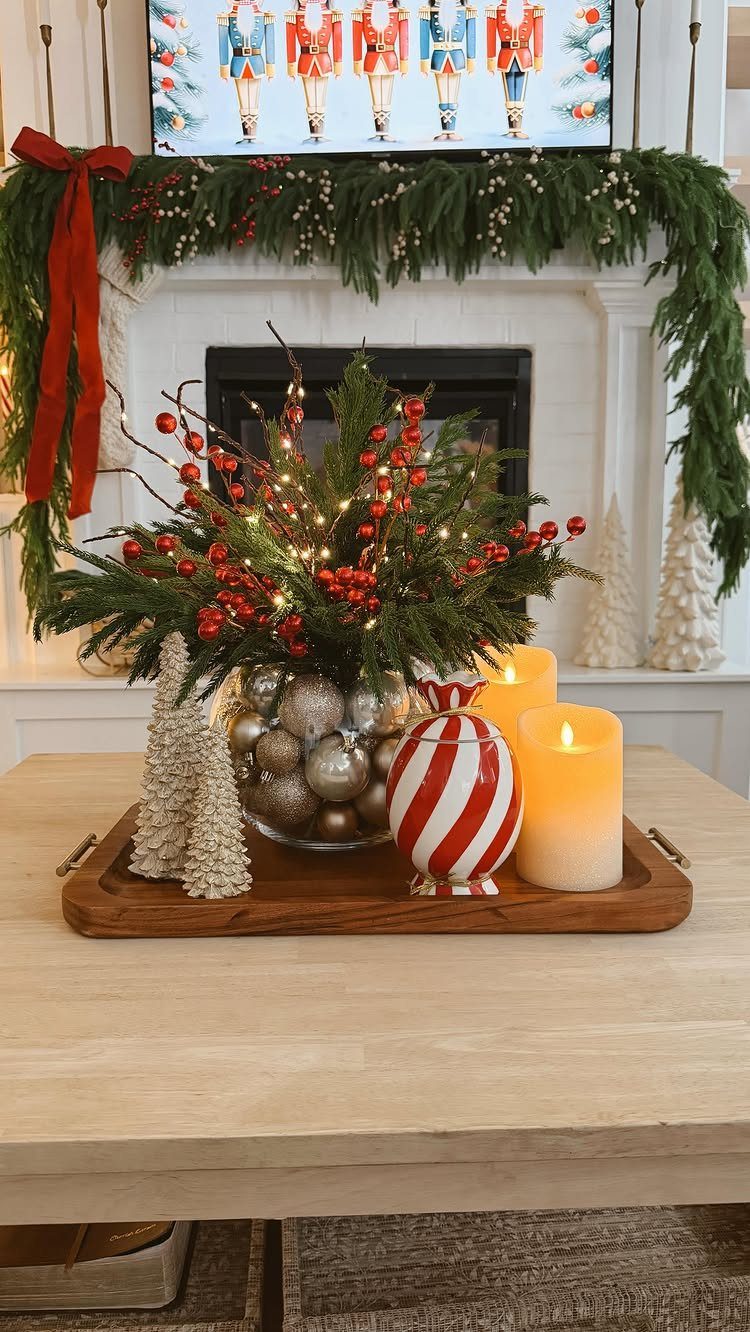
Red berries do the heavy lifting in an evergreen arrangement. A single warm color set against all that green still says Christmas from the far side of the room.
Dried botanicals and a few small decorations add texture, and I’d keep them to a handful so the greenery still leads.
Stick with one shade of red for the berries instead of mixing several. A wooden tray gathers the pieces into one tidy group and keeps the tabletop clear around it.
2. Candle and Lights
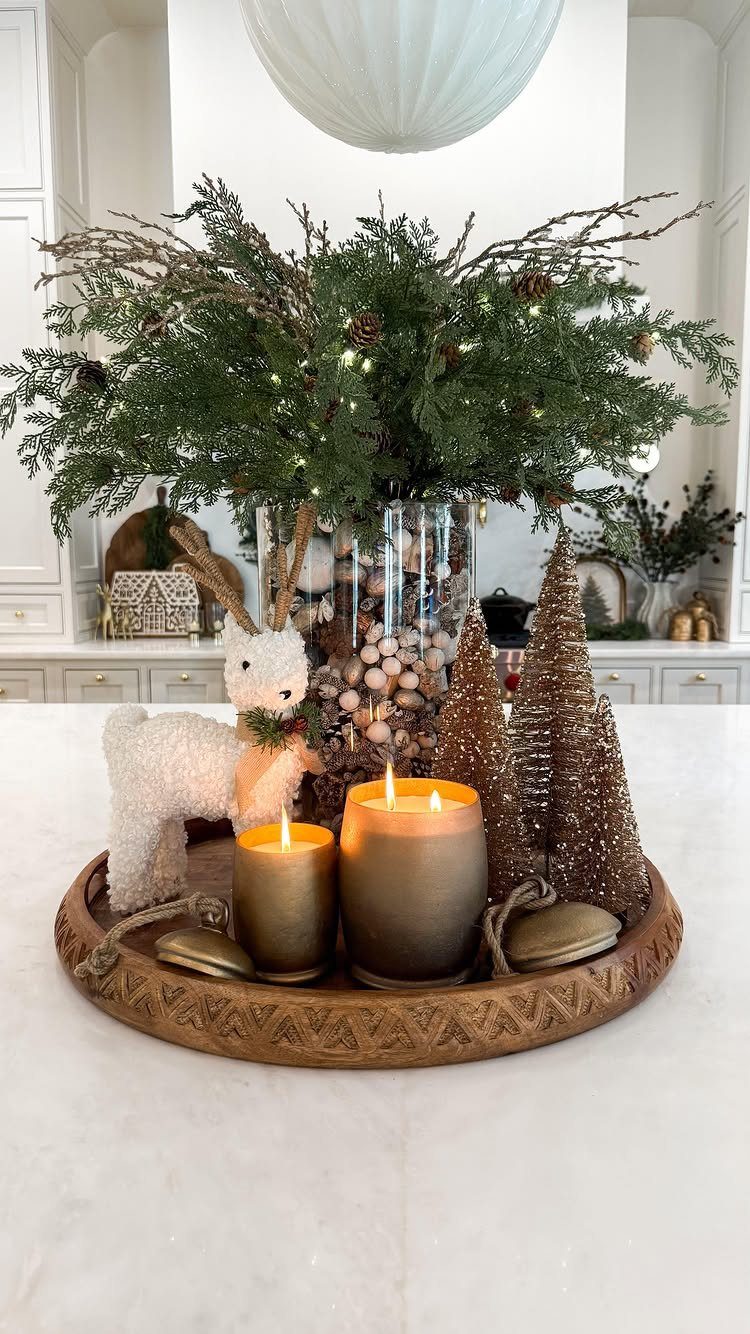
A strand of battery-powered lights is the easiest way to make greenery glow, since it needs no outlet and no cord crossing the table. Tuck it between the branches in a glass vase and let the glass catch the light.
Add real candles beside it for a warmer flame than any bulb gives. I’d pick gold trees over silver; they sit better with the warm candlelight.
3. Burlap Can Cover
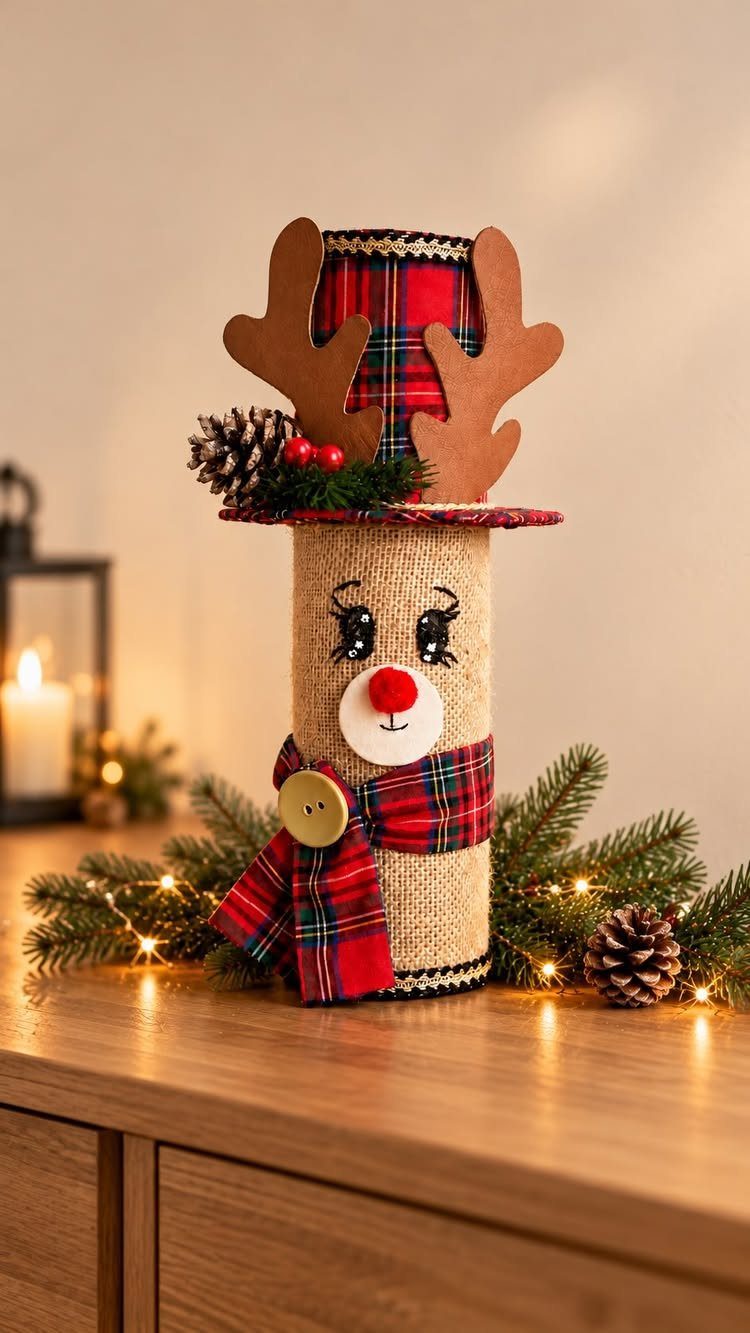
An empty tin can becomes a reindeer once it’s wrapped in burlap ribbon, and that makes it one of the cheapest ideas here. Wrap the ribbon around the can with the edges slightly overlapping so no metal shows.
Fabric scraps work fine for the hat and scarf.
4. Centerpiece on Red Table Runner
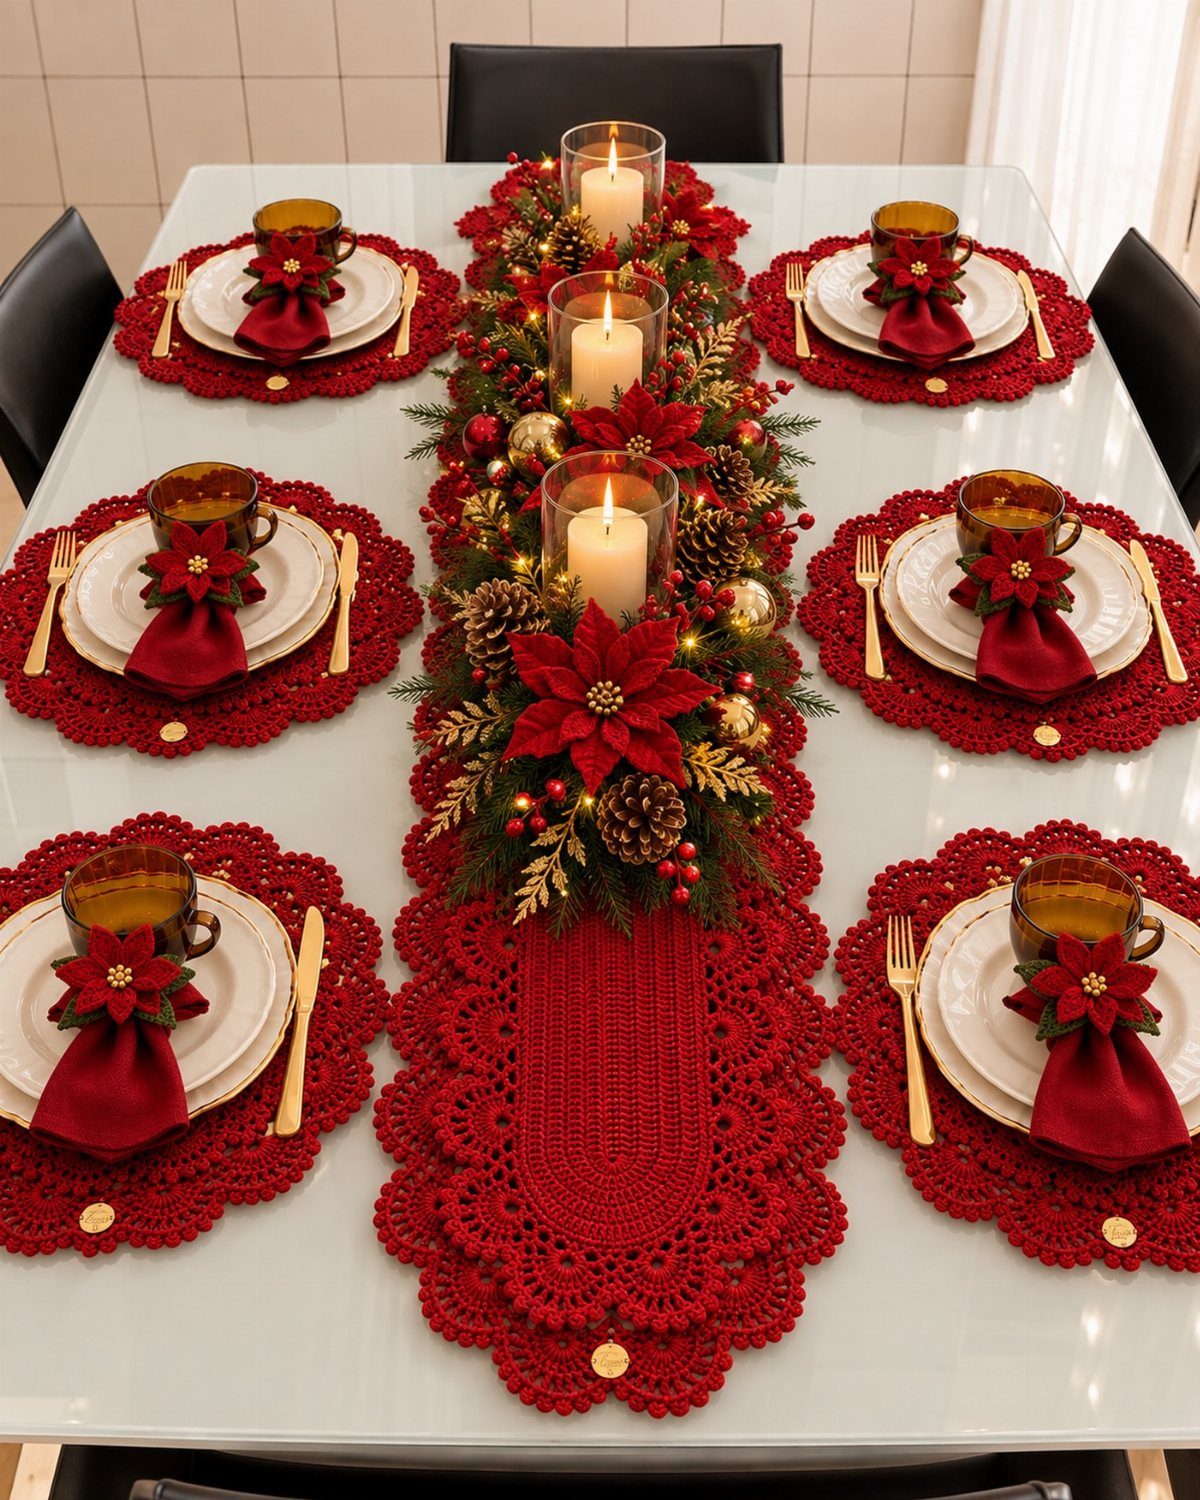
A red runner marks out exactly where the centerpiece lives, so the arrangement itself can stay small. Greenery, red flowers, pinecones and 3 candles fit along its length and still leave room for the place settings.
On a white table the red stands out sharply.
Matching crocheted placemats tie the whole setting together, though the runner alone still carries the look. I like this approach for anyone who owns a few decorations but no big showpiece.
5. Pastel Mug Village Centerpieces
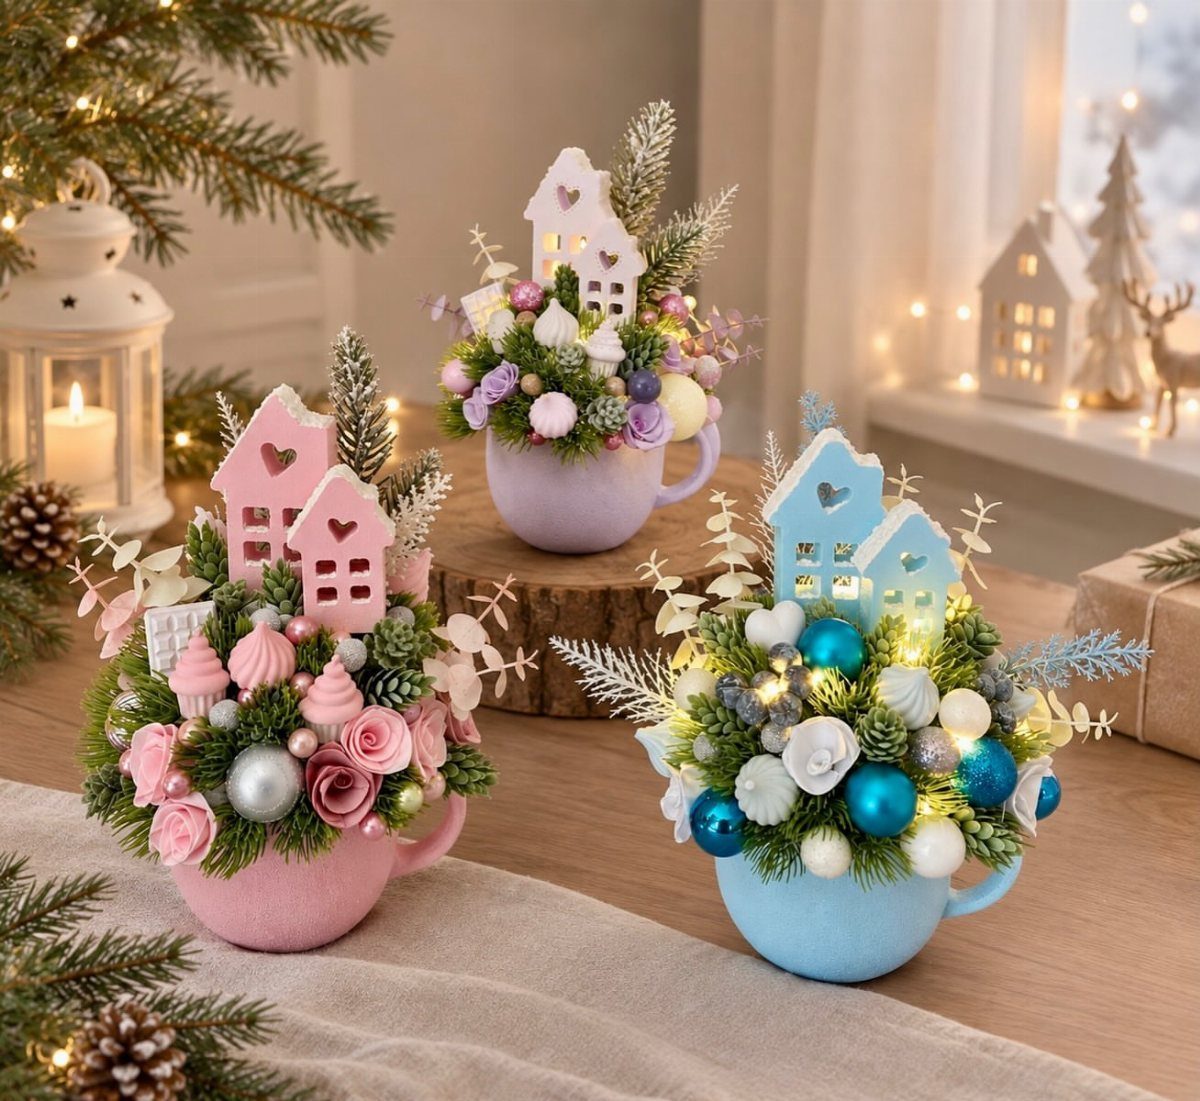
3 pastel mugs, each filled with a tiny scene, make a centerpiece that costs very little if the mugs are already in your cabinet.
Each mug holds miniature houses, snowy greenery, berries and ornaments, so the mug acts as both container and base.
Odd mismatched mugs are fine, and I’d go with 3 because an odd number looks relaxed rather than lined up.
Mix up the house styles and ornament colors so each mug gets its own focal point. The set fits at the edge of a table or beside the tree.
6. Snowy Lantern Box Centerpiece
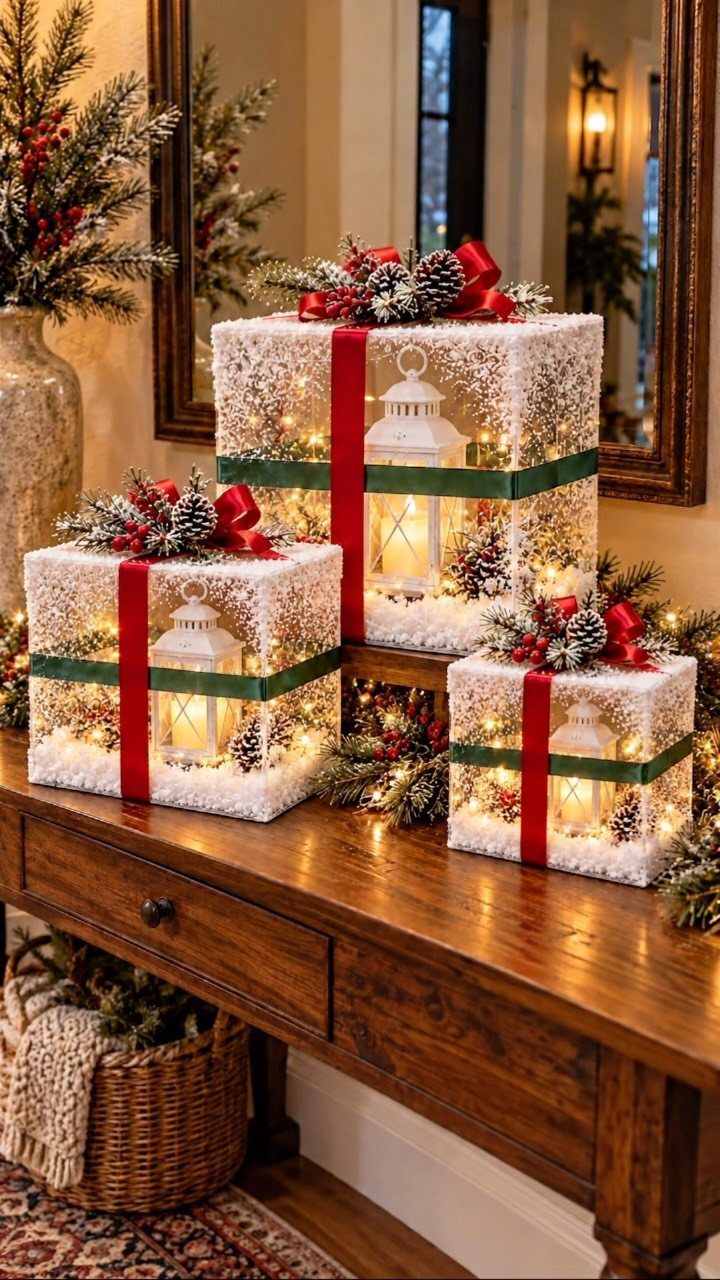
Height does the arranging here. 3 snow-covered boxes in different sizes, each holding a lit lantern, give a console table a stepped skyline without any extra stands.
Tie each box with red and green ribbon, then top it with pine cones and berries.
Keep the ribbon colors the same on all 3 so the mixed sizes still look like a set. Group the boxes close together; spaced out, they look like three separate decorations instead of one centerpiece.
7. Santa and Candy Cane Centerpiece

Santa does the talking here, so I’d let everything else on the stand play a supporting role. One figure, a few candy canes and a red-and-white ball are plenty; adding more would crowd him out.
Repeat the red and white across the candy canes, ribbon and ball so the palette reads as one idea.
Snowy greenery fills the gaps and softens the edges of the small white stand. Since this sits in a kitchen, I’d keep the whole thing to the stand’s footprint and leave the counter clear for cooking.
8. Miniature Winter Village
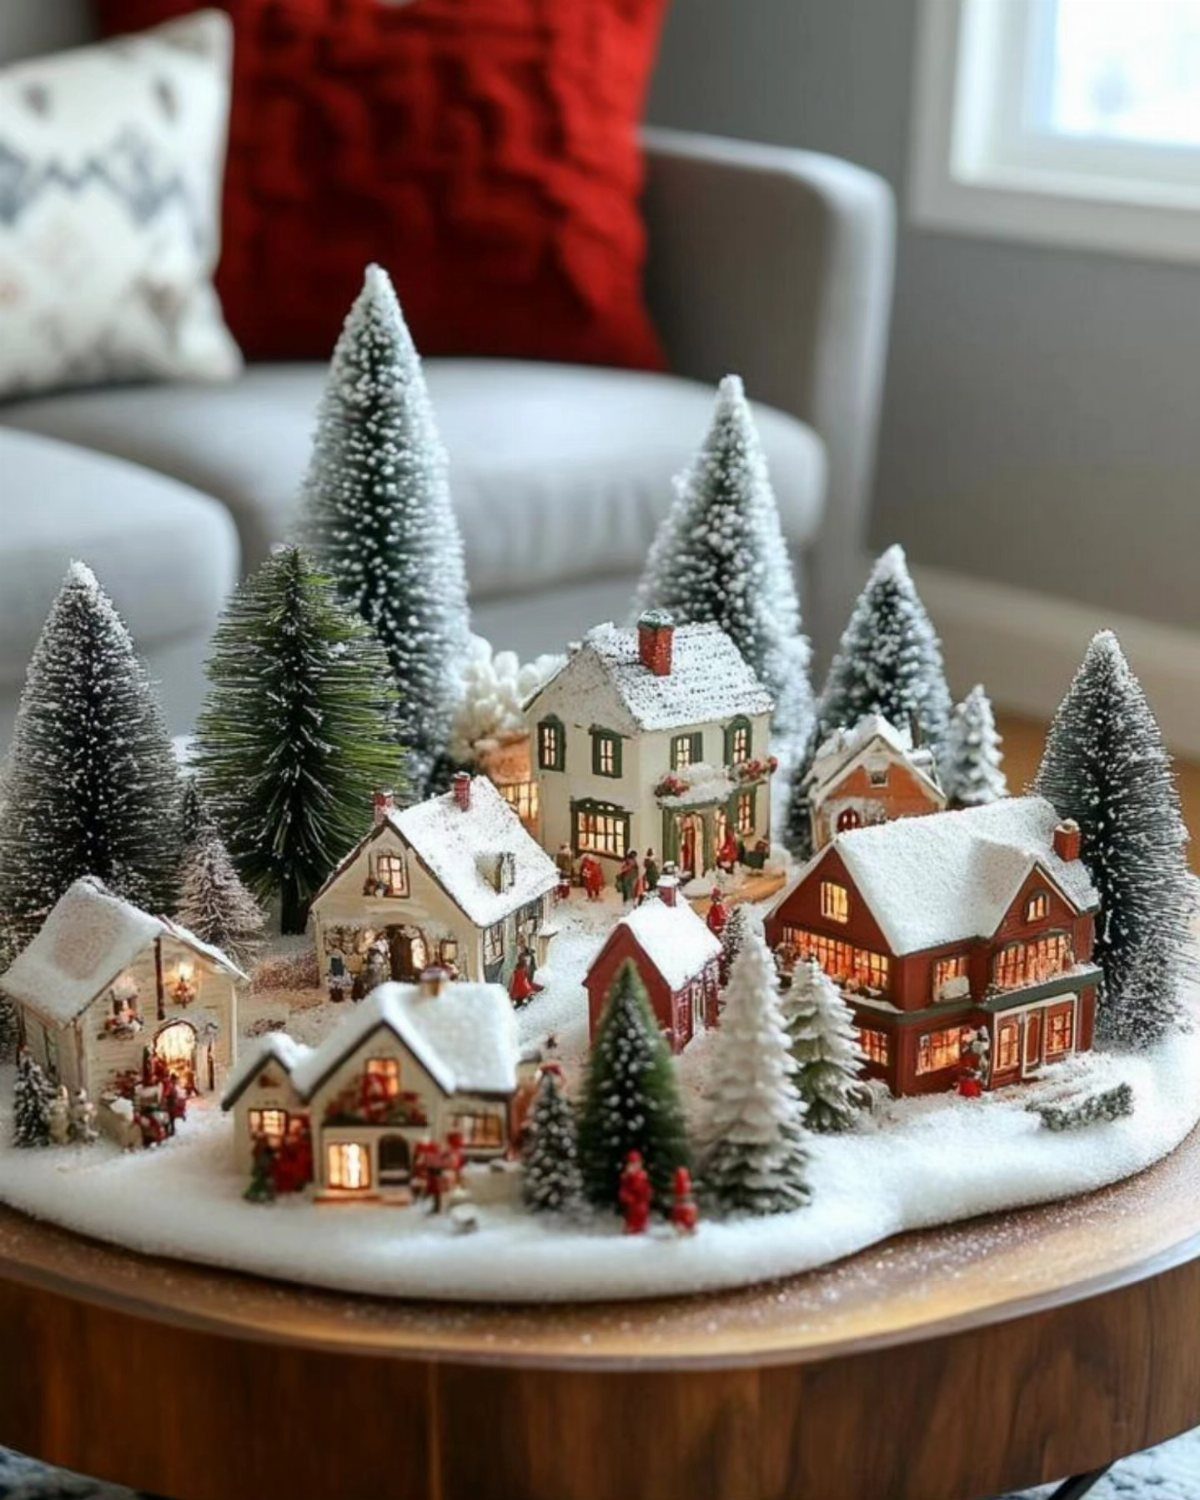
Lit windows are what make a miniature village work, especially in a living room with the overhead lights dimmed. Keep the scene small: a few houses and a handful of frosted trees on a snowy base.
I’d set the trees in front of and between the houses so the buildings peek out instead of standing in a row. Tiny figures go last, near a doorway or at the edge of the base.
A few little houses from past holidays, or a thrift store haul of 3–4 for a couple of dollars each, bring the cost of this village close to nothing.
9. Small Basket Christmas Tree

Put the tree in a woven basket and the pot problem disappears: the basket holds the trunk and doubles as decor. A wooden stool or low table gives it a little height.
Wrap the lights first, while the branches are still easy to reach, then hang the ornaments.
I’d stay with red ornaments only, in the same finish, and finish with one large bow instead of several small ones. It’s an easy build when the ornaments are leftovers from a bigger tree.
10. Evergreen Branches in a Vase
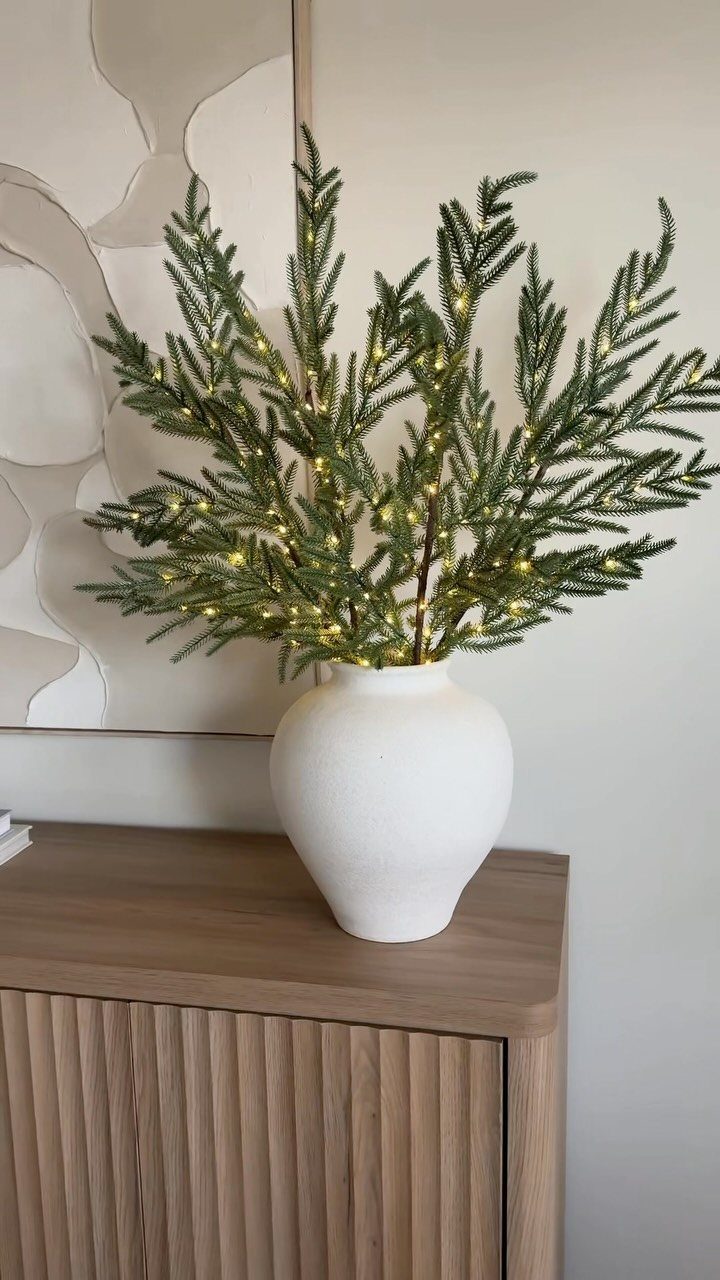
Plain white ceramic leaves the branches and lights to carry all the color. Cut the evergreens at slightly different lengths, then let them fan out loosely instead of packing them upright.
Thread the fairy lights through the lower branches first and work up, so the glow sits inside the arrangement and not on top of it.
A light wooden cabinet is a good perch because the green stands out against the pale surface. This is about as cheap and quick as a centerpiece gets.
11. Evergreen Vase and Candle Display
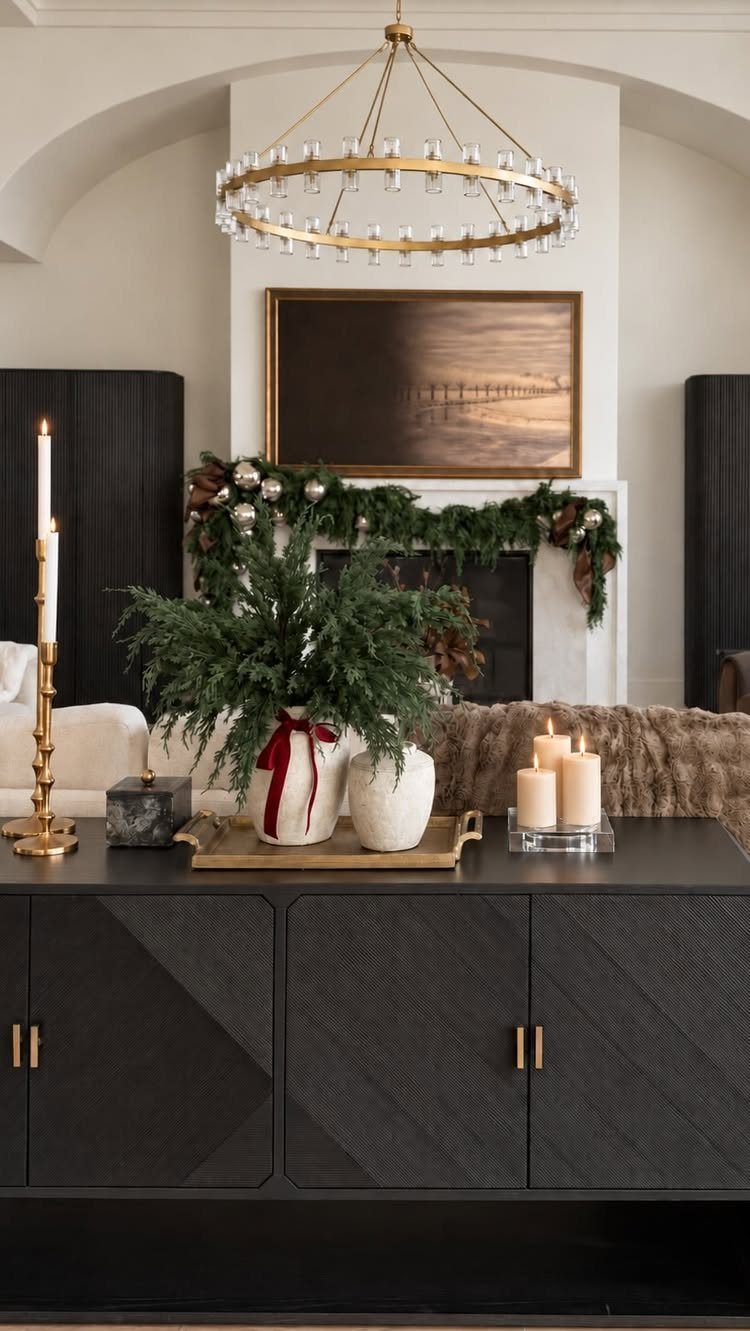
Two white vases of evergreens and three pillar candles on one gold tray read as a single display, and that tray is what holds it together. Cluster everything close instead of spreading it along the sideboard.
I like the 3 candles; an odd count keeps it from looking staged.
White vases and a gold tray stand out against a dark sideboard, so extra decorations would only crowd the display. Light the candles only when you’re in the room.