
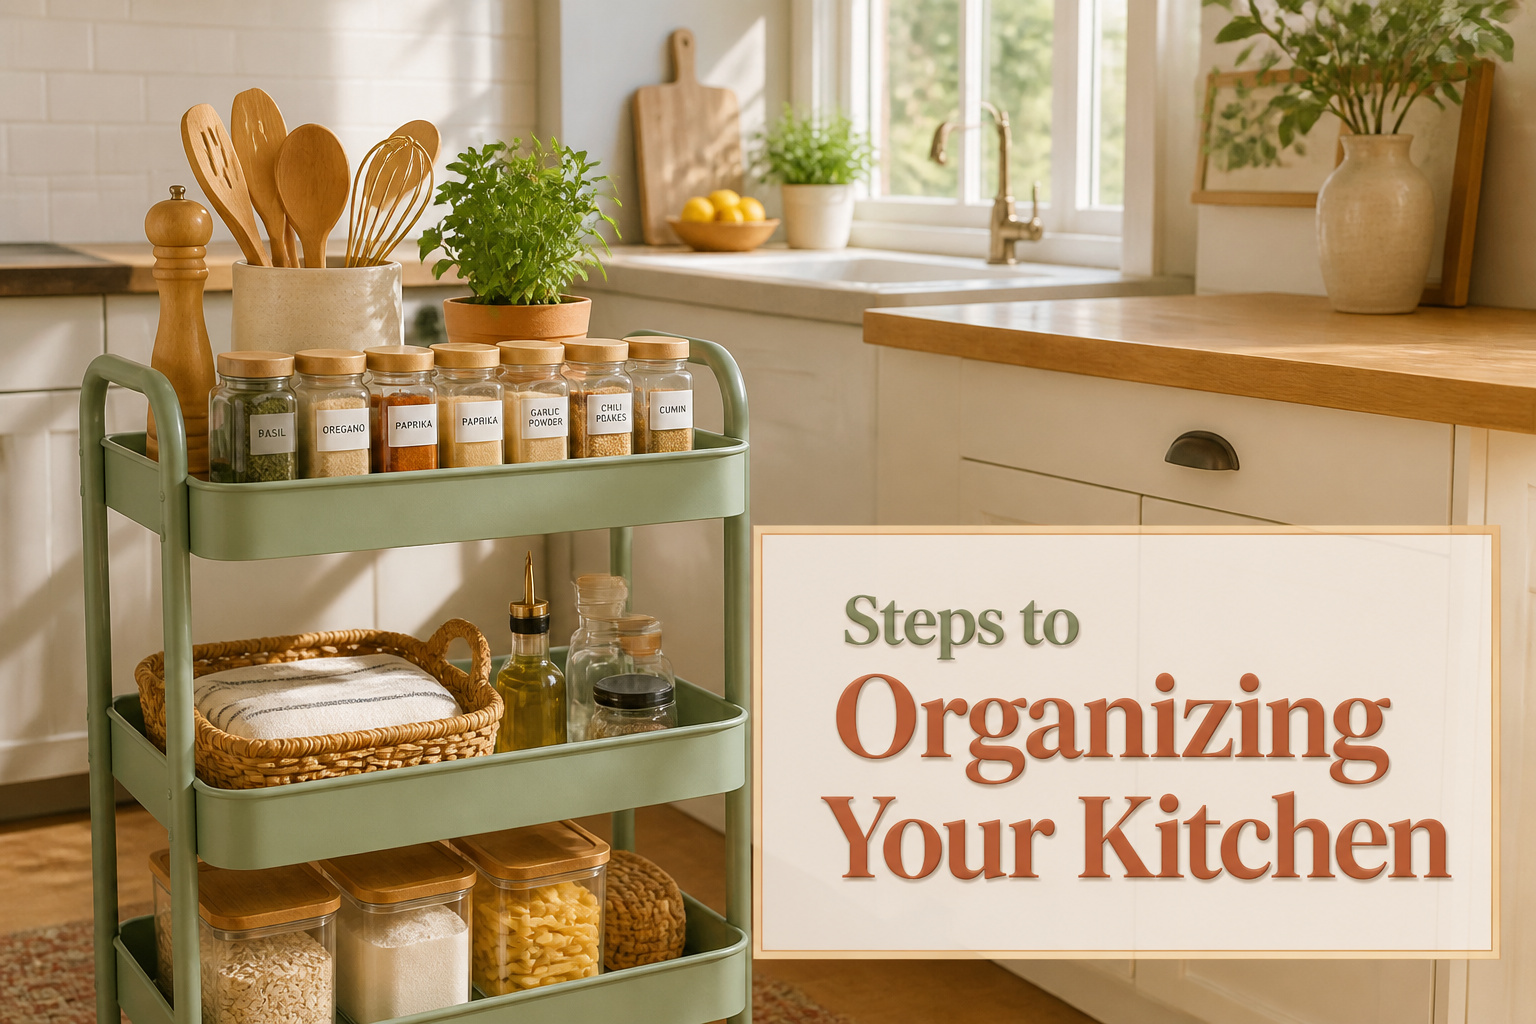
The organizing kitchen ideas that actually stick share one filter: they only work after you have pulled out the unused half of what you own. My own $90 system, built around a $52 rolling cart, failed until I stopped storing forty spice jars and started storing twelve.
1. Declutter
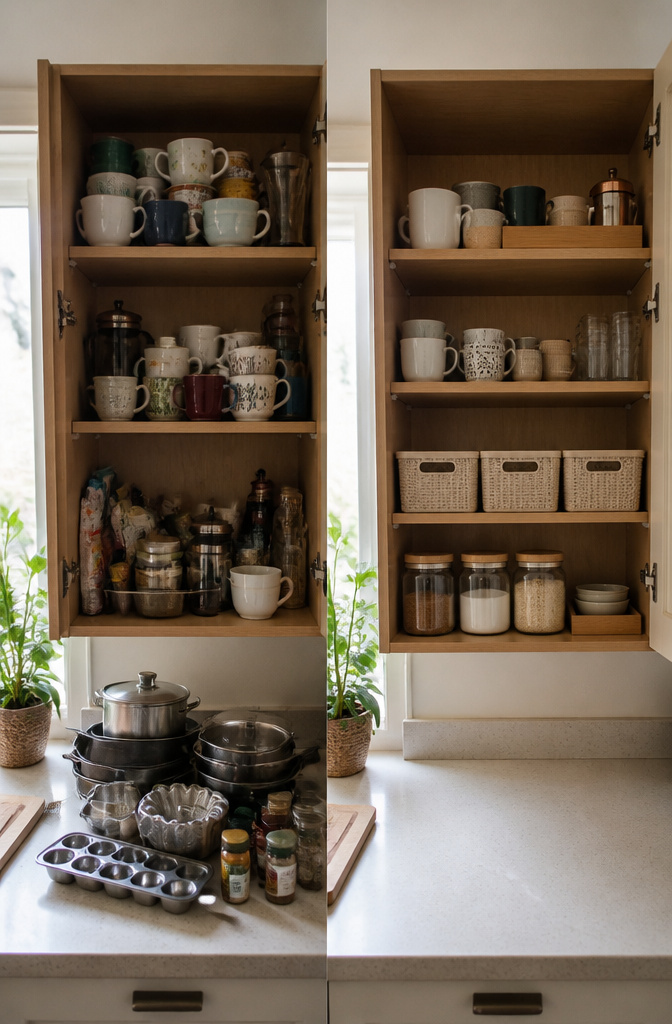
Open the first cabinet and the math hits before anything else: half the mugs in there haven’t left the shelf since last winter, and the back row still holds the free glassware from a cable company signup three apartments ago. The one-year rule isn’t a calendar exercise; it’s a storage audit. If a pan, gadget, or novelty ice tray sat untouched through every season you actually cook in, it is taking up real estate that costs you every time you reach past it.
I learned this the hard way after installing a spice rack that looked perfect on Pinterest and functioned like a junk drawer within a month. The system itself was fine. The problem was that it had to manage forty jars when I used twelve. Every organizing kitchen idea that comes after this step, every divider and label and vertical solution, fails the same way if it is built around too much stuff. The space creates the organization, not the other way around.
Pull it all out. Sort into what you touch weekly and what you forgot you owned. The second pile goes to a box, not a shelf, and that box leaves the kitchen before you measure a single drawer for inserts. The one-year rule means nothing if the "maybe later" pile stays in the room.
2. Group Like Items
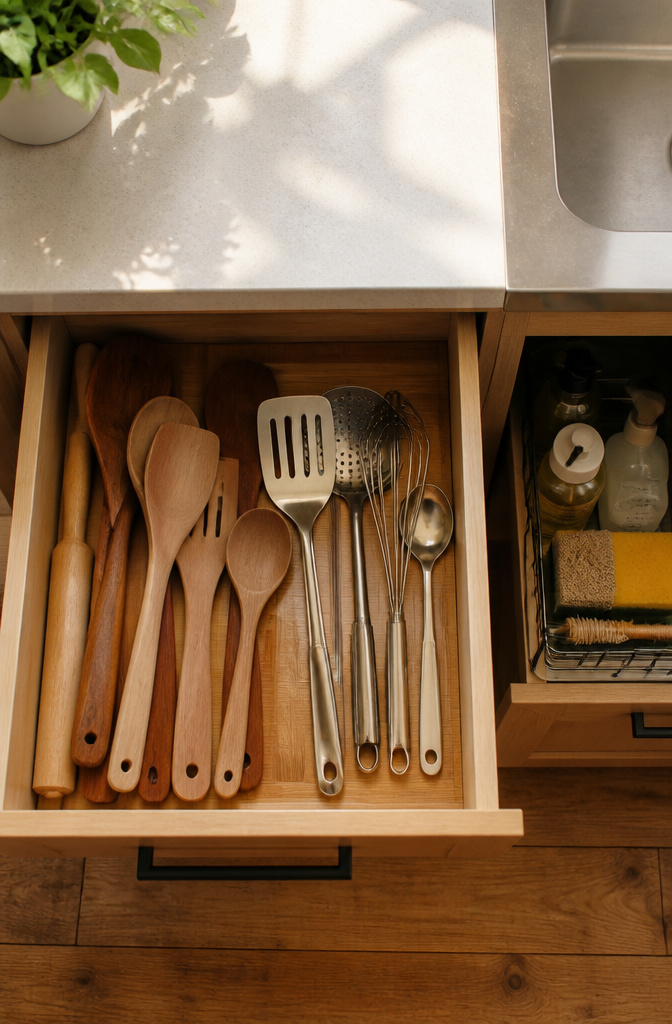
The drawer next to my stove holds wooden spoons, tongs, and the one metal spatula that survived the last purge. Three feet away, the cabinet under the sink corrals dish soap, spray cleaner, and a sponge that needs replacing. That distance matters more than I expected when I first moved in. Store cooking oils and spices near where you cook, and keep dishes within reach of the dishwasher. Ignore that rule, and the zone breaks fast.
My prep area was the first to go. I had stacked cutting boards on a high shelf across the kitchen, nowhere near the knife block or the colander. What started as one extra step became a nightly negotiation with myself about whether chopping was worth the walk. The board stayed dirty on the counter instead, and the whole workflow collapsed from there.
Grouping by function works because it respects the actual path of a meal, not the ideal one. A prep zone lives near utensils and cutting boards; a cleaning station keeps dish soap, towels, and sponges within arm’s reach of the sink.
"By grouping items by function, the kitchen flows effortlessly, and everything feels intentional and easy to find."
That intentionality is what you feel when a meal comes together without a search. The right thing is already where your hand expects it to be.
3. Use Vertical Space
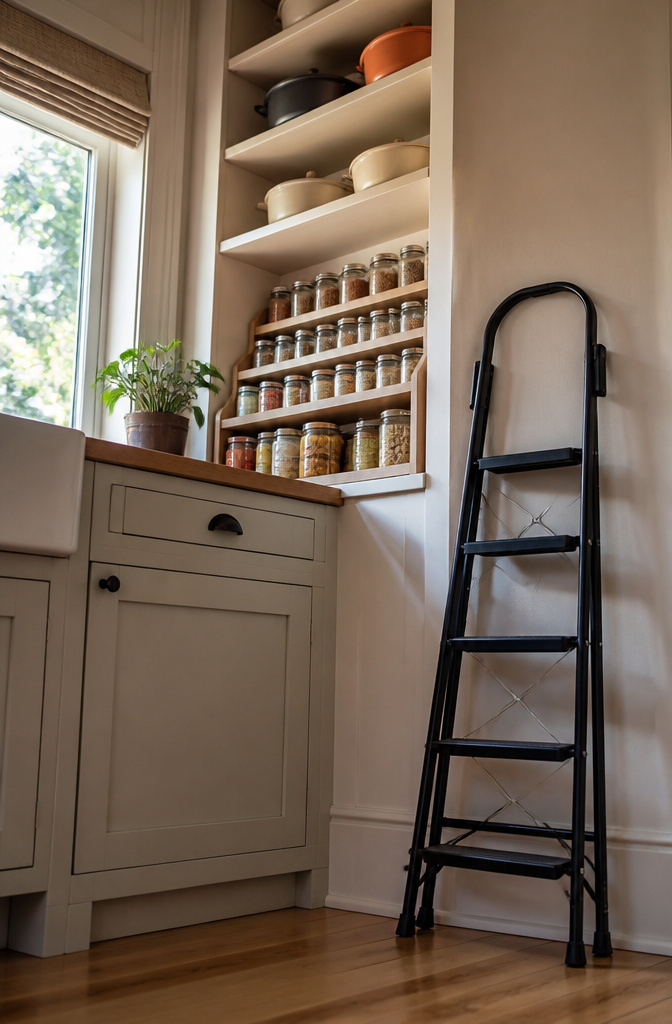
The wall above your countertop is usually empty real estate, and in a small kitchen that gap costs you. Making use of untapped vertical space is a great way to store more in the kitchen and pantry, though you need a plan for reaching it. A step ladder thin enough to slide between the fridge and the oven handles the high shelves without becoming a permanent fixture in the aisle.
Inside the cabinets, shelf risers double your usable area by creating a second deck over your plates or cans. I stack shorter items below and taller ones on top so nothing hides. The same logic applies to the pantry: arrange items by height and the row stays readable at a glance. You stop playing Jenga with cereal boxes every morning, and the whole shelf looks intentional instead of accumulated.
4. Drawer Organizers
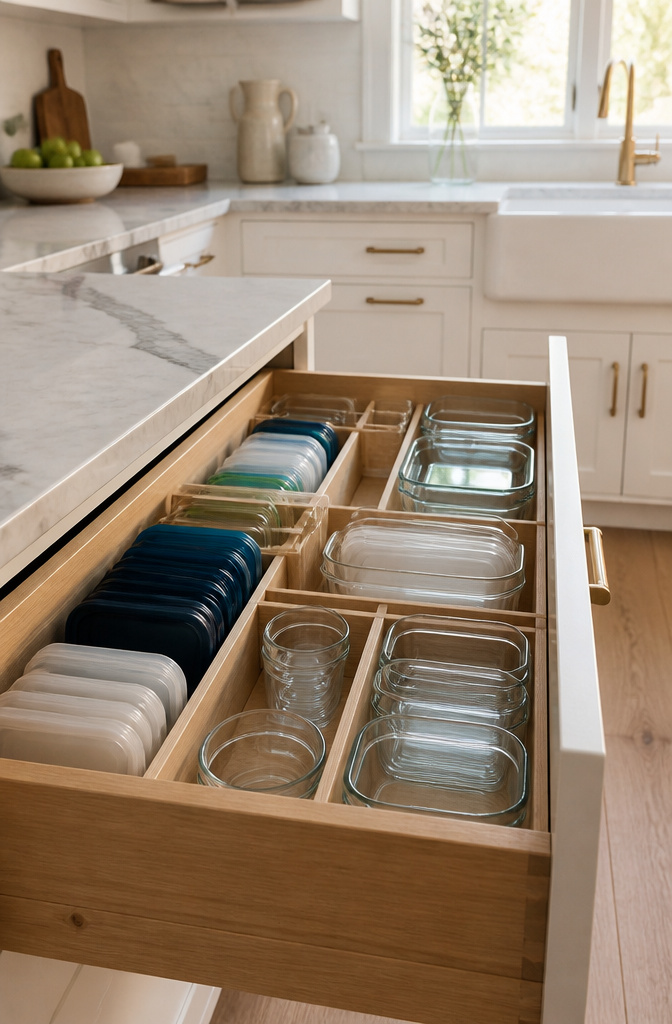
Expandable drawer dividers work beautifully to keep everything neat and in its place, but the real test is whether they survive what you actually store. I watched a friend install a full set in her lower drawers, then watched her dig through a tangled nest of food storage containers three weeks later. The fix is stacking lids separately from the bottoms, which costs nothing and frees up more space than most bought solutions. If the drawer is deep enough, standing those lids upright saves even more room.
A DIY divider built from scrap wood or spare trim can work for silverware or flat gadgets, though it tends to fail for anything that shifts weight around, like heavy containers or a loaded junk drawer. The expandable kind flexes with the contents; the homemade kind either loosens or warps until it is just another object to dig past.
5. Label Everything
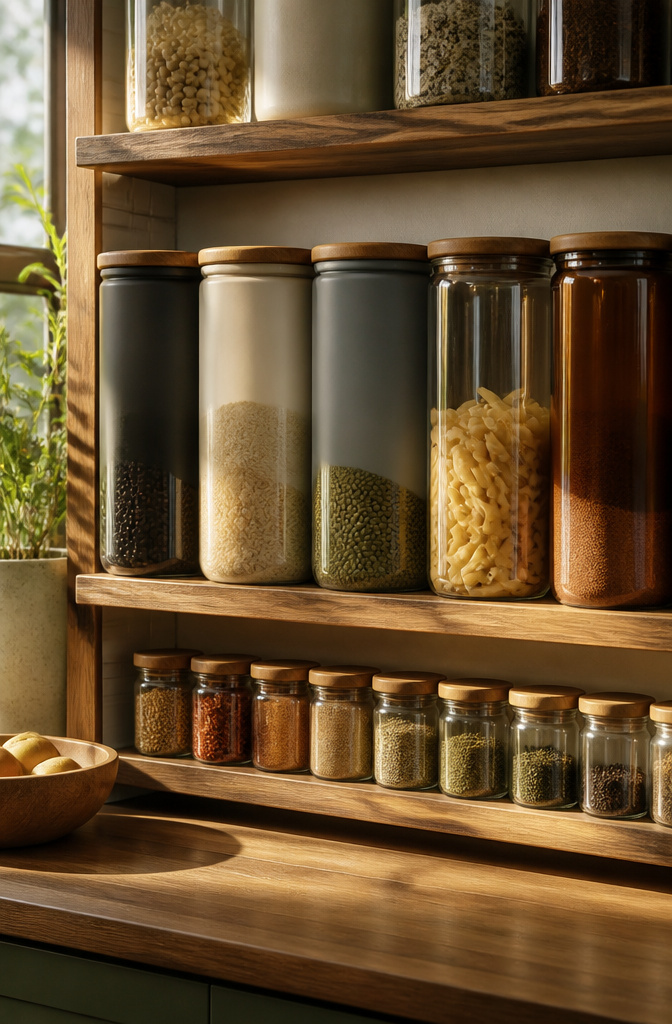
A label maker earns its keep fastest in two situations: a household where more than one person cooks, or a shelf of opaque containers you can’t peer into. The date-included label borrowed from professional kitchens, pairing the item name with the day it went in, matters more than I expected once I started tracking how long flours and grains actually sit. A $19 Dymo-style machine stashed in the same odds-and-ends bin that collects rubber bands and stray batteries removes the friction that turns labeling into a someday task.
The habit can overgrow its usefulness. I once labeled every spice jar in a drawer I opened daily, and the visual noise cancelled the calm I was after. Labels belong where memory fails or where someone else’s memory is involved; the baking cabinet shared with a partner needs them more than my own coffee canister ever did.
6. Utilize the Pantry Door
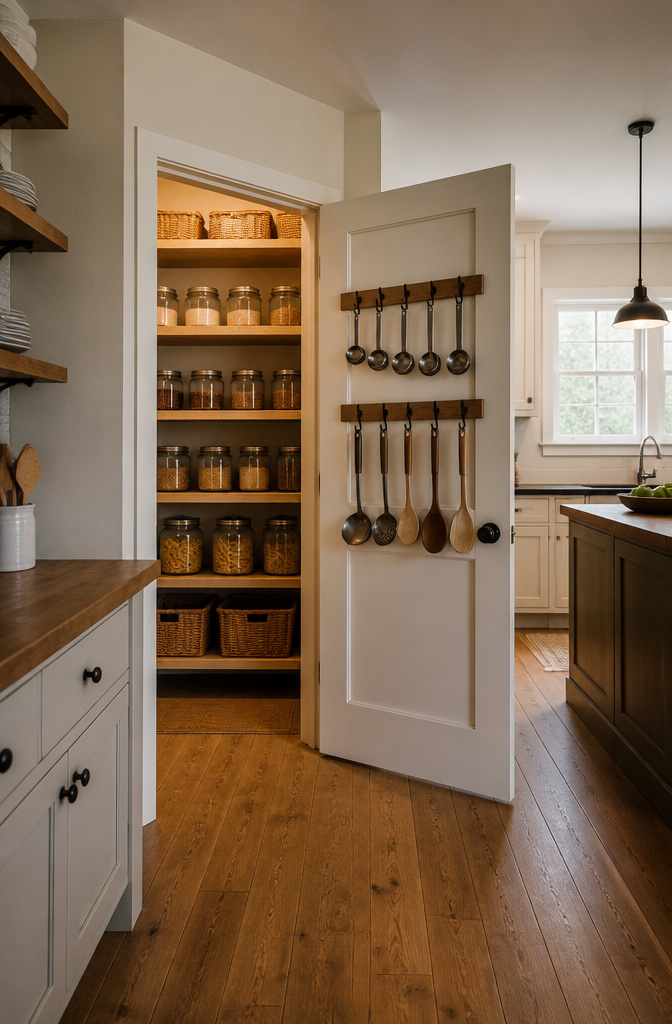
The back of a pantry door is flat space you already own, and most people hand it to the broom. A row of hooks screwed into that panel will hold pans, lids, or serving and measuring spoons without eating a shelf. I shifted the cereal boxes forward about two inches so the door could still swing past them, which meant the trade was shelf depth for hardware I already had in a drawer.
A grocery bag dispenser mounted to the inside of a cabinet door works the same trick for a different mess. I put one on the interior of the cabinet under the sink, right where the plastic bags used to avalanche every time I reached for the dish soap. It stayed put through two years of daily tugging, and the cabinet finally closes without a shove.
7. Decanting
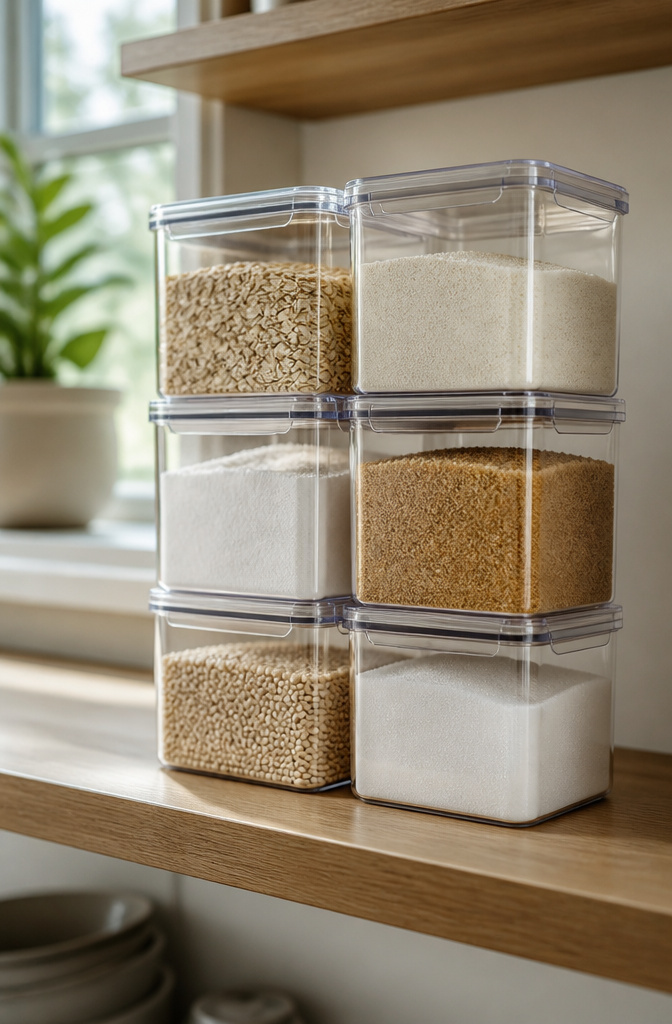
Decanting, or taking items out of their original packages and putting them in uniform containers instead, is the move that makes a pantry look like someone planned it. I decant pasta, flour, and sugar because the streamlined look beats a shelf of half-empty bags, and I can see at a glance when I’m running low. Snack foods and cereal stay in their boxes at my place; they disappear too fast to justify the transfer.
The first time I tried this, I bought a set of cheap canisters with lids that looked airtight but weren’t. My sugar hardened into a brick within two weeks. Airtight seal is non-negotiable if you decant anything that clumps.
Labels matter too, unless you enjoy the surprise of baking with salt. I use adhesive vinyl cut with a Cricut Explore, but a Sharpie and masking tape works if you’re not chasing the Pinterest look.
Cost lands around $8–$15 per container for the mid-grade acrylic sets that actually seal, so a full pantry swap runs into the low hundreds. Time is a Saturday morning, mostly spent washing the containers and deciding whether you really need a dedicated bin for orzo. What none of the kitchen organization guides I read bothered to mention was what happens to all that original packaging you’re discarding. Sustainability doesn’t enter the conversation; the sources skip it entirely, and I’ll note the silence without filling it in.
8. Use Turntables
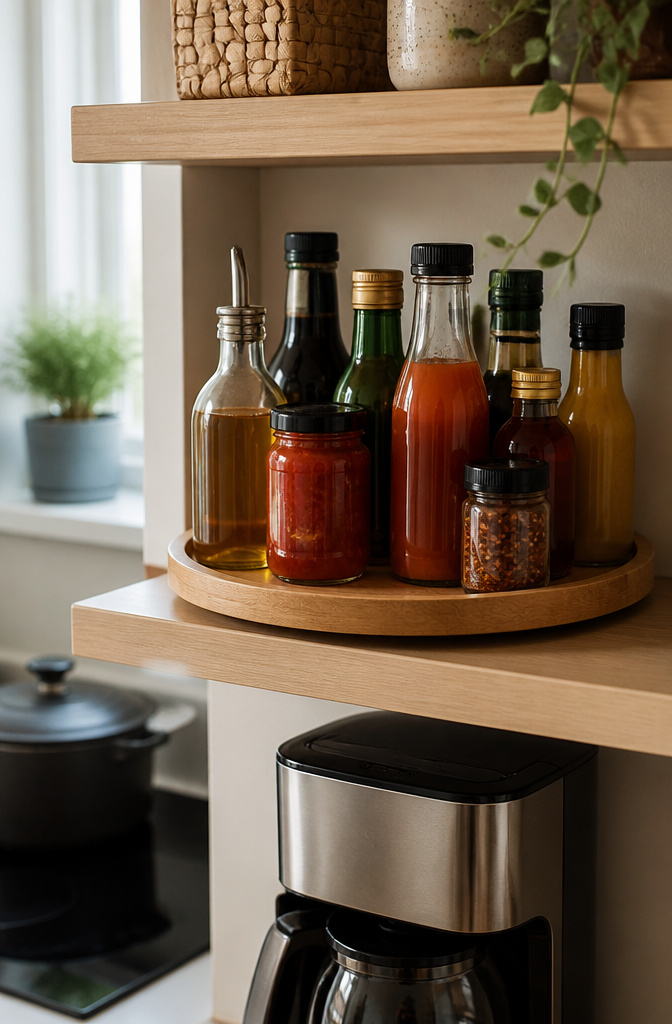
Turntables are key kitchen storage secret weapons when it comes to making dead space functional, and the one that earned its keep in my cabinet is an 11-inch bamboo model on the shelf above the coffee maker. It holds the hot sauce collection, a bottle of sesame oil, and the fish sauce that used to get shoved to the back and forgotten. A quarter turn brings the right bottle to the front without unloading the whole shelf.
The stove-side cabinet is where they shine, keeping oils and cooking condiments reachable while the pan is still hot. What does not work on a turntable is anything taller than the cabinet shelf above it, obviously, but also anything so light that the base spins and the bottle stays put. A nearly empty spice jar will skate instead of rotate, and a sticky honey bottle will grind and tip. Weighted bases or a quick grip liner underneath fixes the second problem; the first means that jar belongs in a drawer instead.
9. Use Baskets and Bins
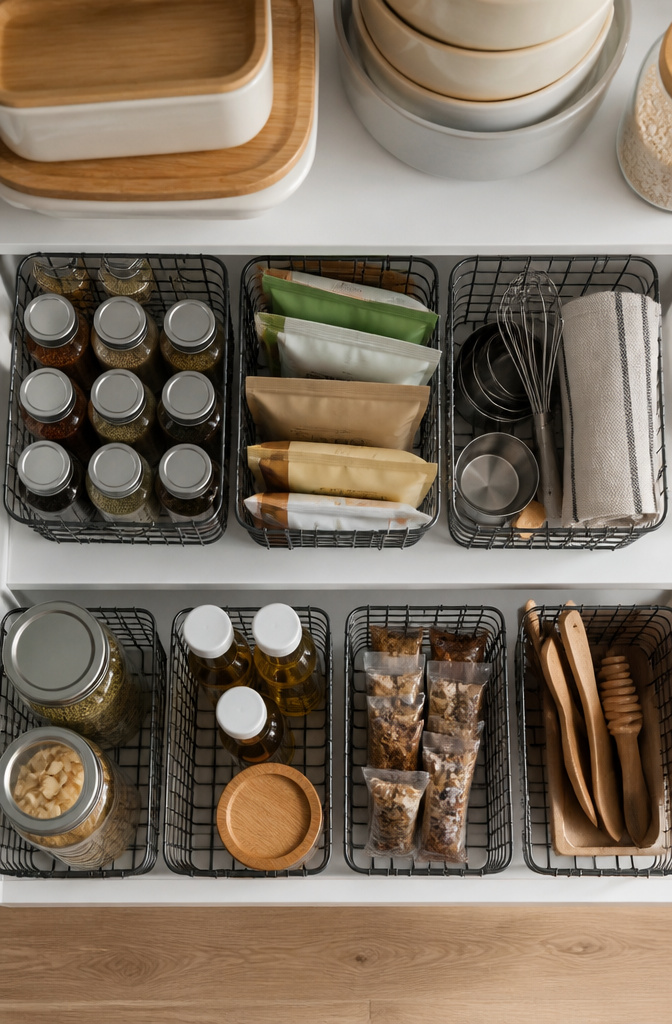
Small items have a way of turning a tidy cabinet into a junk drawer standing upright. The fix is to use bins to corral small items on shelves, keeping like things together so they stop migrating to the back corner. This matters most on higher shelves, where reaching past three bottles to grab the cumin means everything in front ends up toppled. A bin pulls down as one unit, you take what you need, and the whole thing slides back without the restacking ritual.
Stacking bins stretch that logic further. Open-front versions work better than lidded ones here, because unstacking four bins to reach the bottom is the kind of friction that undoes a system in a week. I saw this play out in a coffee station setup, where pods stayed reachable and the counter stayed clear.
For my own cabinets, I bought a set of wire baskets, 11 by 8 inches, with a dipped front that lets me see labels without pulling them out. They cost about what two takeout lunches do, and the wire means no water pooling if something goes in damp. Plastic works fine too, and the opaque black or white ones look less dorm-room than the clear kind if your cabinets are glass-front or you just prefer the pantry to look intentional when the door swings open.
10. Install a Grocery Bag Dispenser
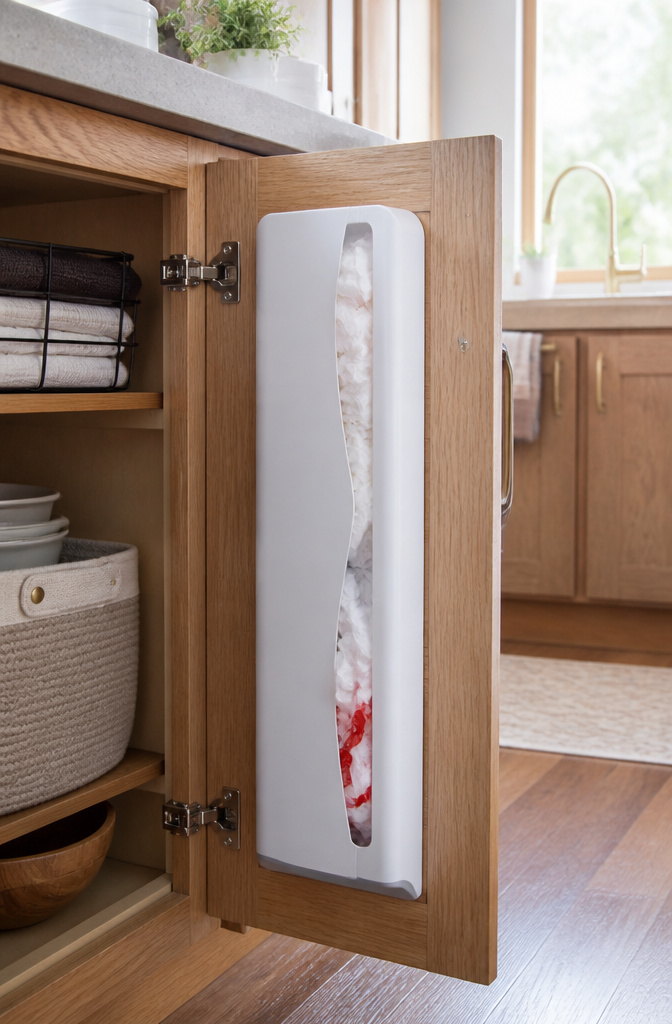
Plastic grocery bags have a way of turning any drawer they touch into a crumpled mess. I installed a grocery bag dispenser on the inside of one of our cabinets to keep them corralled and ready for reuse, and it beats the piled-up chaos that used to swallow half the storage space.
This was the least-backed idea in my original list of organizing kitchen ideas, which made me skeptical it would earn its spot. The dispenser works fine for holding a dozen or so bags, but the habit of stuffing them in faster than they go out turns it into clutter itself within a month. Two ways to play this: commit to the discipline of culling when it gets full, or skip the dispenser and drop bags straight into a recycling bin at the grocery store. The recycling route wins if your household accumulates more than a small handful per week; the dispenser only pays off for light, deliberate use.
Countertop Organization
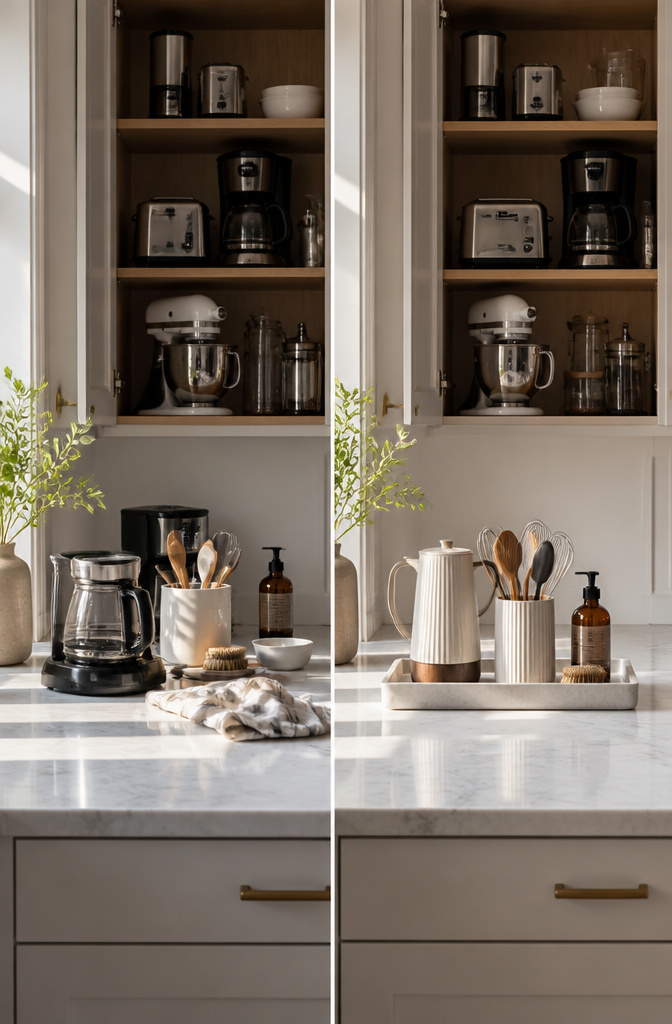
Countertop space is the boundary that makes or breaks every organizing kitchen idea inside the cabinets and drawers. The moment the counter becomes storage overflow, the whole system fails, because a drawer that empties onto the counter is a drawer that stays open in practice.
Two strategies keep the line intact. First, limit what earns permanent counter space to daily-use items only: the coffee pot, utensils, soap, paper towels. Small appliances like the mixer and its attachments live in cabinets or nearby shelving, not in the open. Second, for the appliances that do stay out because constant hauling back and forth is unrealistic, a tray corrals them into one moveable unit. When company arrives or prep space runs short, the entire tray lifts away in one motion rather than piece by piece.
Utensils that overflow drawers can land in a pitcher or crock on the counter instead. The container keeps them reachable during cooking and, depending on the piece, reads as decor rather than clutter. The trade is visual noise against drawer capacity; a small kitchen with weak drawer space usually comes out ahead with the crock, while deep drawers and minimal counters favor keeping them hidden.
Pantry Organization
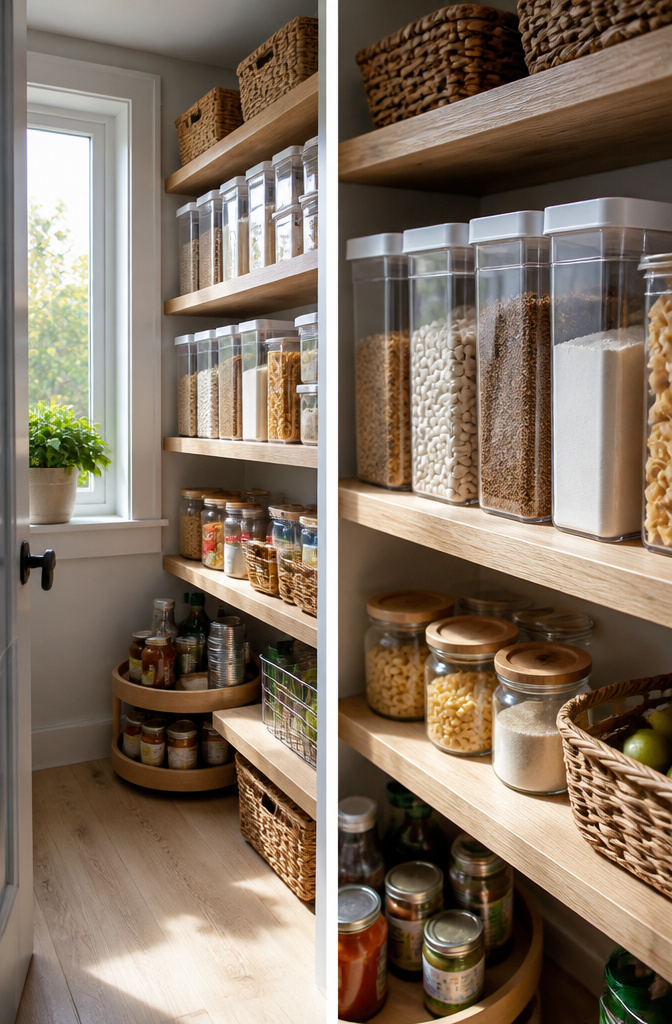
The pantry golden rule says you must be able to see everything that’s inside, and that visibility changes how you shop, cook, and put groceries away. I learned this the hard way after finding a bag of farro tucked behind cereal boxes, expired nine years prior. Clear containers and grouping like items are what make the rule stick in practice.
Stackable airtight bins do two jobs at once: they remove the bulky packaging that eats shelf space, especially if you buy in bulk, and they let you spot the last cup of rice before you need it. I group by type, not by meal. All grains together, all canned goods together, baking supplies in one zone. The system only works if every container is reachable without moving another one out of the way.
Corners are the usual failure point. A lazy Susan there keeps oils and vinegars visible instead of buried. Baskets for small packets, door-mounted bins for the light stuff you grab daily. The proportion matters more than the product name: buying organizers sized to your actual cabinet depth keeps the front row from hiding the back.
Maintaining Organization
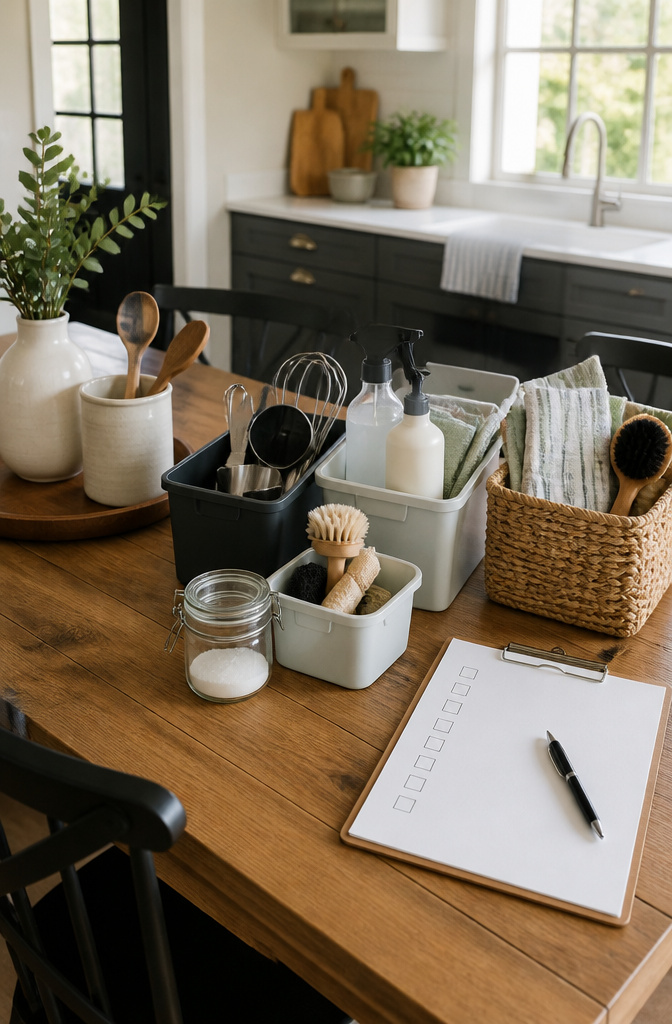
The 20-minute reset every Sunday night is what saves my kitchen from sliding back into chaos. I clear the counters, check what expired that week, and move anything that wandered to the wrong zone back where it belongs. That rhythm came from a six-month stint where I let things drift, and the "organized" system I’d built became just as frustrating as the mess it replaced.
The last reassessment happened after I bought a second cutting board. My old setup had them standing in a cabinet divider, which worked fine for one but turned into a domino effect with two. Once a quarter, I now walk through and ask whether the thing still matches the habit. Bins that held bulk snacks sat empty when I switched to smaller, more frequent grocery runs. The divider that held travel mugs became dead space once I started working from home and dropped the commute-coffee ritual.
If a system needs explanation to a guest, it is already too clever. The best maintenance is subtraction: fewer categories, fewer steps between use and put-away, fewer decisions on a Tuesday evening when you just want to cook and sit down.
Tension Rods and DIY Solutions
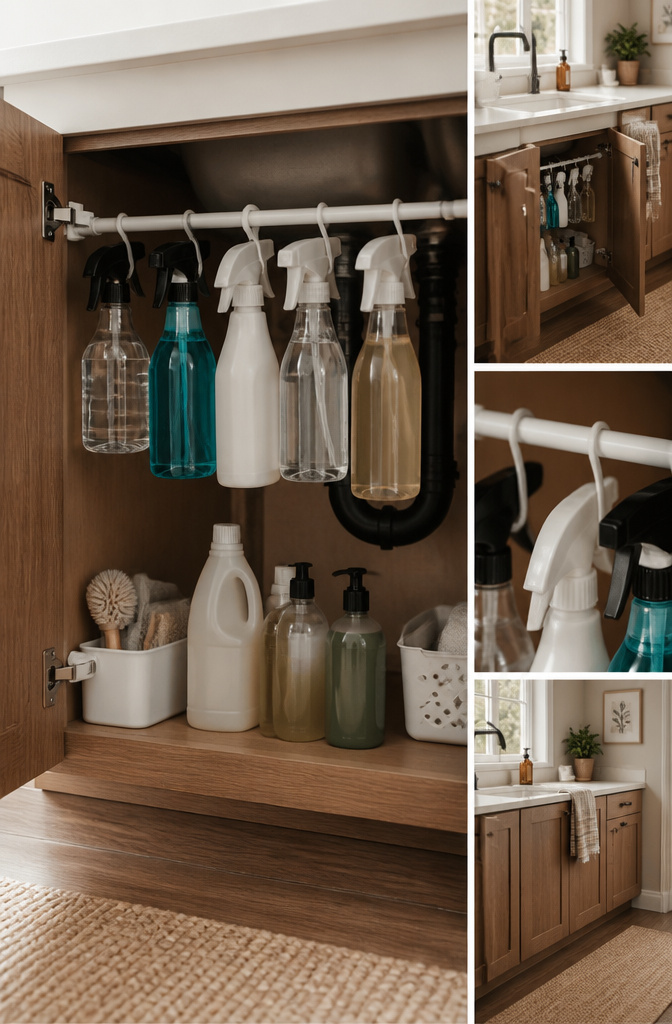
Tension rods turn dead cabinet space into something you can actually use. Under the kitchen sink, a rod stretched across the upper frame lets cleaning sprays hang by their triggers, leaving the floor clear for bottles and brushes. In an upper cabinet, a second rod creates a shallow shelf for spice jars that would otherwise get lost behind taller bottles.
The magazine holder trick for water bottles works if you pick the right material. Wood or plastic holders, flipped on their backs, stack bottles vertically without tipping. Cardboard warps the moment a not-quite-dry bottle goes back in, so skip it.
I tried building custom drawer dividers from scrap plywood once, cutting slots for an adjustable grid. The joints loosened after two months of opening and closing; the wood swelled slightly, then the fit went sloppy. Foam board dividers held up better for me, though they lack the look of real wood. For renters, that trade matters less than something that survives a lease year without shifting around every time you grab a spatula.
Budget Reality Check
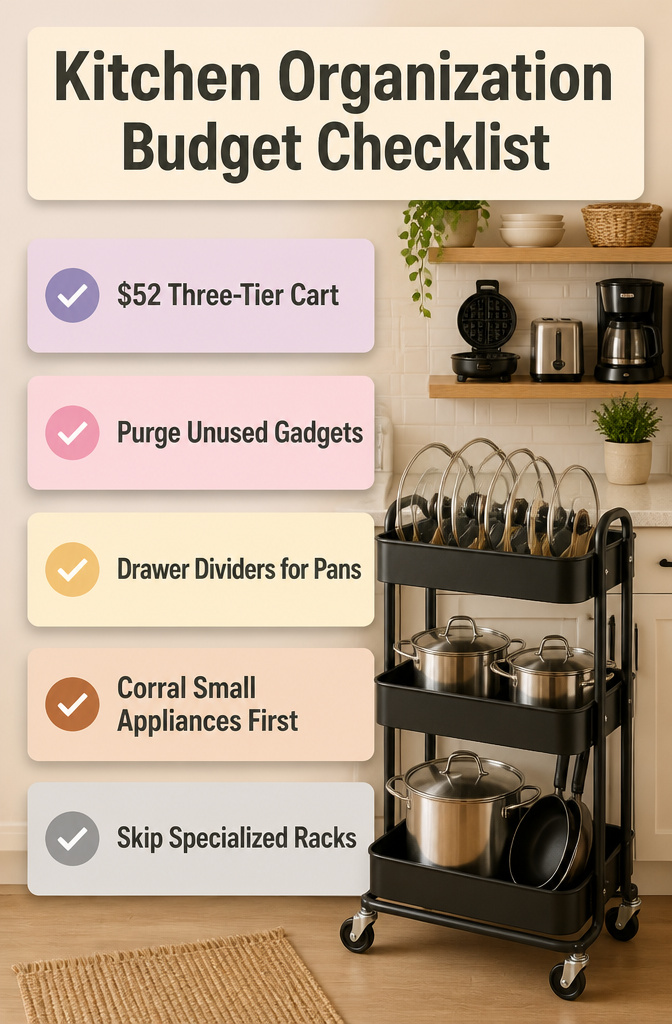
The whole system ran me just under $90, and the split between what mattered and what did not is worth opening with. The $52 three-tier cart from Amazon Basics became the backbone, worth every dollar for the pots and lids that used to avalanche from my one usable cabinet. The $37 door organizer from Wayfair was the opposite mistake: it held the single-use stuff I should have purged first, and the gadgets still wobbled loose each time I closed the cabinet hard.
Corraling small appliances before buying anything would have saved that $37 outright. Emily Arthur at Isla Porter is right that lids are the chaos agent, and the cart solves that specifically. A peg or divider system for pans upright in a drawer would have been smarter than the door rack, but I skipped it to save money and spent more replacing what fell. The waffle maker and the rest sit on a floating shelf now with cords hidden, but that shelf was already in the apartment.
For a weekend project on a few hundred dollars, spend half on the cart or equivalent rolling storage and the rest on drawer dividers if your pans stack badly. Skip the specialized racks until you know what survived the purge.
Frequently Asked Questions
How do I organize my kitchen cabinets?
Group like items by function and store them near where you use them: cooking oils and spices close to the stove, dishes within reach of the dishwasher. Add shelf risers inside cabinets to double usable vertical space, and use turntables to keep items accessible without unloading the whole shelf.
What are some budget-friendly kitchen organization ideas?
The whole system in the article ran just under $90, with a $52 three-tier cart as the backbone. Spend on rolling storage and drawer dividers first; skip specialized racks until you know what survived decluttering. Baskets, bins, and expandable drawer organizers keep costs low while handling real daily use.
How can I maximize space in a small kitchen?
Use vertical space inside cabinets with shelf risers and on walls with hooks for pans or lids. Declutter first; every organizing idea fails if it is built around too much stuff. Turntables and drawer organizers then make the remaining space functional without adding square footage.
What should I do with my food storage containers?
Stack lids separately from bottoms, which costs nothing and frees more space than most bought solutions. In deep drawers, stand lids upright. This prevents the tangled nest that undoes most container drawers within weeks.
How can I keep my kitchen countertops tidy?
Limit permanent counter space to daily-use items only: coffee pot, utensils, soap, paper towels. Everything else hides in cabinets. For appliances that must stay out, a tray corrals them into one moveable unit that lifts away in one motion when you need prep space.






