
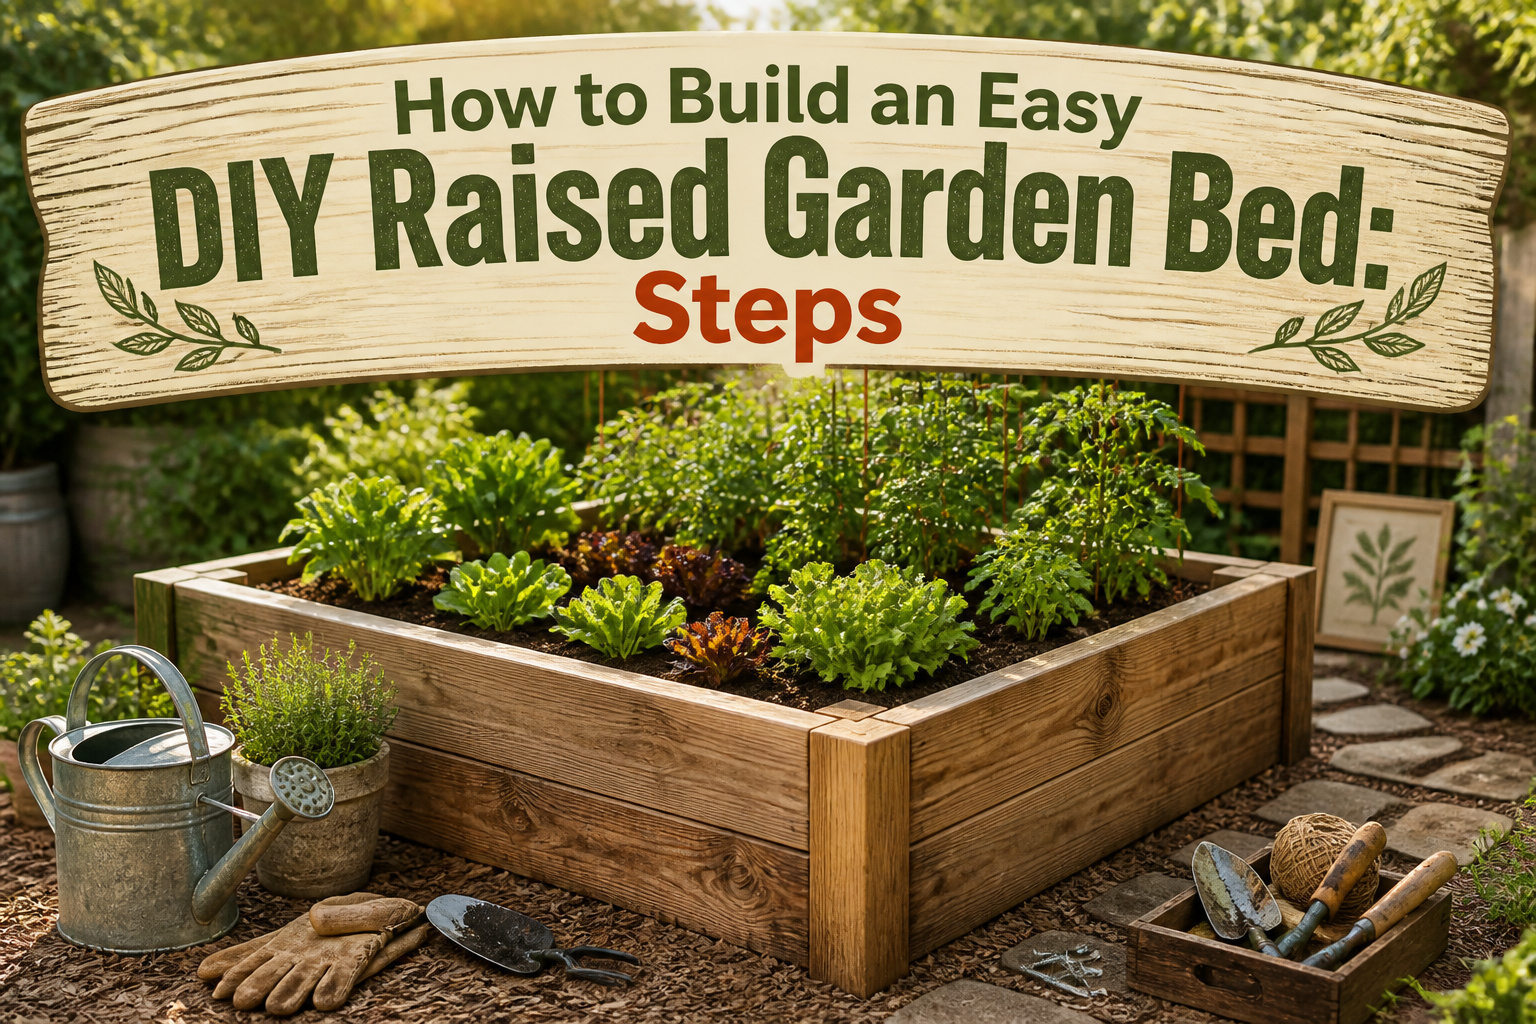
A finished 4-by-8 foot easy DIY raised garden bed takes one afternoon and roughly $80 to $300, with most of that swing coming from whether you pick pine or cedar. The stage people get wrong is the soil math: the raw volume fills the box, but not after rain and roots compress it, so you end up short by a third and buy twice. I learned that after standing in a garden center aisle with twenty bags in my cart and still not enough.
1. Choose a Location

A vegetable bed in partial shade will still grow lettuce and some herbs, but tomatoes and peppers will stretch for light and give you half the fruit. Six hours of direct sun is the floor for most of what you actually want to eat, and the simplest way to check your yard is to step outside at breakfast, lunch, and dinner and note which patches are lit. If a spot is bright at 9 a.m. but under shadow by 2 p.m., move it away from that fence or tree line. South-facing structures won’t block you, but anything else will steal hours as the seasons shift. I watched our old front yard for one spring before pulling up the sod; the north edge stayed sunny longest, so the beds went there, dead center where the house couldn’t reach.
2. Gather Materials
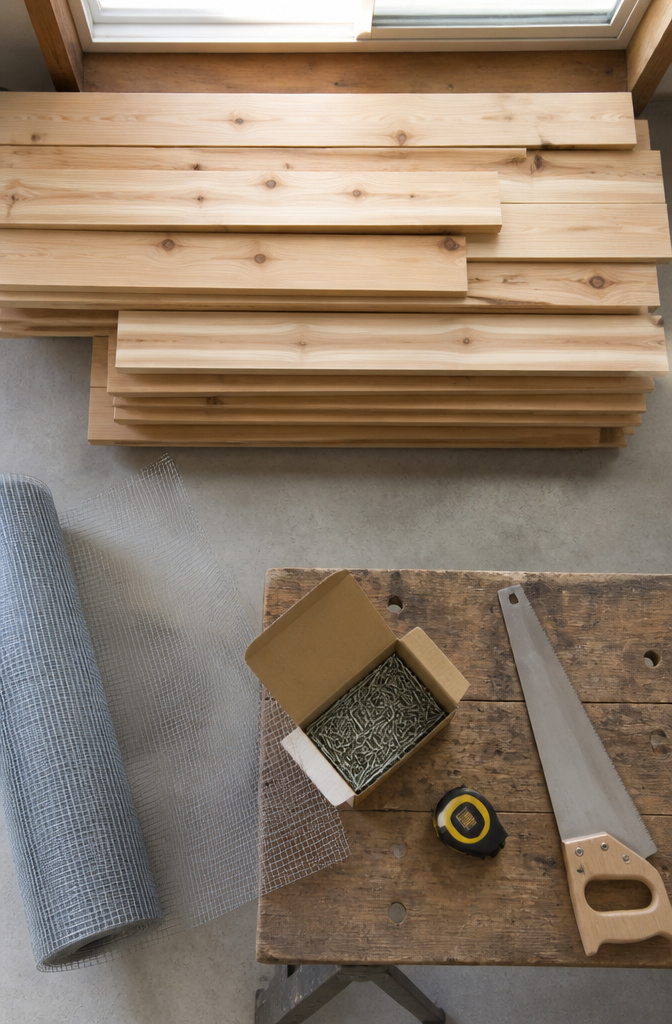
Untreated cedar or pine boards, a box of exterior screws, and optionally a roll of hardware cloth will cover most builds. The total runs $80 to $300, though lumber prices swing hard by local market and by year, so checking your store’s current board-foot pricing before committing to a size saves a surprise at checkout.
I like having the boards cut at the hardware store. One less power tool to own, one less place for me to wander off the mark with a saw. Cedar costs more but weathers slowly; pine is cheaper and widely available, though it will need replacing sooner. Either way, skip pressure-treated lumber. The chemicals used in that process can leach into soil and then into anything you plan to eat.
Hardware cloth goes on the bottom only if burrowing pests are a known problem in your yard. Gophers or ground squirrels will tunnel straight up into a bed otherwise. The mesh adds maybe $20 to $40 and an extra hour of stapling, but it beats losing a full season’s planting.
Pre-cut kits exist for beginners who want to skip measuring entirely. Most use thinner stock than I’d prefer, and the savings in time often disappear in shortened lifespan. If you go that route, look for boards at least two inches thick, or expect to rebuild within a few seasons.
3. Cut Wood to Size
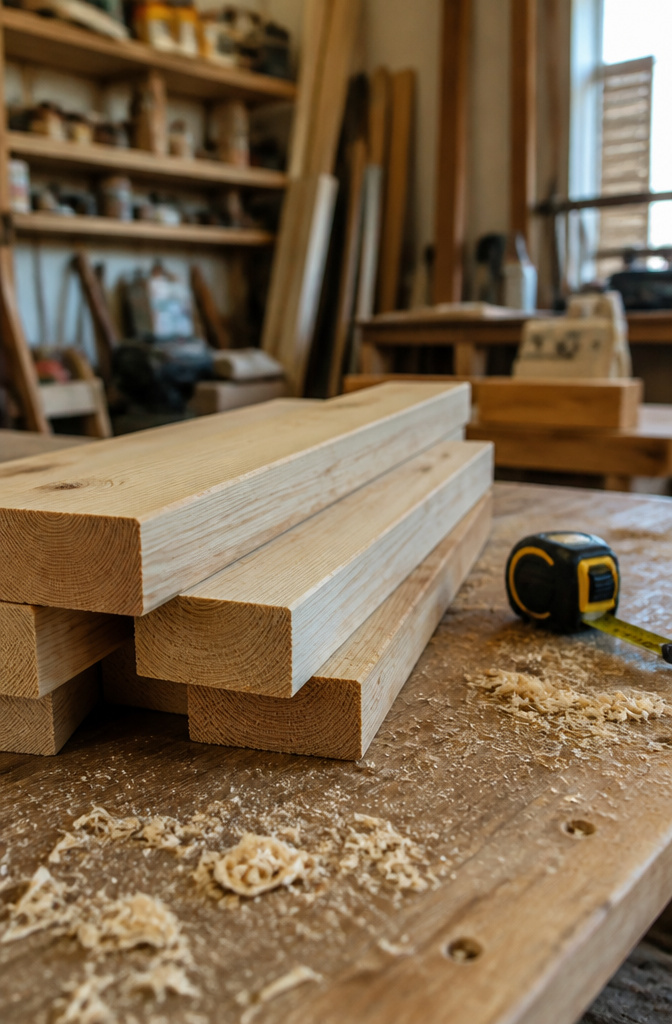
A 4-by-4-foot bed is the easiest starting point because an 8-foot 2-by-6 board cuts cleanly in half for two sides, and the same math works for the cross pieces. For a 4-by-8-foot bed, the long sides need no cuts at all if you buy 8-foot stock, which is why that size shows up in so many backyard gardens. Custom lengths work fine too; the trick is matching your board length to your plan so you are not left with a 2-foot scrap you paid for but cannot use.
The depth depends on what you are planting. Six to twelve inches handles most vegetables and herbs, and stacking two 2-by-6 boards gets you right to that 12-inch mark without ripping anything down. The 4-by-4 posts for the corners should run the full height of your stack so the boards have something solid to fasten into.
If you do not own a saw, or you just do not trust your cuts to stay square, most lumber yards will crosscut boards for you when you buy them. I have had better luck getting clean ends at the yard than wrestling a 12-foot board through a miter saw in the driveway. Bring your cut list written down; they are usually precise to the quarter inch, and that is close enough for garden work.
4. Assemble the Frame
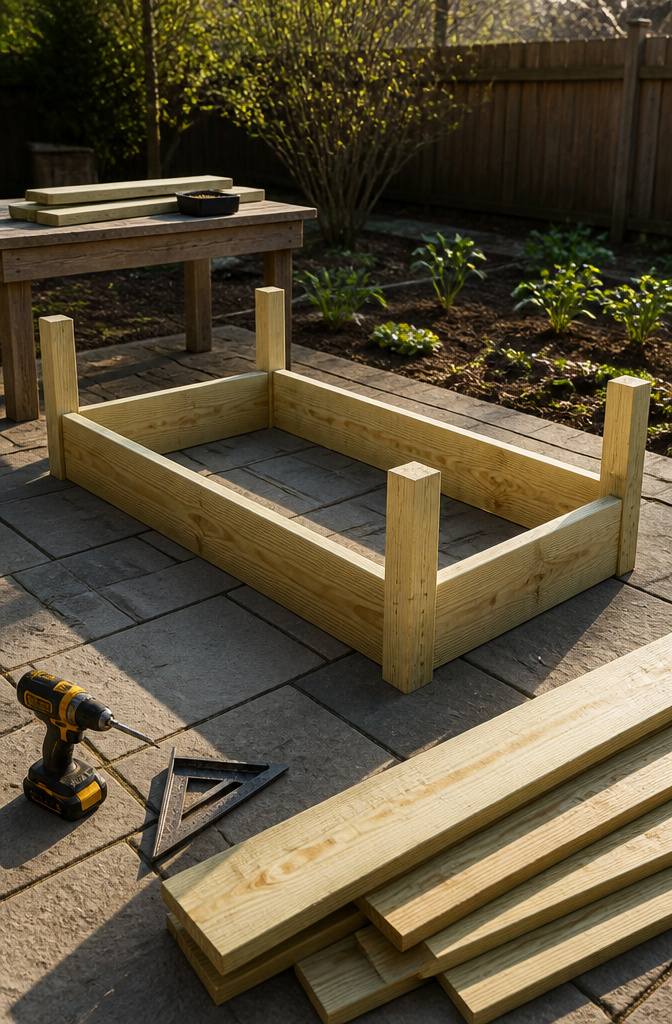
A level garage floor or patio makes the squaring step far easier than grass does. Lay two corner posts down, spaced apart by the length of your short side boards, and set those boards on top with their ends flush to the outer edges of the posts. Measure the distance between posts at both ends before driving a single screw; if those two numbers do not match, the frame will rack out of square and the long boards will fight you later.
Two 2.5- to 3-inch decking screws through the end of each board, driven into the center of the 4×4 below, hold the joint fine without pilot holes. Keep screws at least an inch from any board edge to avoid splits. I once skipped the diagonal check, trusted my eye, and ended up with a parallelogram that wobbled when I stood it up. Now I measure corner to corner across the rectangle; matching diagonals mean square, and a half-inch difference is enough to matter.
Stand both short sides upright, corner posts facing inward, and lay the long boards across them like a table. The screw holes sit a little further from the board ends here, since they must hit the post center rather than the short-side boards beneath. Measure every inner corner, top and bottom, before locking the last screw. Working upright keeps the frame from sliding around and saves your back while you drill.
5. Add a Bottom
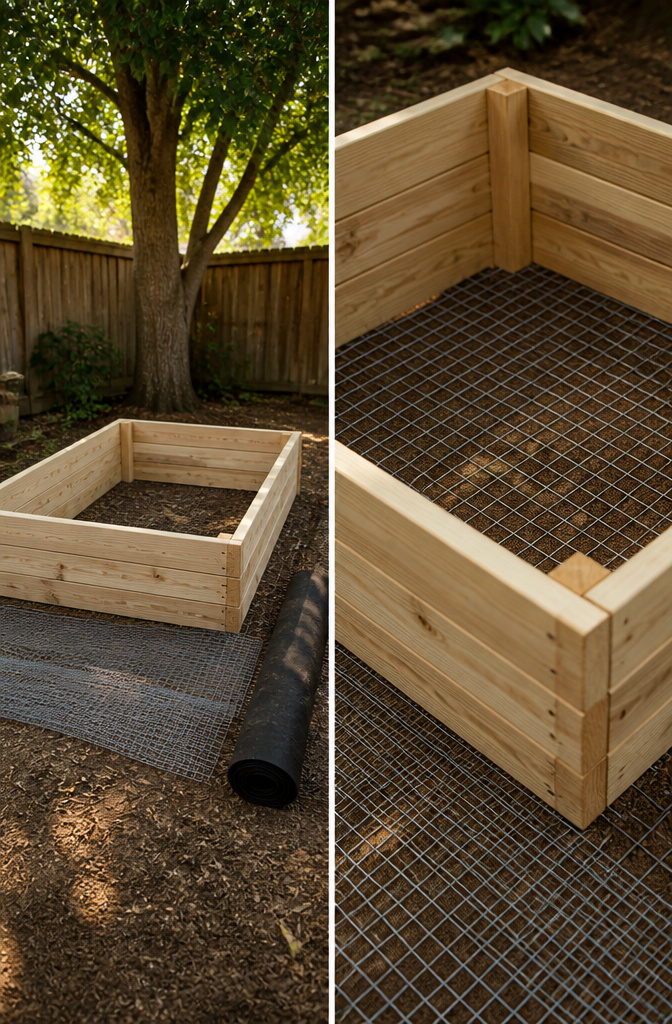
A bottom layer is where the easy part of this build can turn into a choice that costs you later. If gophers or moles are active in your yard, hardware cloth stapled across the bottom is the move that saves your tomatoes. Half-inch mesh in a 4-by-8-foot piece lets roots and water through while blocking the critters. Chicken wire will not do it; the holes are too large.
Landscape fabric or weed barrier cloth is the other option. It stops aggressive weeds from below and keeps soil from washing out after heavy rain, but it also slows drainage and can create a soggy layer where roots rot. I skip it in beds where the ground already drains well and the weed pressure is manageable.
The tradeoff is protection versus drainage. Hardware cloth gives you both. Solid fabric gives you neither fully; it is a compromise that works only where pests are not the main problem and you are willing to replace it in a few years when it clogs.
If your bed sits on concrete or another solid surface, drill drainage holes in the base. Roots sitting in water will kill faster than any gopher.
6. Fill with Soil
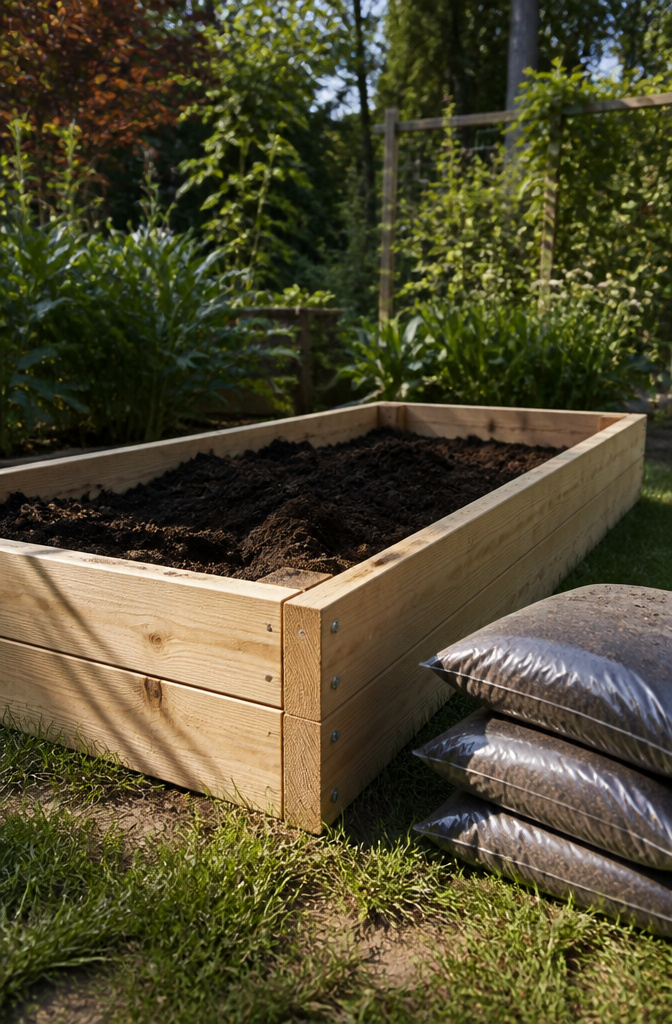
A 4-by-8 foot bed built to a practical depth needs more dirt than most people guess. The math says 16 cubic feet for every 6 inches of height, so a foot-deep bed starts at 32 cubic feet before you even open the bags. Soil settles, especially in year one, and that tidy calculation leaves you short by several inches once rain and roots do their work. Budget for roughly a third more than the raw volume suggests, or plan on topping off next season.
The mix itself matters more than brand names. Topsoil alone stays too dense; straight compost drains fast and can burn young roots. What has worked in my beds is a rough blend of half topsoil, a quarter compost, and a quarter whatever organic matter is cheap and local: rotted leaves, aged manure, even bagged mushroom compost if that is what the yard center is moving. Bagged garden soil runs somewhere in the $100 to $300 range once you factor in filling a whole bed, though bulk delivery from a local landscape yard usually wins on price if you have several beds to fill or a neighbor to split a truck with. One blogger I trust filled a similar bed with about eight bags of garden soil; hers ran shallower, which saved a bag or two but also limits what you can grow. Six inches is the floor most gardeners accept for rooting depth, though 12 inches opens up carrots, potatoes, and anything that resents shallow soil.
The real cost hit comes from ignoring the settle. Buy the full volume now, or buy it twice.
7. Plant

Six inches of soil is the floor, not the sweet spot. Leafy greens, radishes, and compact herbs handle that shallow rooting zone fine. My first season I filled a 6-inch bed with lettuce and bush beans, and they produced well enough. But the carrots I tried there forked and stubbed out before they reached three inches. Twelve inches changes what you can grow: carrots, parsnips, and any determinate tomato with a stake suddenly become realistic options. That extra depth also buys you more forgiveness on watering, since shallow beds dry faster and stress roots on hot afternoons. If your budget only stretches to 6-inch boards, plan around it. Grow up, not down: lettuce, arugula, spinach, and herbs like basil and cilantro. Save the taproot crops and deep feeders for the year you build taller.
Wood Types Compared
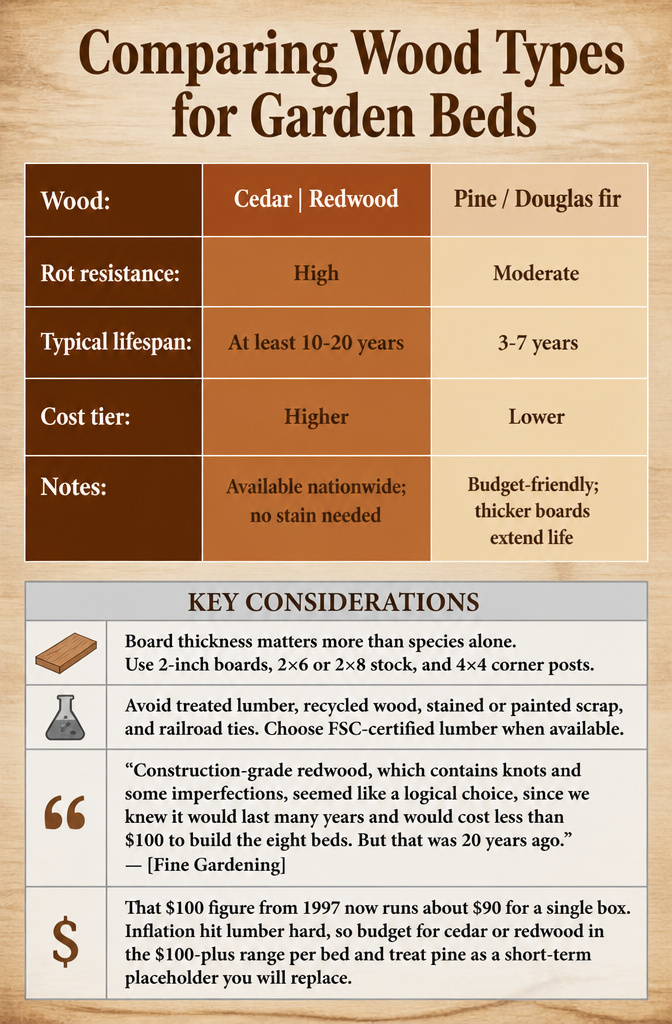
Cedar, redwood, and pine each carry a different math for an easy DIY raised garden bed. Cedar and redwood share the same natural rot resistance, though cedar shows up more often in the eastern US while redwood dominates the West Coast. Pine or Douglas fir costs less upfront but typically surrenders to decay in about 3 to 7 years depending on your climate. Redwood’s density, especially heart redwood, pushes its lifespan past a decade even without sealant. Pine demands replacement sooner; I would rather build once than rebuild.
| Wood | Rot resistance | Typical lifespan | Cost tier | Notes |
|---|---|---|---|---|
| Cedar | High | At least 10–20 years | Higher | Available nationwide; no stain needed |
| Redwood | High | At least 10–20 years | Higher | Dense heartwood resists termites; regional availability |
| Pine / Douglas fir | Moderate | 3–7 years | Lower | Budget-friendly; thicker boards extend life |
Board thickness matters more than species alone. A 2-inch cedar board outlasts a 1-inch picket by years, and 2×6 or 2×8 stock outperforms 2×4. Corner posts in 4×4 hold the frame together through seasonal swelling and shrinkage.
Treated lumber belongs nowhere near soil you will eat from. The chemicals used in pressure-treating leach into the ground and into whatever you grow. Unknown recycled wood, stained or painted scrap, and railroad ties carry the same risk. If FSC-certified lumber is available, it is worth the few extra dollars for the chain of custody.
Construction-grade redwood, which contains knots and some imperfections, seemed like a logical choice, since we knew it would last many years and would cost less than $100 to build the eight beds. But that was 20 years ago.
That $100 figure from 1997 now runs about $90 for a single box. Inflation hit lumber hard, so budget for cedar or redwood in the $100-plus range per bed and treat pine as a short-term placeholder you will replace.
Bed Heights and Styles

Six inches of soil handles lettuce, spinach, and most herbs without complaint, and the lumber bill stays low enough that a single 2 x 6 board cut in half gets you a box. Root vegetables need more. Carrots and parsnips hit a wall in shallow dirt, which is why the beds I built ended up 12 inches deep, stacked from two actual 5.5-inch boards with a small gap the soil eventually filled. That height also meant less kneeling on wet ground, a benefit I noticed more than I expected.
Eighteen inches, or three boards stacked, is the point where you are doing real construction rather than nailing corners together. The payoff is waist-level planting and room for deep-rooted tomatoes or small shrubs, but the cost jumps and the box wants bracing against the weight of wet soil.
Style breaks down into four practical choices. Traditional boxes sit on native soil and drain through the bottom. Elevated planters stand on legs and work for patios or bad backs, though a 48-inch cedar version under $100 exists if you would rather buy than build. Tiered beds step down a slope and keep soil from washing out. Repurposed material, anything from old decking to corrugated metal, cuts cost but demands you check what chemicals the wood was treated with.
I went traditional, 12 inches, untreated redwood with 4 x 4 corners. What I would change is the width. Four feet across sounds manageable until you are leaning in to pull weeds from the center; three feet reaches from either side without the stretch.
Pest Protection Methods
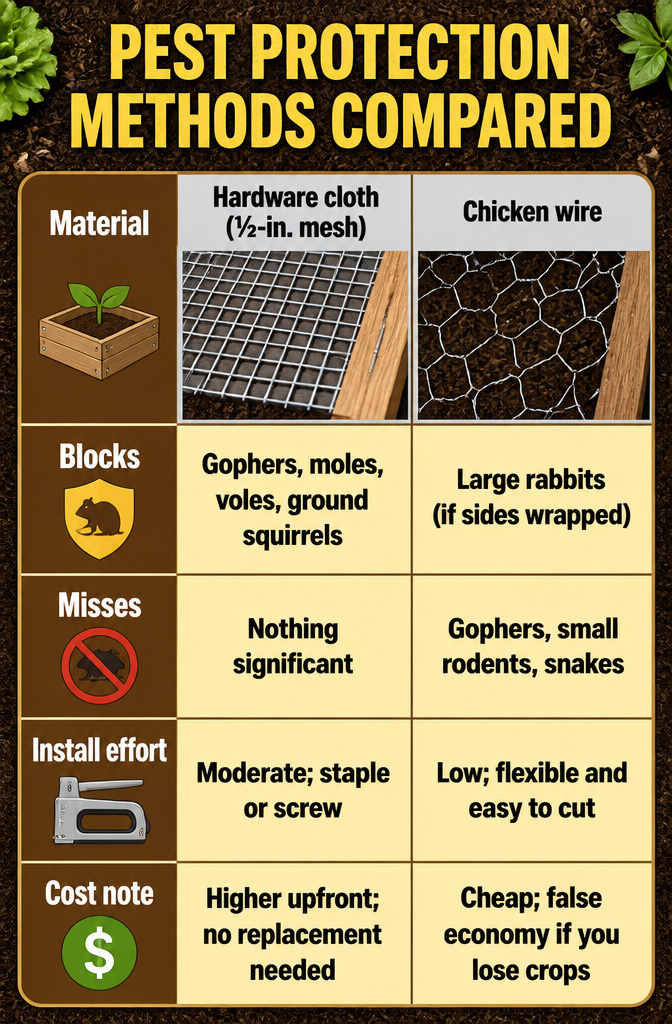
The first spring after I built my beds, something tunneled straight under the corner and took out a row of seedlings overnight. That was when I learned that chicken wire will not block gophers; the openings are too wide, and determined rodents push through or chew past it.
Hardware cloth is the material that actually stops burrowers. A ½-inch mesh stapled across the bottom of the box lets water and roots pass while keeping gophers, moles, and ground squirrels out. I used wide-head cabinet screws with a staple gun to lock it in place, which took about twenty extra minutes per bed. Landscape fabric, meanwhile, blocks weeds from below but does nothing against animals; I tried it on one bed and ended up retrofitting hardware cloth anyway after a vole found the edge.
| Material | Blocks | Misses | Install effort | Cost note |
|---|---|---|---|---|
| Hardware cloth (½-in. mesh) | Gophers, moles, voles, ground squirrels | Nothing significant | Moderate; staple or screw to bottom frame | Higher upfront; no replacement needed |
| Chicken wire | Large rabbits (if sides are wrapped) | Gophers, small rodents, snakes | Low; flexible and easy to cut | Cheap; false economy if you lose crops |
| Landscape fabric | Weeds from below | All burrowing pests | Low; lay and staple | Low; buy it for weeds, not pests |
If your yard has pocket gophers like mine did, hardware cloth is the only one of the three worth the install. Skip the chicken wire entirely for bed bottoms; save it for above-ground trellises or compost bins where the pest pressure is different.
Soil Mix and Maintenance
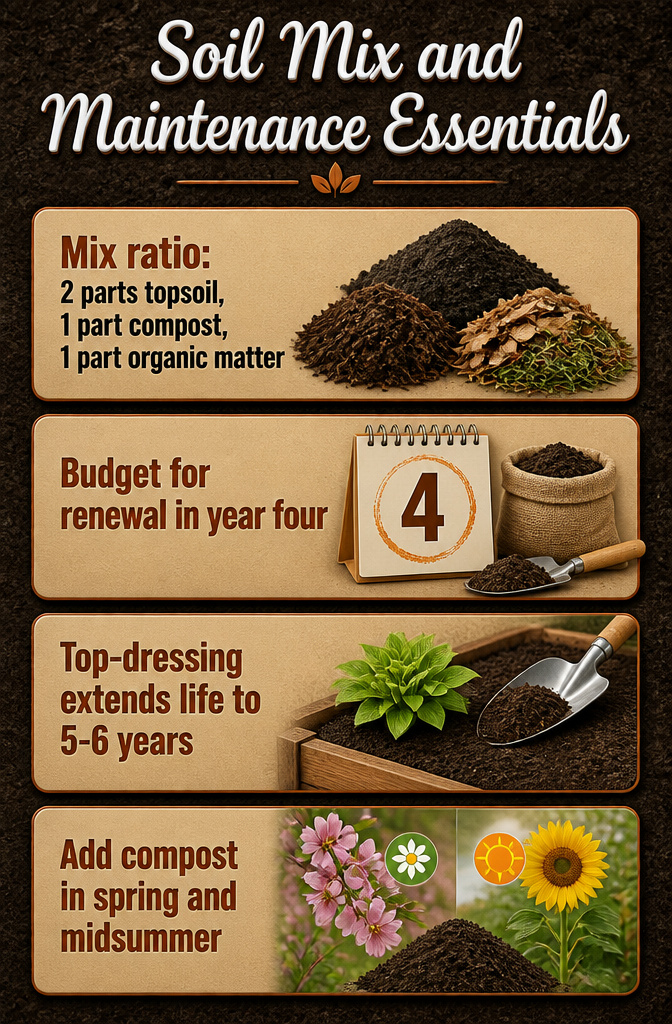
A mix of roughly two parts topsoil, one part compost, and one part other organic matter like dried leaves or grass clippings fills a new bed without emptying your wallet. Bagged soil alone lacks the mineral content plants pull from ground soil over time, so that compost layer matters more than the bag suggests.
After one season the surface turns hard and pale, water pooling instead of sinking in. That is compaction from watering, walking near the edge, and roots collapsing their tunnels as they finish. I add a two-inch scoop of fresh compost in spring and again in midsummer if the bed looks tired, scratching it into the top few inches rather than digging deep.
Some gardeners swap all the soil every few years. The honest read: after three or four seasons the mix is mostly root debris and exhausted peat, especially if you started with bagged soil heavy on peat moss. Top-dressing annually stretches it to five, maybe six years, but eventually you replace or heavily replenish. Budget for a full refill in year four, or plan on pulling the bed apart and mixing what is left into a new batch.
What This Costs in Practice
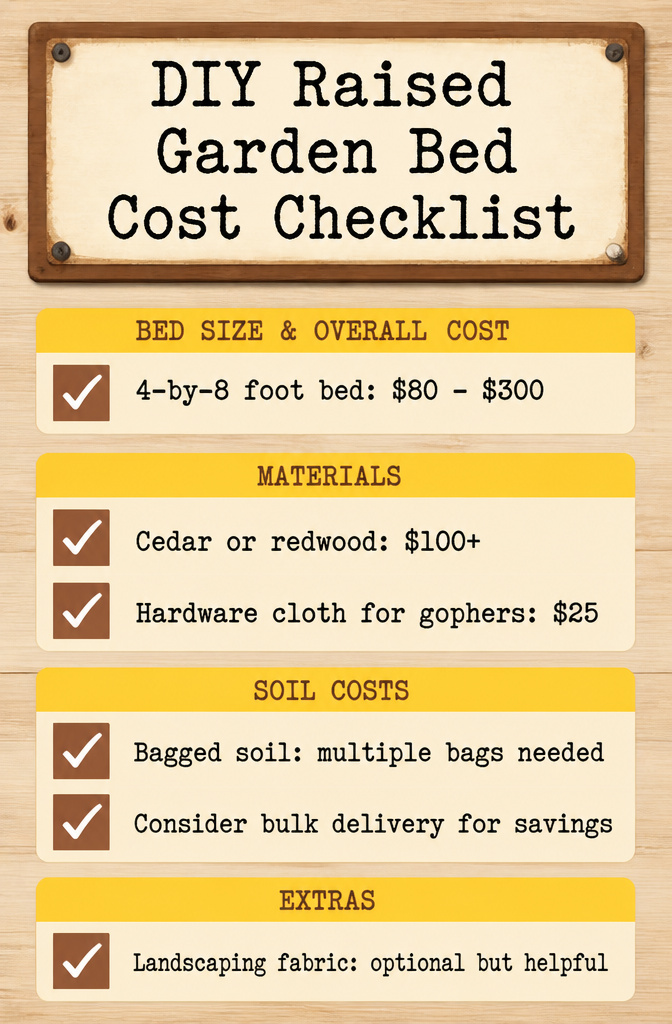
A 4-by-8 foot bed lands somewhere between $80 and $300 depending almost entirely on what you build it from and how you handle dirt. The lower end usually means pressure-treated 2-by-6s from a big-box store, basic deck screws, and bagged soil you haul yourself. The upper end creeps in fast if you pick cedar or redwood, add hardware cloth underneath for gophers, or pay for bulk delivery minimums on a single bed.
My own build settled around $140. Two-by-six cedar boards ran most of that. I skipped the hardware cloth after asking neighbors whether gophers were actually a problem in our area; turns out they were not, and that saved me roughly $25 and a headache of stapling wire. The surprise was soil. I had priced bagged potting mix at the garden center and felt smug about my math until I stood in the aisle realizing I needed north of twenty bags to fill the box. A local bulk supplier delivered a cubic yard for about half the per-bag equivalent, but their minimum order and delivery fee ate some of that savings. For one bed, bagged often wins. For two or more, bulk pulls ahead.
Screws and a small roll of landscaping fabric rounded out the total. The fabric was optional and I probably could have skipped it, though it made leveling on my slightly sloped yard easier.
Frequently Asked Questions
What materials do I need to build a raised garden bed?
Untreated cedar or pine boards, exterior screws, and optionally hardware cloth for pest protection cover most builds. Cedar costs more but lasts longer; pine is cheaper but needs replacing sooner. Skip pressure-treated lumber, since the chemicals can leach into soil and into anything you plan to eat.
How deep should a raised garden bed be?
Six to twelve inches handles most vegetables and herbs, with twelve inches opening up carrots, parsnips, and staked tomatoes. Six inches is the floor for lettuce, spinach, and compact herbs, but shallow beds dry faster and stress roots on hot afternoons. Stacking two 2-by-6 boards gets you to that 12-inch mark without cutting anything down.
How do I prevent pests in my raised garden bed?
Hardware cloth stapled across the bottom blocks gophers, moles, voles, and ground squirrels while letting water and roots through. Chicken wire will not do it; the openings are too large. Landscape fabric stops weeds from below but does nothing against burrowing animals.






