
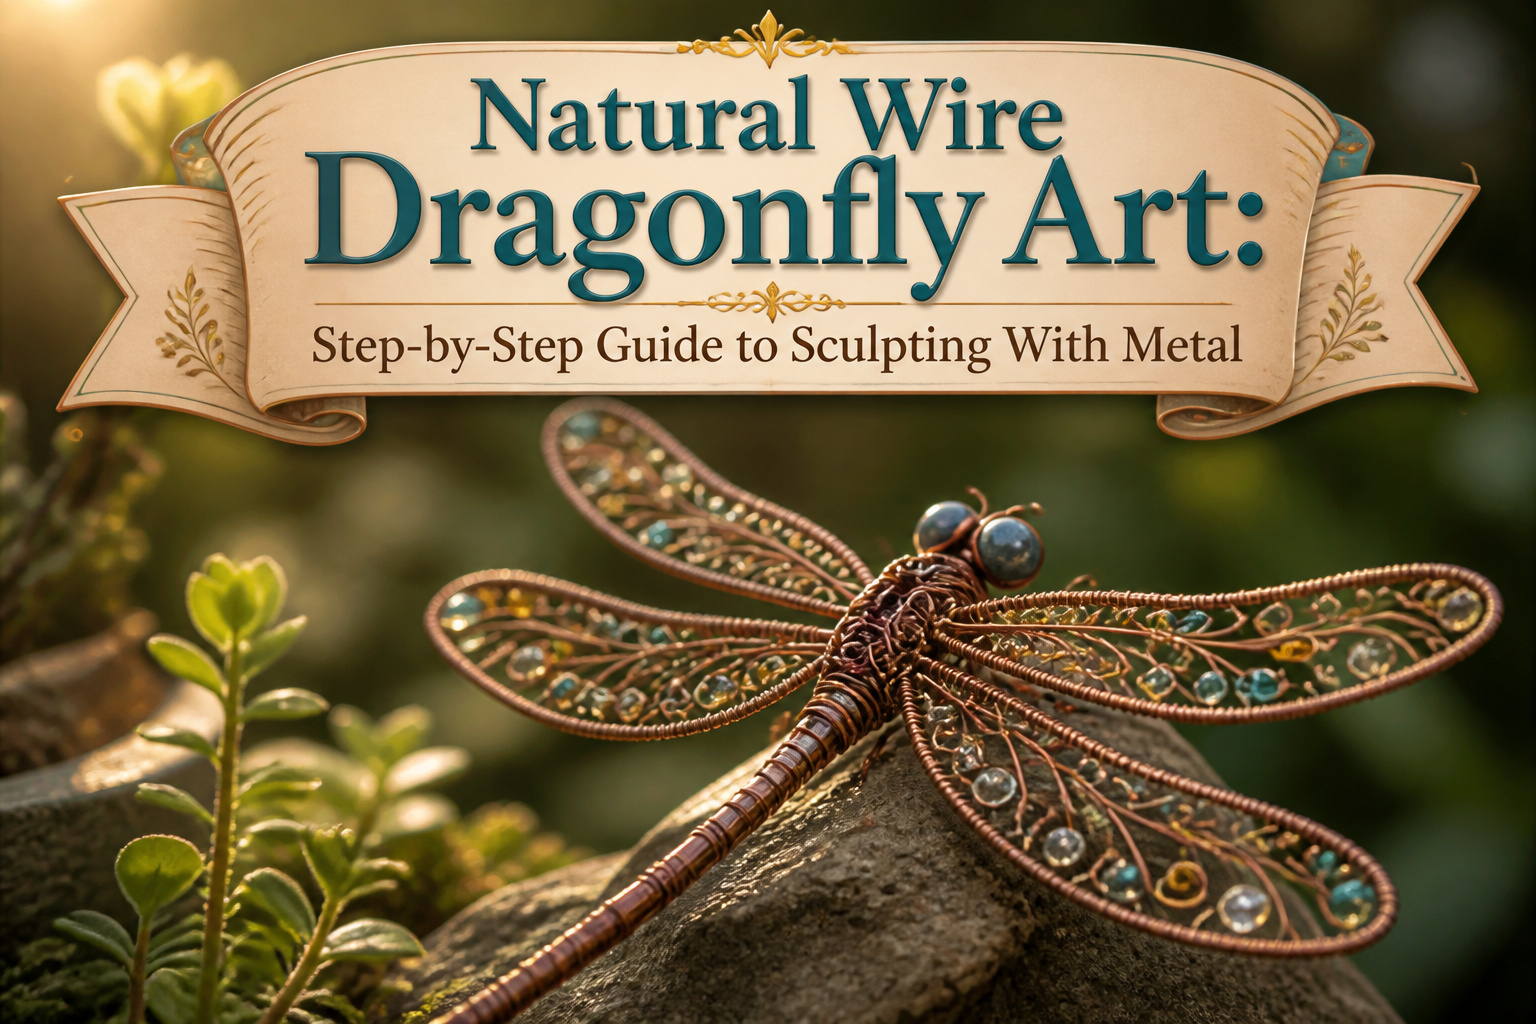
Natural wire dragonfly art is sculpture built from copper, brass, and hand-shaped wire rather than drawn or cast metal. The piece only holds together if you match the gauge to the job: 14-gauge copper for the frame, 20-gauge for wrapping, and 32-gauge for beads and fine binding. A 40-inch length of that heavier wire folds at the head to form the body, with wings bent flat at 15 degrees so the insect reads as perched rather than pinned.
Wire and the Gauges That Matter
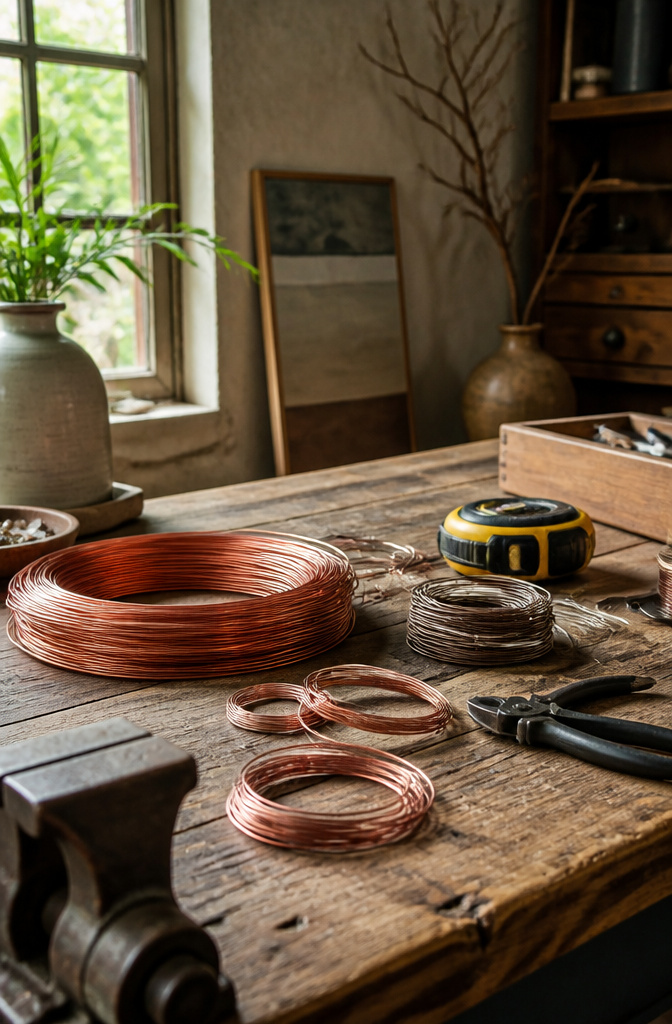
Wire gauge sounds fussy until you try to wrap a body with something too thin and watch it collapse under its own weight, or too thick and find your pliers can’t grip the curve. The sweet spot depends on which part of the dragonfly you’re building.
For the main frame, 14-gauge red copper wire at 40 inches gives you the spine and wing outlines without sagging. It bends under pressure but holds its shape once set, which matters when you’re matching both sides to a sketched template. Drop down to 20-gauge copper wire and you’re in wrapping territory, good for binding joints or adding secondary structure where you need flexibility more than backbone.
The finer silver copper wires serve different purposes by the number. Twenty-six-gauge works for securing wings to body or layering in texture that reads as veining from a few feet back. Thirty-two-gauge goes thinner still, useful for binding beads or anchoring delicate material without the wrap dominating the piece. Some builders keep 18-gauge silver copper on hand too, bridging the gap between frame and ornament.
For hardware that never bends at all, brass rod at 1/16-in. and 1/8-in. × 36-in. lengths becomes legs, antennae, or mounting posts. The 1/8-in. stock doubles as structural support. Copper tubing at 3/8-in. outside diameter rounds out the list, typically for the body core or for creating hollow segments that keep the sculpture lighter than solid wire would allow.
Zero-point-forty-millimeter wire, roughly 26-gauge, sits right in that middle zone for detail work that still needs to hold tension.
Tools for Cutting and Shaping

Wire cutters and pliers are the only tools you truly need to start, and buying the wrong pair is the fastest way to quit before the second wing. A 14-gauge red copper wire frame, the backbone of most dragonfly builds, will destroy the cheap cutters that come in a beading kit; you want aviation-grade snips or a dedicated heavy wire cutter for that first cut off the spool. For the finer gauges, a small wire cutter saves your hands and the detail work.
Pliers do the shaping. Bent nose pliers give the control you need for the body curves and wing angles, which matters more than the brand name stamped on the handle. Nylon jaw pliers are worth the extra slot in your bag because they grip without marring soft copper, an issue that shows up only after you have polished a piece and find tooth marks in the metal. I keep a set of bail making pliers around mostly for consistent loops if I am adding hanging hardware later; they are not essential for the dragonfly itself, but they earn their keep across other garden projects.
The trick for longevity is simple: never use your good cutters on hardened steel or hardware-store chain link, and wipe the jaws with a rag before they go back in the drawer. A sticky pivot on a pair of bent nose pliers turns an afternoon build into a fight, and a few drops of oil costs less than the replacement pair you will buy in frustration.
Templates and When to Use One

A template saves you from the slow realization that your third dragonfly looks nothing like your first. Cardboard cut from a cereal box works fine for wing shapes; trace one pair, flip it for the mirror image, and you have symmetry without guessing. A paper template for the body segments keeps the thorax from ballooning out on one sculpture while the next stays slim. I make mine with a pencil and scissors, no printer needed, and toss them once the shape is in my hands.
Freehand shaping has its place. A dragonfly perched on a twig at an angle does not need showroom symmetry, and a slightly warped wing reads as wind-caught rather than wrong. Skip the template when you are working thin wire, 24 gauge or finer, because the metal bends to your fingers faster than you can trace anyway. Thicker gauges, 16 to 18, fight back enough that a cardboard guide keeps the curve honest and your plier marks off the display side.
Shaping the Body and Wings

A 40-inch length of 14-gauge copper wire gives you enough room to shape the full body and still have grip space at both ends while you work. I start by folding the wire in half around the jaws of bent-nose pliers, that fold becomes the head, and the two running strands form the thorax and abdomen. Spring wire at 9/32-in. diameter × roughly 1.5-in. long wraps the body segments, coiled tight between each joint so the finished piece holds its curve without collapsing if someone bumps it on a porch rail.
Wing angles matter more than wing shape. I hold the body vertical in my off hand, loop a separate length out from the second segment, and bend it flat with flat-nose pliers at about 15 degrees upward from horizontal. Too shallow and the dragonfly looks pinned to a board; too steep and the wings read as butterfly. The pliers do the holding so your fingers stay free to wrap the spring tight. Second pair of wings sits slightly behind the first, same angle, same bend point.
Taper the abdomen by pinching each loop smaller as you move toward the tail. Last segment gets a tight curl under with round-nose pliers so no sharp end pokes through the wrap.
Securing Wings to the Body
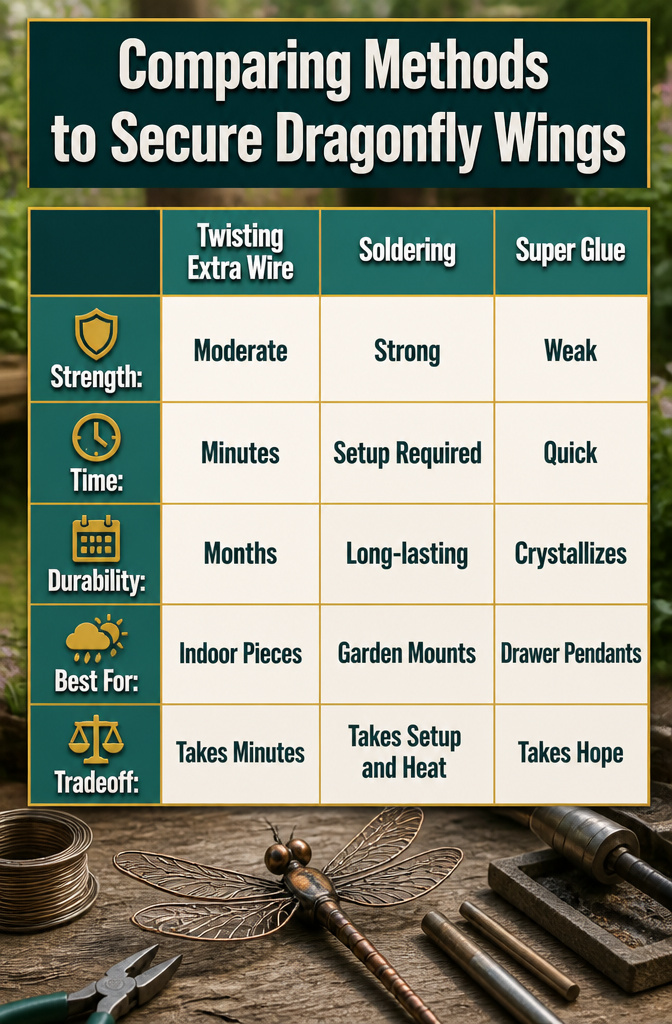
Three ways exist to fix wings to a dragonfly body, and each has held up differently in actual use. Twisting extra wire around the joint works for indoor pieces; the mechanical bond survives gentle handling but loosens over months if the piece hangs where wind moves it. Soldering, as the jig-and-dowel method uses, creates the strongest metal-to-metal connection and is the only approach I would trust for a garden mount that faces rain and temperature swings. Super glue comes up as a quick fix, usually paired with wire wrapping, and it fails predictably outside; the bond crystallizes and shears under vibration, though it can suffice for a pendant that lives in a drawer. The tradeoff is time versus permanence: twisting takes minutes, soldering takes setup and heat, and gluing takes hope. For a piece meant to live among plants, solder the wings or plan to repair them.
Beads and Other Decorations

Glass beads give a dragonfly its eyes and the stripe down its back, and they are the easiest detail to add once the wings are set. A 24-inch length of copper wire wraps around the body, gets threaded through the bead holes, and the ends twist back into the frame to keep everything seated. Glue sets the beads so they do not spin, which matters more than it sounds; a loose bead turns the whole piece into a rattle.
Nail polish is the other route, especially for wing color that still lets light through. The trick is layering two colors and leaving each one alone once it is down. Go back to fix a streak and the surface creases or tears. The last coat needs a full hour lying flat before you move the piece; hanging it vertically lets polish pool at the bottom edge and ruins the layer you just built. A clothespin holds the wire while it dries, so your fingers stay free and the finish stays even.
Finishing and Sealing
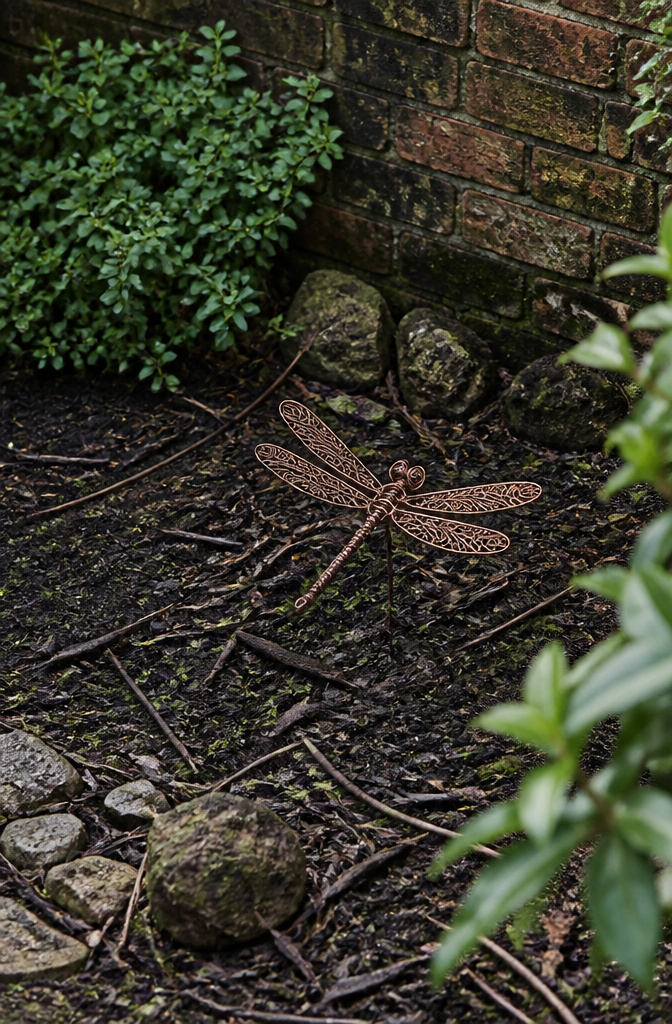
Copper left outside will turn green. That patina can look beautiful against garden leaves, or it can look like you forgot the piece in a damp garage, depending on your taste and the shape of the sculpture. I seal wire dragonflies that hang in direct rain because the green runs and streaks in ways that muddy the wing detail. Ones tucked under eaves or porch roofs I usually leave alone; the slow color shift becomes part of the piece.
A spray clear coat meant for metal, applied light and even, keeps the original warm tone without looking plastic. Two thin coats beats one thick one every time; thick film catches light and reads as coating rather than finish. I skip sealant entirely on any dragonfly I have tucked into dense perennial beds where it will be half-hidden by June. The patina blends in faster than the sheen ever would, and I am not maintaining jewelry here. I am making something that lives outside and looks like it belongs there.
Garden Bases and Display Options

A wood base grounds the piece without stealing attention from the wings. The dragonflywire approach of using found timber, gnawed by water insects and darkened by tannin, shows what happens when the base becomes part of the story. I have had lighter pieces blow over in spring storms; the ones that stayed put were the ones with mass low and centered, not height for height’s sake.
A six-inch dowel drilled into a cedar block works for garden stakes, though I would not trust it past a stiff breeze without angling the rod like a tent peg. For hanging, brass rod of 1/8-inch stock bent into a simple hook keeps the silhouette clean. Wall mounting asks for a back plate and two screws; the dragonfly reads as floating, which suits the wire transparency.
Stability in wind comes down to footprint versus sail area. Wings catch air, so a base needs either weight or tethers. I lean toward weight: a rock or dense timber chunk that sits below the visual line. Clear coat the metal, lacquer the wood, and the piece survives seasons without the maintenance becoming its own project.
Materials I Actually Buy and Where
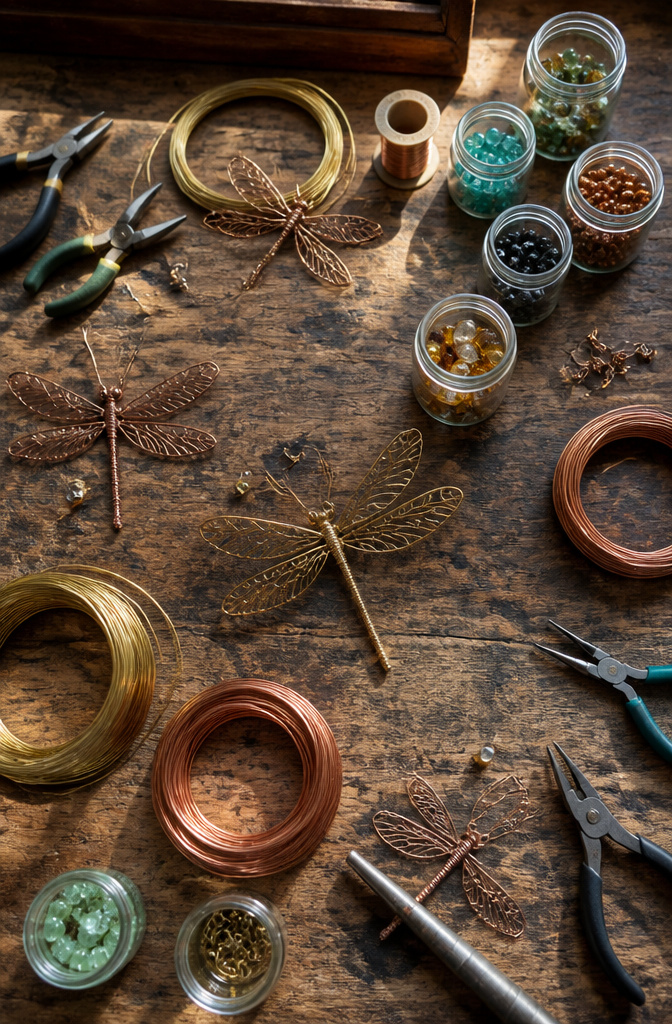
One dragonfly takes more brass than I expected. The body needs a 1/16-in. × 36-in. brass rod, and a second 1/8-in. × 36-in. rod serves as the support that stakes it into a base. I skip the flexible copper tubing on smaller pieces; it adds weight and bulk that fights the airy look the searchers for natural wire dragonfly art usually want.
The copper wire is 20-gauge, one roll covering several insects. For eyes, glass beads thread onto the drilled holes, 1/16-in. bit for the wings and eyes, 1/8-in. at the bottom for that support rod. Drill the eyeholes from each side rather than punching straight through; alignment stays truer that way.
Studio 73’s approach uses multiple gauges instead: 14-gauge red copper for structure, 32-gauge silver for wrapping, 26-gauge and 18-gauge for detail layers. No soldering there, which matters if you lack a torch or workspace ventilation. The chain hangs it as a pendant rather than garden stake.
Either path needs an awl or sharp drywall screw to start holes, plus superglue gel or quick-setting epoxy to lock beads. I keep a 6-in. wood dowel nearby as a forming mandrel. A spring at 9/32-in. diameter and roughly 1 1/2-in. length adds thorax texture if you’re building the staked version; otherwise skip it.
Natural Materials Beyond Wire

The first time I saw a dragonfly sculpture mounted on a piece of gnawed timber, the termite channels had turned the wood into something that looked planned. That is the appeal: nature finishes what you start. A six-inch wood dowel works as a simple garden stake. Drill a 1/16-inch hole through the top for a brass rod body, and the dragonfly perches without any fussy hardware.
I keep the base separate from the wire work. The dowel gets a coat of outdoor lacquer; the metal gets its own clear coat. If the wood ever rots, the sculpture lifts off intact. For something more rustic, a naturally stained block with insect holes reads as found object rather than craft project, but sourcing that means waiting for the right piece to turn up. Most weekend builds benefit from the predictability of a store-bought dowel.
Glass beads on the body catch the same light that plays through crystals in more elaborate pieces. The effect is quieter, which suits a garden piece that competes with actual plants for attention. Keep the base material at least one step simpler than the wire work, or the whole thing starts to look like you tried too hard at every stage.
Frequently Asked Questions
What materials do I need to make a wire dragonfly?
You need 14-gauge red copper wire for the frame, 20-gauge copper wire for wrapping, and finer silver copper wires in 26-gauge and 32-gauge for detail work. Brass rod in 1/16-in. and 1/8-in. sizes becomes legs and support posts, while 3/8-in. copper tubing works for the body core. Glass beads, spring wire for thorax texture, and a wood dowel or found timber for the base round out the list.
How do I secure the wings to the body of the dragonfly?
Three methods work: twisting extra wire around the joint for indoor pieces, soldering for the strongest permanent bond, or super glue as a quick fix that pairs with wire wrapping. For garden mounts facing rain and wind, soldering is the only approach that holds up long term. Twisting takes minutes, soldering takes setup and heat, and gluing takes hope.
How can I decorate the wings of the dragonfly?
Nail polish gives wings color while still letting light through. Layer two colors and leave each one alone once it is down; going back to fix a streak makes the surface crease or tear. The last coat needs a full hour lying flat before you move the piece. A clothespin holds the wire while it dries so your fingers stay free and the finish stays even.
Can I use natural materials for my dragonfly art?
Yes, found timber gnawed by water insects or darkened by tannin makes a base that becomes part of the story. A six-inch wood dowel works as a simpler garden stake. Keep the base material at least one step simpler than the wire work, or the whole thing starts to look like you tried too hard at every stage.






