I’ll show you how to create a custom shower curtain in three simple steps.
First, pick your favorite fabric such as vintage tablecloths or designer options from Spoonflower, then prewash it in warm water.
Next, cut your backing fabric to 75″ by 96″ and add fusible interfacing strips for durability.
Finally, fold your top edge 2 to 2.5 inches, mark buttonhole placements, and stitch them securely with your sewing machine.
You’ll have a professional-quality curtain that outperforms store-bought options, with more details available for each step.
Step 1: Choose and Prewash Fabric for Your Custom Shower Curtain
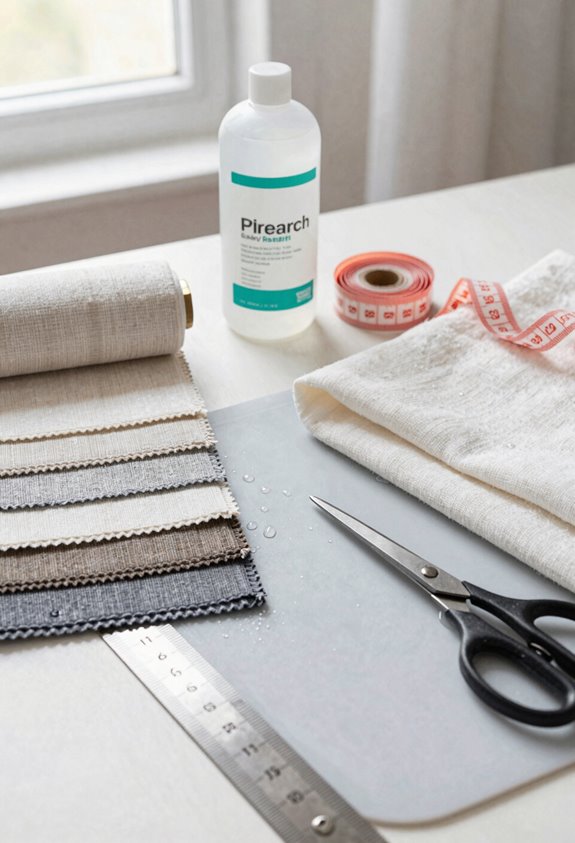
Picking the perfect fabric for your shower curtain offers excellent options. You can transform a vintage tablecloth, chenille bedspread, or calico into something uniquely yours. For niche designs, check out Spoonflower for gems like Sevilla Blanco Spanish Tile by Heather Dutton.
Transform vintage tablecloths, bedspreads, or calico into uniquely yours with custom shower curtain designs from Spoonflower.
Prewashing your shower curtain fabric is crucial. Use warm water and dry on low heat. This simple step minimizes shrinkage and helps future hems stick properly. When combining pieces, plan for standard widths; cutting 42″ wide fabric works perfectly for Spoonflower designs.
Clean, stable material is your foundation for success. Prewashing ensures your fabric is ready for cutting and sewing, creating a beautiful custom shower curtain that will last for years.
Step 2: Cut and Seam Your Shower Curtain Panels
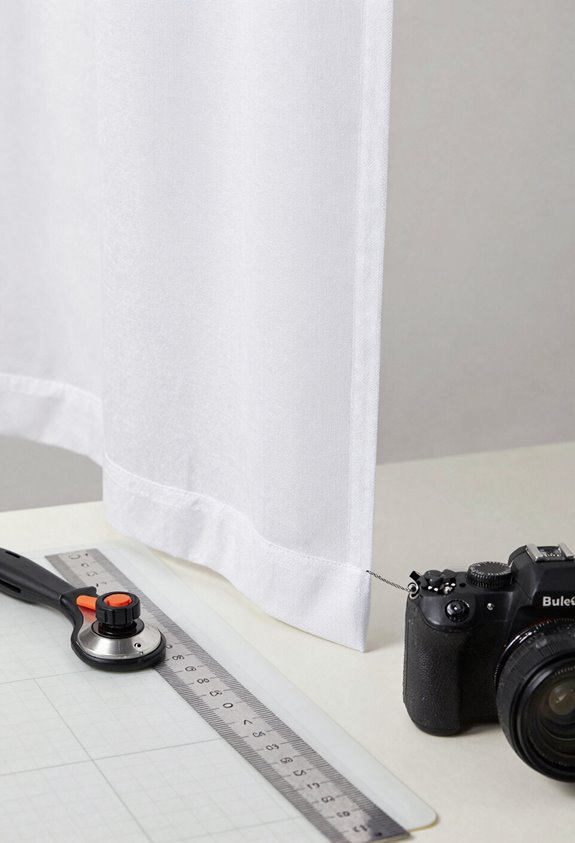
Now that you’ve got your prewashed fabric ready, it’s time to transform it into actual curtain panels. Start by cutting your backing fabric to 75″ by 96″. This creates the proper width for your shower curtain. Next, you’ll prepare four 5½” strips of fusible interfacing. This stabilization keeps everything sturdy and professional-looking.
For seam construction, fold your raw edges ½” along the vertical sides and press them flat. Then create your bottom hem by folding ½”, then 5½” more, pressing carefully. Don’t forget your top hem. Fold ½” by 5½” to accommodate hardware later.
Using a straight stitch or edgestitch foot, align your fold about 1/8″ from the edge. This secures your hems properly while maintaining a handmade quality.
Step 3: Fold the Top and Install Buttonholes
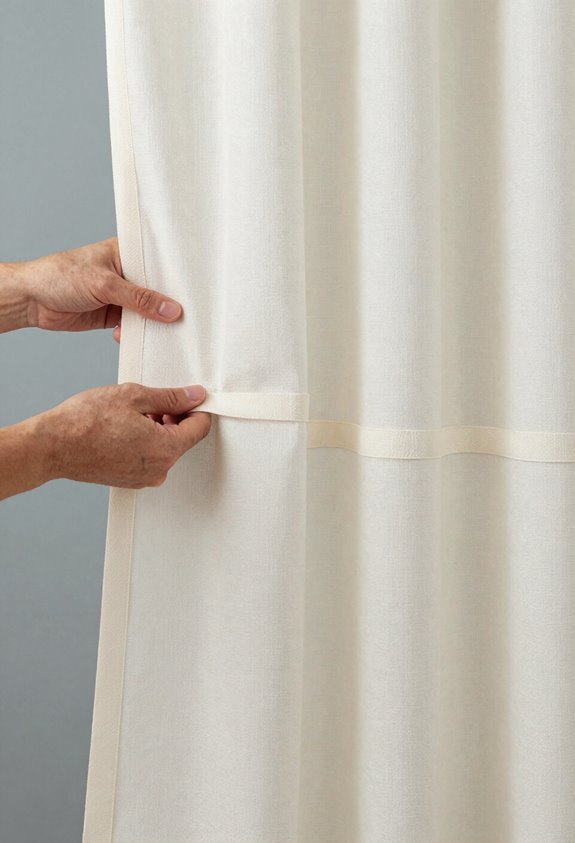
How exciting; you’re almost at the finish line. Fold the fabric top down by 2 to 2.5 inches to create a strong base for the buttonholes. This fold is essential because it gives you the sturdy foundation needed for secure buttonhole placement.
Fold the fabric top down 2 to 2.5 inches to create a sturdy foundation for secure buttonhole placement.
Reinforce this top edge to prevent stretching and ensure durable buttonhole openings. Proper reinforcement prevents fraying and extends the life of your curtain.
Mark vertical buttonhole placements using a store-bought curtain as your guide to ensure consistent spacing throughout. Use your sewing machine’s buttonhole feature to create uniform, vertically oriented buttonholes that look professionally done.
Carefully open each buttonhole with scissors or a seam ripper. Your personalized shower curtain is now complete.