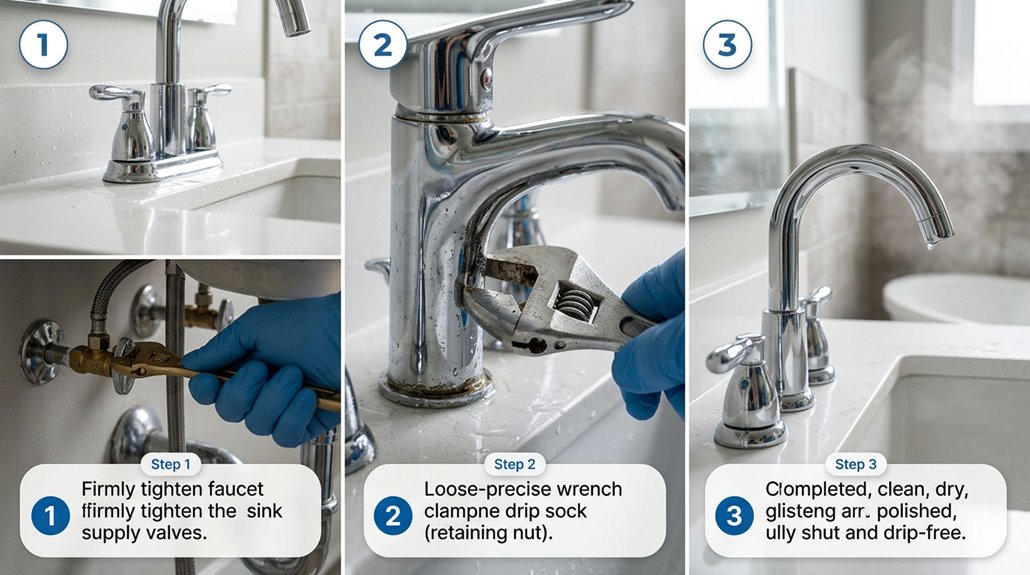
I’ll fix your leaking bathtub faucet in three steps. First, shut off the water supply by turning the valves clockwise beneath your tub, or flip the main switch if needed.
Next, disassemble the faucet handle and remove the packing nut to identify exactly where the leak is occurring.
Finally, replace the worn washer, cartridge, or O-ring with the exact matching part, apply plumber’s tape and silicone grease, then reassemble everything and slowly turn the water back on. Follow each step carefully to resolve the leak.
Turn Off the Water Supply
Before you plunge into fixing that leak, you need to shut off the water supply. This is the most important step you’ll take. First, locate the shutoff valves beneath your bathtub, then turn them clockwise until they’re completely closed. This stops water flow immediately and helps prevent leaks from getting worse. If you can’t find dedicated tub valves, shut off the main water supply instead and open the faucet to release pressure. Next, verify there’s zero flow by trying to run water. If nothing comes out, proceed with the repair. Keep towels nearby to catch any remaining water in the lines. Finally, label those valves so you remember exactly which ones to reopen later.
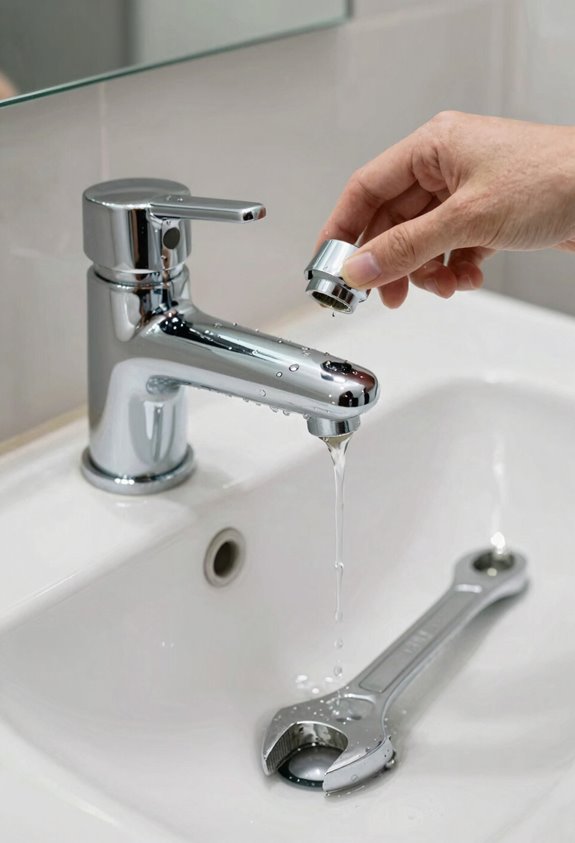
Disassemble and Diagnose the Leak Source
Disassemble your faucet to pinpoint the leak source—handle, cartridge, or threaded connections each reveal different problems requiring specific fixes.
Carefully disassemble your faucet handle and packing nut to expose the cartridge or stem underneath. You’ll immediately spot where water’s escaping. Is it leaking at the handle itself, around the cartridge, or behind the wall at those threaded connections? Each location indicates a different problem.
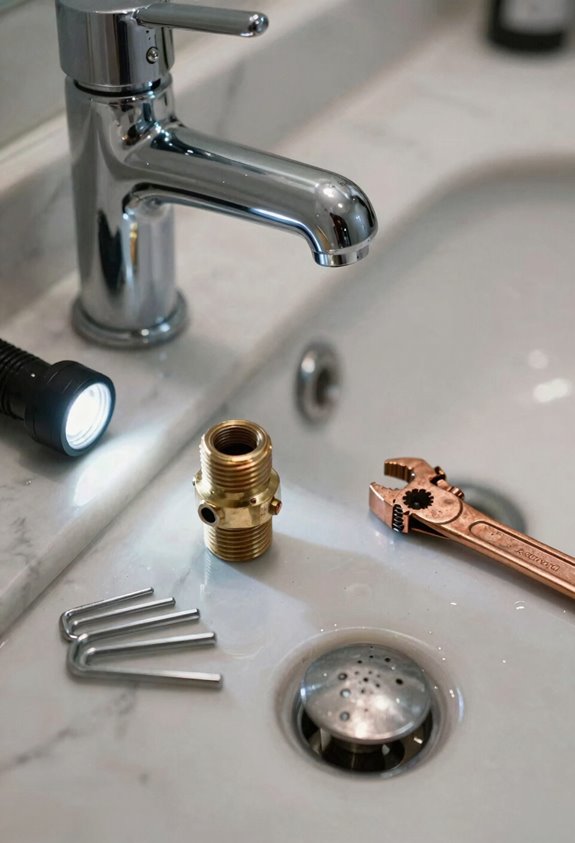
Check the valve seat for mineral buildup or damage. Look closely at washers and O-rings. These worn-out components cause most leaks in two-piece assemblies. If you’ve got a diverter valve, inspect it too, especially when leaks happen during showers.
Match replacement parts exactly to your faucet model and stem size.
Replace the Damaged Component and Verify the Fix
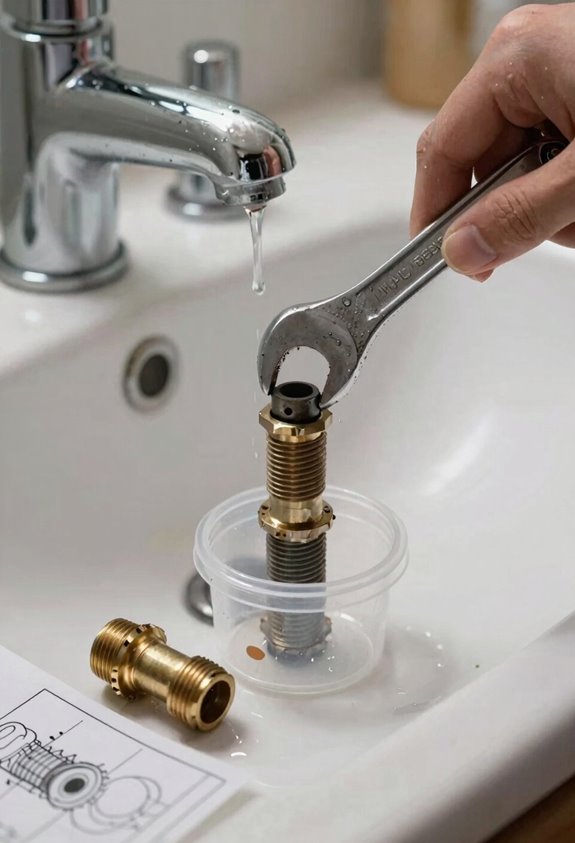
Once you’ve identified the problem, whether it’s a worn washer, damaged O-ring, or faulty cartridge, you’re ready to install a replacement part.
Here’s what you need to do:
- Get the right replacement – Match your part to your specific faucet model; compatibility is essential.
- Apply protective sealants – Wrap plumber’s tape around threaded connections and add silicone grease for a watertight seal.
- Test before reassembling – Verify the new component fits perfectly before putting everything back together.
Reassemble in reverse order: reinstall the cartridge, retaining nut, escutcheon, trim, and handle. Turn your water back on slowly and check carefully for any drips. The leaking faucet will be resolved with these steps completed.